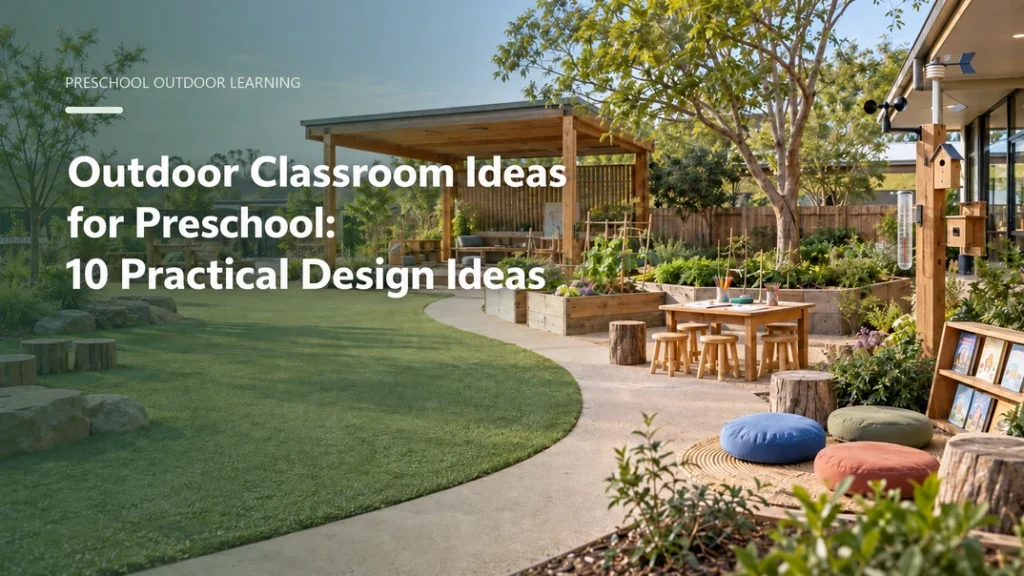
If you are planning an outdoor classroom, do not begin by choosing ten pieces of equipment. Start by deciding how staff will supervise, where children will move, and which learning zones your site can support. This guide gives you ten practical options, but it also shows you which ideas to choose first, what to specify, and what to avoid during a preschool renovation.
If you are comparing sites or preparing a renovation, you can share your floor plan and basic requirements with our team before you select products. The form below gives you a direct place to outline your project.
Start With a Site Plan, Not a Product List
Begin with the decisions that will affect every later choice. Note the age groups, group size, schedule, entry and exit points, shade through the day, drainage, trees, gates, utilities, and storage. Walk the site with your director and teaching team. Ask where an adult can see each zone, how children move between zones, and which areas need a quieter edge.
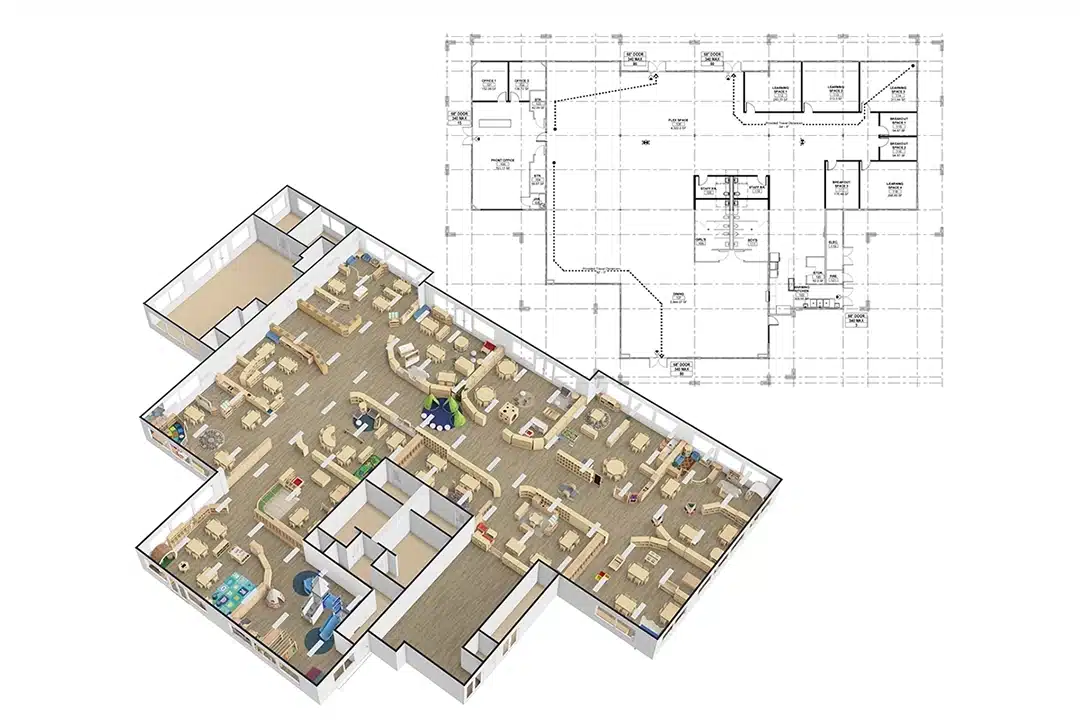
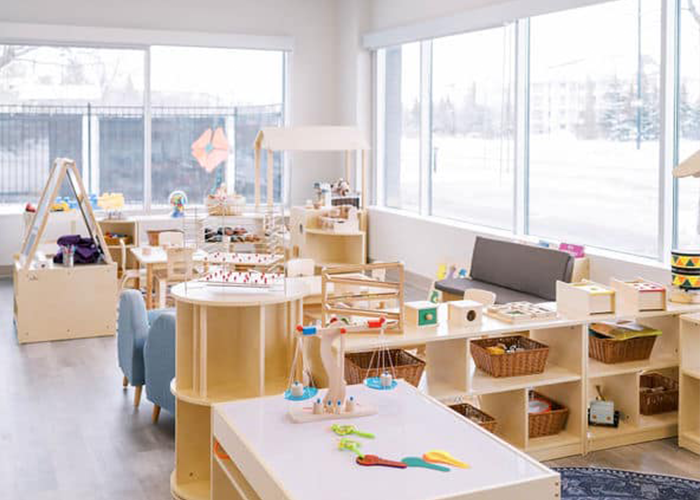
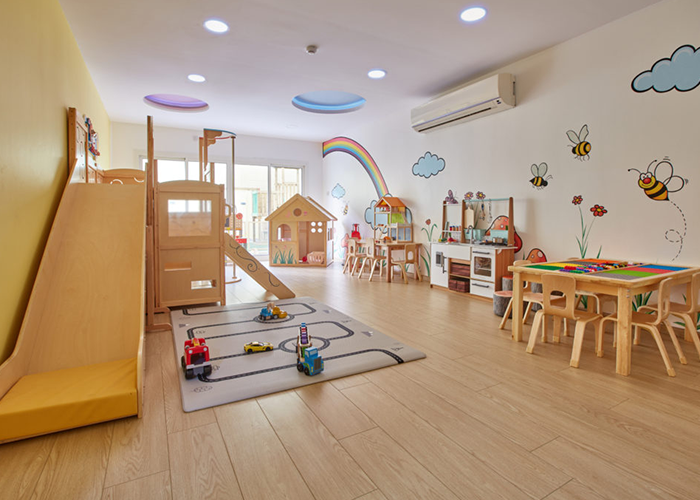
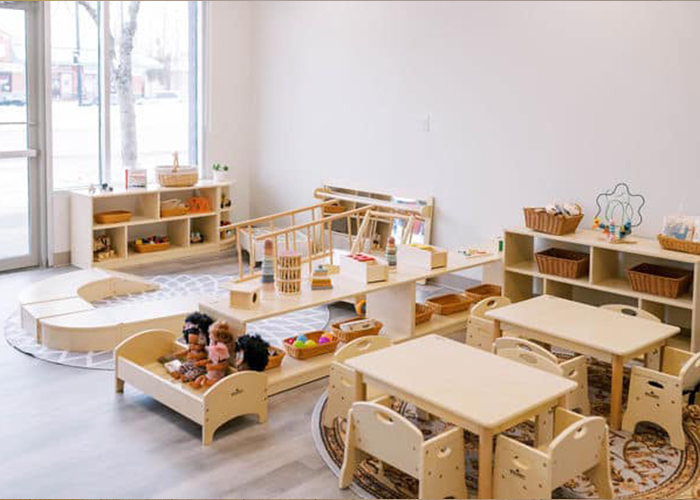
Divide the space by purpose instead of placing unrelated equipment together. You might need nature, messy-work, movement, quiet, and small-group teaching zones. Leave clear routes between them, then compare your sketch with these classroom layout examples.
Do not design one permanent zone for every idea in this list. If your yard is small or staffing is tight, start with a quiet learning area, a messy-work area, and an active movement area. Let one space serve different groups during the day. Movable tables, bins, stools, and loose natural materials give you room to test the routine before you commit to fixed construction.
A common purchasing mistake is to buy attractive equipment before checking shade, drainage, storage, and staff sightlines. Those basics determine whether a product gets used every day or becomes an expensive obstacle. Put infrastructure and circulation on the plan first; add specialist equipment only after you know where it can live, who will supervise it, and how staff will reset it.
10 Outdoor Classroom Ideas for Preschool
1. Build a Nature Discovery Zone
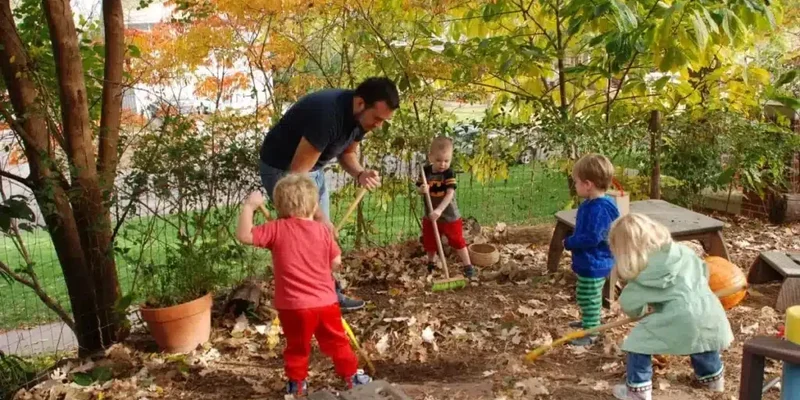
Choose this zone if your site already has trees, planting beds, or a natural edge worth investigating. Add logs, stumps, collecting trays, magnifiers, and a work table where your team can display found objects. Keep the invitation open-ended: children might compare bark one week and track seasonal change the next.
Place it near vegetation, but keep it within a clear supervision line. Use a sturdy, wipeable work surface and a covered container for tools. Check every plant for suitability in your climate and program before you install it. A nature zone should invite close observation, not require staff to manage a fragile display.
2. Create an Interactive Garden
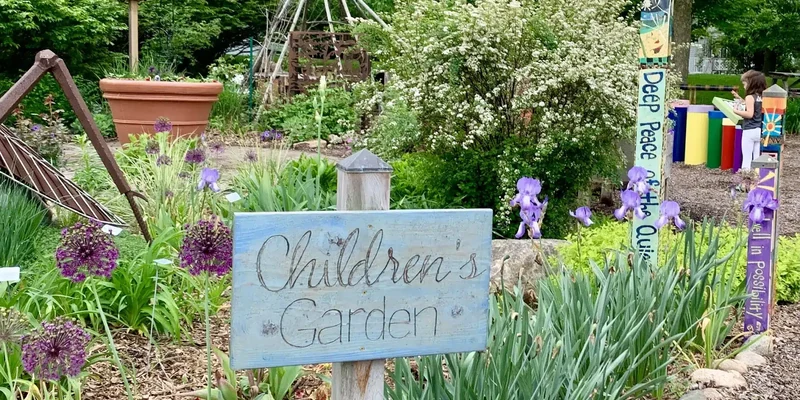
Choose an interactive garden when your team can give children regular care jobs. Raised beds, herbs, vegetables, flowers, and a small work ledge can support planting, watering, observation, and recording. The value comes from repeated use, so a modest garden that staff can maintain will serve you better than a large installation that dries out or becomes overgrown.
Match bed heights and paths to the children who will use them, including children who need easier access. Plan the watering point, tool storage, and drainage before you order the beds. If staff cannot maintain the garden daily, use fewer beds or containers and a seasonal planting plan. Do not place soil, hoses, or watering cans across a main route.
3. Set Up an Outdoor Art Studio
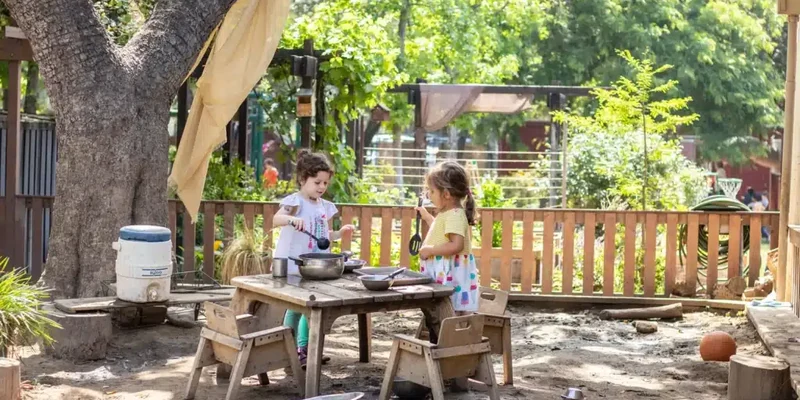
Move painting, drawing, clay, collage, and loose-parts work outside with a simple art studio. You can use a shaded table, easels, a washable work surface, drying racks, and open shelves for materials. Position the studio near a water source when possible, and give children enough room to carry work without crossing the movement area.
Let the mess level and cleaning routine guide your product choices. Use wipeable finishes, lidded bins for small supplies, and a covered place for work-in-progress pieces. Choose movable furniture if you are testing the idea; specify built-in storage only after you know where staff will clean, dry, and reset the station.
4. Design a Natural Movement Area
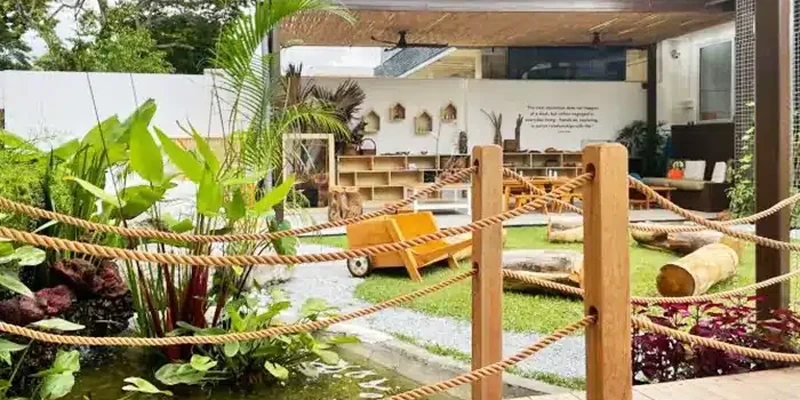
Use this area when you want movement to feel open-ended rather than tied to one piece of playground equipment. Logs, low platforms, stepping rounds, wide balance beams, and open ground can invite balance, crawling, carrying, and climbing. You can change the challenge with pathways, hoops, or objects to carry without rebuilding the space.
Keep the route easy for adults to scan and select elements suitable for the youngest users in the group. Inspect wood, fasteners, edges, and ground conditions on a routine that matches your climate and use. Choose loose elements when you need flexibility; choose a fixed arrangement only when your team is ready for a formal review and long-term maintenance.
5. Add a Child-Friendly Weather Station
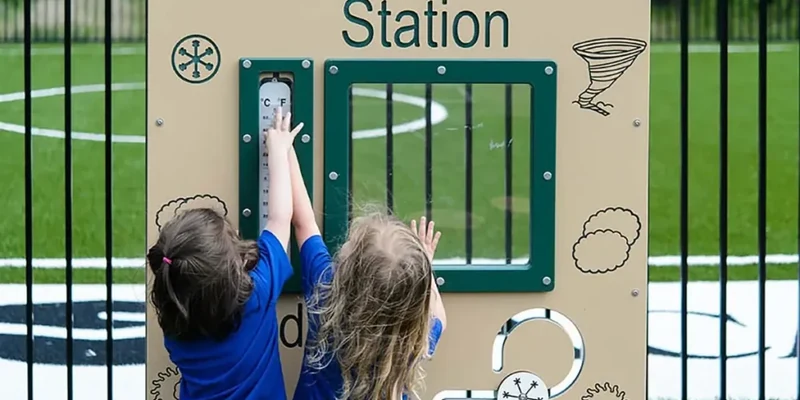
A weather station earns its space when your team will use it as part of a daily observation routine. A rain gauge, wind ribbon, adult-guided thermometer, cloud prompts, and a dry recording board are enough to begin. Put it where children can reach the tools without blocking a route or creating a trip hazard.
Keep the design simple enough for staff to reset and check. Protect paper and small tools in a covered box, secure loose parts, and inspect the station after storms. If you specify a permanent unit, choose weather-resistant materials and decide how gauges, cards, and other consumables will be replaced.
6. Build a Sensory Path
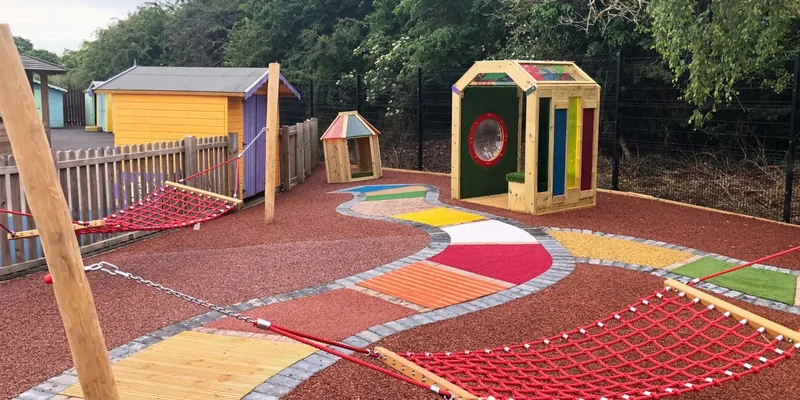
A sensory path suits a site where children need a slower transition between active and quiet play. Combine stable textures, stepping sections, planting edges, chimes, and places to pause. Let children choose how to move through it; the path should offer options, not force every child through the same sequence.
Make every surface stable, cleanable, and suitable for the children using it. Avoid loose pieces that scatter into walking routes, check that transitions do not catch shoes or mobility aids, and provide an alternative route for children who do not want to touch a texture. A short inspection checklist will catch worn surfaces, damaged edging, and plants that need attention.
7. Create a Shaded Story Corner
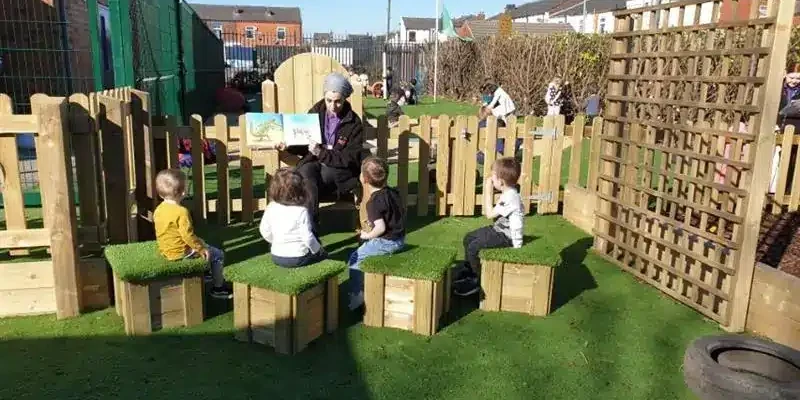
Choose a story corner when your program needs a lower-energy place for read-alouds, conversation, listening, and small-group work. A shade structure, low benches, indoor-stored cushions, book crates, and a soft visual boundary are enough to define it. Face seating toward the reader while keeping the opening visible from the main staff position.
Use outdoor-rated storage or bring books and soft items inside after each session. Check heat, glare, wind, moisture, and nearby noise before fixing the location. Test with movable shade first if you are unsure; choose a permanent shelter when you need reliable daily use and a protected transition from the building.
8. Plan a Sand and Water Station
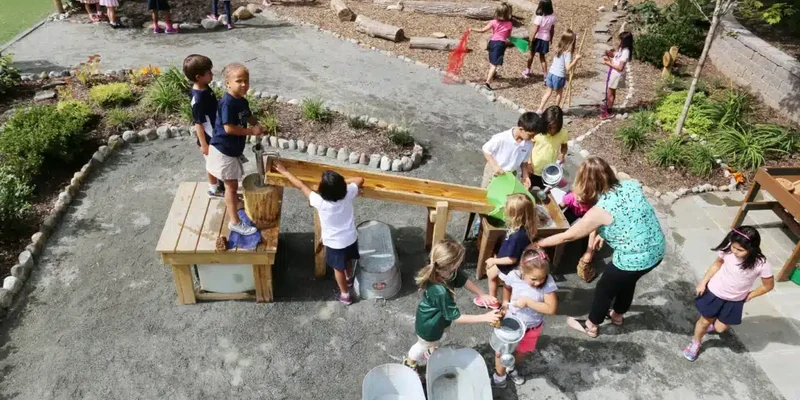
Choose sand and water play when your site can handle frequent cleaning and wet materials. Child-height tubs or troughs, funnels, tubes, scoops, containers, and a small-group work surface support pouring, measuring, cooperation, and problem-solving. Change the tools and prompts before you add more equipment.
Plan drainage before you install anything. Keep standing water away from routes, protect nearby surfaces from splashing, and store tools where staff can dry and inspect them. Use manageable containers for a shared station; specify durable surfaces and a realistic cleaning routine for a fixed one.
9. Organize an Outdoor Science Lab
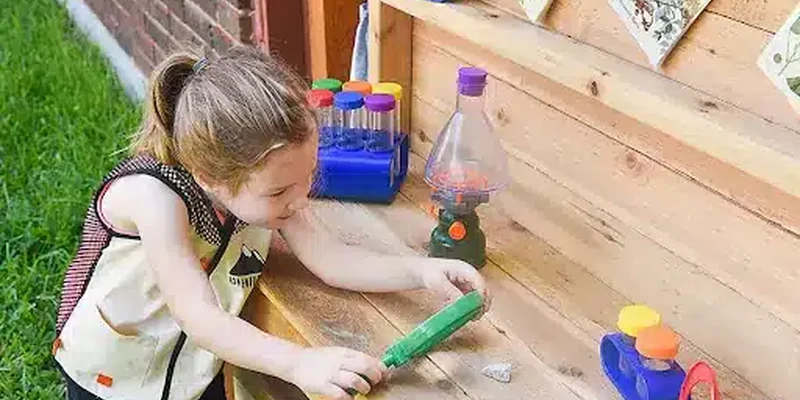
An outdoor science lab gives your team a focused place for questions, tests, and close observation. A sturdy table, trays, measuring tools, specimen viewers, clipboards, and containers for natural materials are enough to explore shadows, seeds, soil, water movement, insects, and decomposition. Keep the area usable rather than filling it with fragile displays.
Place the lab near the nature zone, with enough separation for a small group to work without interrupting active play. Keep tools in a labeled, closed cabinet and mark materials that need adult handling. For purchasing, prioritize repairable surfaces, rounded edges, replacement parts, and storage that protects equipment from rain and sun.
10. Add a Gross-Motor Circuit
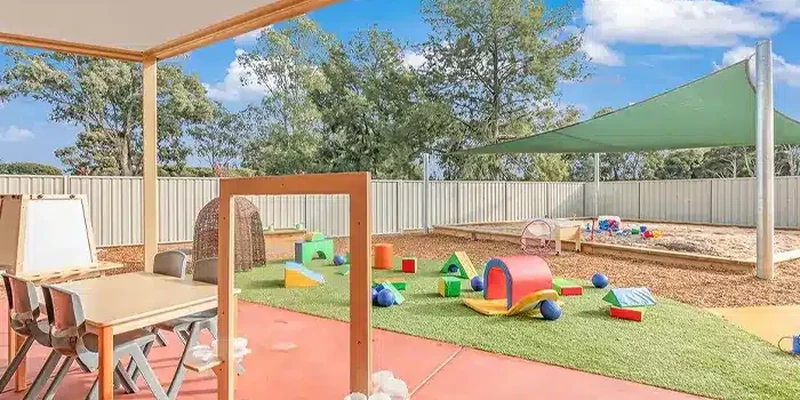
A gross-motor circuit can give you a clear route for jumping, crawling, balancing, carrying, and stopping. Combine low stepping platforms, hoops, tunnels, target throws, and open space so your staff can change the sequence for different ages and abilities. Use visual markers to show where to begin and finish. For a larger active-play plan, see our preschool outdoor playground design guide.
Keep the circuit away from quiet work and maintain a clear view across the route. Check every element before use, especially after weather or a layout change. Fixed equipment requires a review of the full system, surfacing, access, and supervision plan; movable elements require storage that prevents rushed setup and loose equipment on walkways.
Check Safety, Access, and Daily Supervision
Before you approve a layout, test it during a busy part of the day. Stand where staff will supervise and check what is hidden by shelters, planting, storage, or equipment. Keep gates, exits, and emergency routes clear. Give children a route that does not force them through a wet, muddy, or active-play zone to reach another activity.
Build daily checks into your operating routine. Look at surfaces, edges, fasteners, water, shade, plants, loose parts, and storage. Confirm that equipment matches the age group using it. You can use this guidance on creating outdoor spaces for young children when reviewing visibility, shade, water, and plant choices.
Weather changes the supervision plan. Before outdoor time, check heat, air quality, rain, wind, insects, and ground conditions. The current outdoor-play health guidance for early-care settings can help your team build a weather decision routine. Requirements vary by jurisdiction. Always confirm current requirements with your local licensing or regulatory authority.
If your project includes fixed playground or climbing equipment, review technical guidance with your installer and local authority. The playground safety handbook can support planning conversations, but it does not replace local approval or a site-specific inspection.
Use the Outdoor Classroom All Year
You can keep the space useful through seasonal changes by deciding what stays, what rotates, and what moves indoors. Keep core furniture, shade, storage, and routes stable. Rotate planting tasks, art materials, science prompts, and loose parts instead of redesigning the whole space.
Create a short weather response that your team can follow. Decide when children move to a shaded or covered zone, which materials are stored first, and what needs drying after rain. In colder or wetter periods, provide an indoor extension of the same project so children can continue observing, drawing, sorting, or planning after the outdoor session ends.
Choose Furniture and Materials for the Site
Choose furniture after you understand the site and the routine. Ask a supplier how the construction, material, finish, hardware, cleaning method, replacement parts, and expected maintenance fit your climate. Look for stable construction, smooth cleanable surfaces, safe edges, practical weight, and a size children can use. A product that looks good in a catalog is not a good choice if staff cannot move, clean, store, or inspect it easily.
You can compare options in our guide to classroom outdoor furniture, then review how to adapt preschool furniture for outdoor classrooms when you need a mix of indoor-style learning furniture and weather-ready materials. For a new build, decide which items should be fixed, which should stay movable, and where every loose item will live at the end of the day.
Turn the Ideas Into a Buildable Project
When you are ready to move from inspiration to a project brief, record the information a designer or supplier will need: site plan, age groups, group size, climate, operating hours, learning priorities, preferred zones, shade, drainage, storage, access needs, and maintenance capacity. Add site photos and mark existing trees, doors, fences, utilities, and surfaces. This prevents a supplier from quoting a product set that cannot work in your yard.
Use a review gate before you place an order. Your team should be able to see the learning zones, movement routes, supervision positions, storage, and maintenance tasks on one plan. Then confirm the product specification, local requirements, installation scope, and handover responsibilities. If you are developing a new preschool or renovation, our preschool classroom design solution page shows how a broader space plan can connect furniture, layout, and learning use.
If you are planning a new preschool or renovation, send your floor plan, age group, capacity, and preferred zones. You can use the form below to discuss the next step.
FAQs
What is the difference between an outdoor classroom and a playground?
A playground mainly supports active physical play. An outdoor classroom combines movement with places for nature study, art, gardening, sensory work, stories, science, and small-group teaching. You can include playground elements, but the wider plan should support learning, supervision, and daily teaching.
How much space do you need for an outdoor classroom?
There is no single space number that works for every preschool. Your requirement depends on enrollment, age groups, site shape, activity zones, access routes, storage, supervision, and local rules. Start by defining the activities and circulation you need, then test the layout with your expected group size.
Can you use an outdoor classroom all year?
Yes, if you plan for shade, rain, drainage, seasonal materials, storage, and an indoor backup routine. You do not need every zone to operate in every weather condition. Decide which activities can continue under cover and what your team will move or protect when conditions change.
Which outdoor furniture should you choose?
Choose furniture that matches your climate, cleaning routine, storage space, and the children’s size. Stable tables, seating, work surfaces, shelves, and covered storage are useful starting points. For each item, check durability, repair options, ease of movement, and whether staff can supervise around it.
How do you supervise several outdoor learning zones?
Place the zones so staff can see entrances, exits, and the main activity areas from more than one position. Keep tall storage and dense planting out of key sightlines, set group-size expectations, and use a daily zone assignment when needed. Test the plan with real staff before you make permanent changes.
Conclusion
Choose the outdoor classroom ideas for preschool that fit your site and your daily operation, not the longest product list. If your team can supervise the space, maintain it, and use it every week, the design is doing its job. Share your floor plan and requirements when you are ready to turn the concept into a workable layout and product specification.