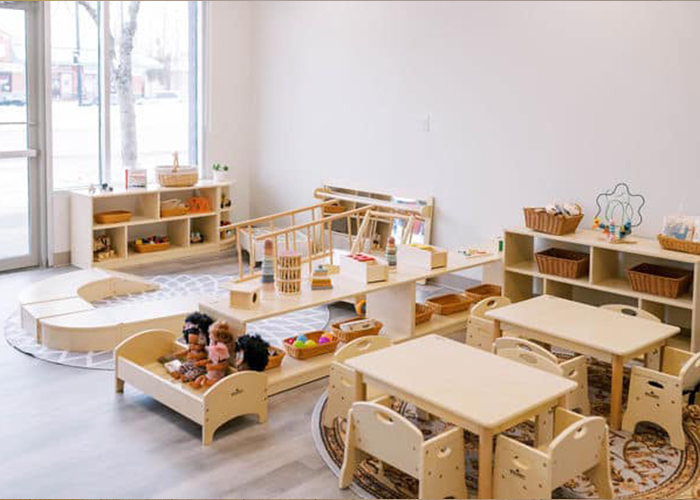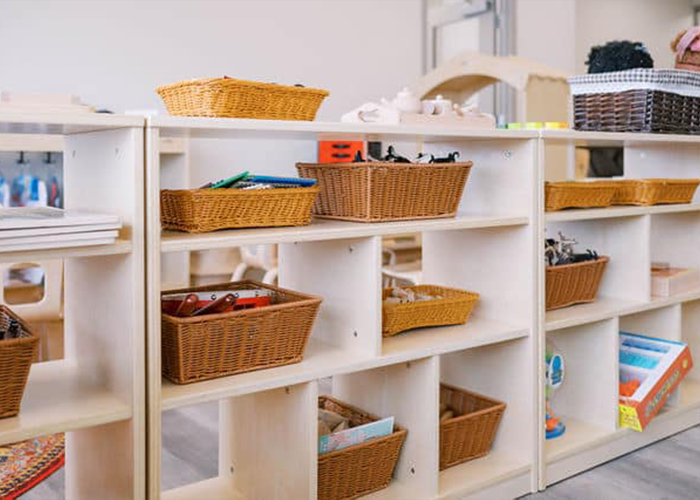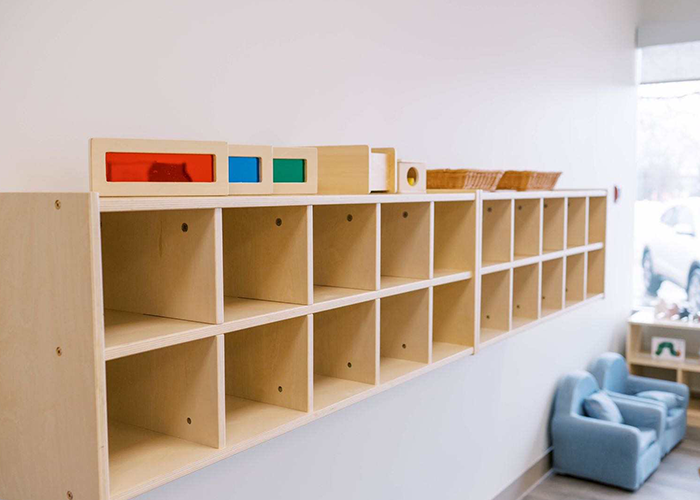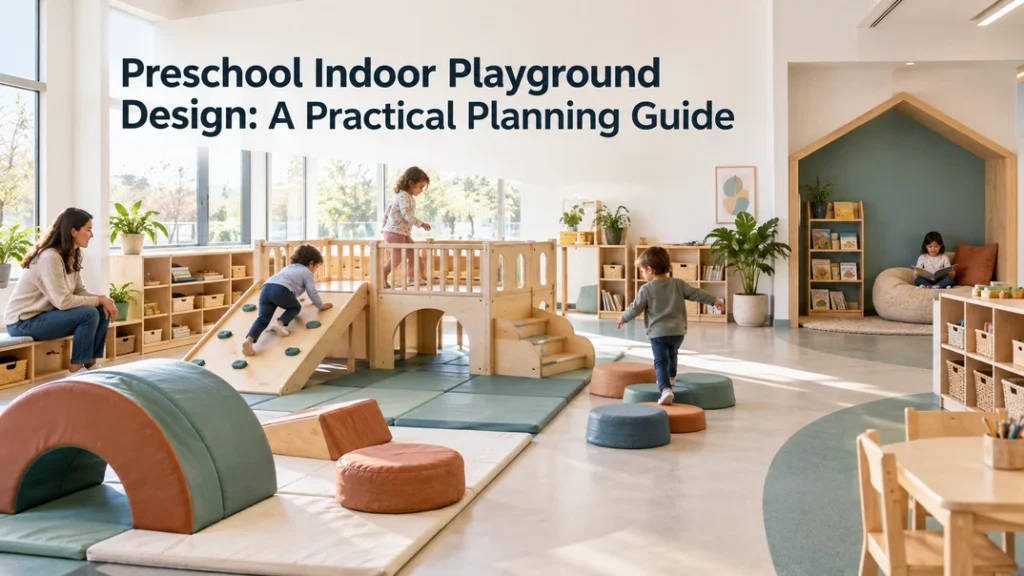
If you are planning a preschool indoor playground, start with the room and daily use—not the slide or theme. Define the age group, capacity, movement routes, supervision points, quiet areas, and cleaning routine before you select equipment. This guide explains how to turn those decisions into a workable design, how to evaluate suppliers, and where indoor playground projects commonly go wrong.
What Should You Decide Before Choosing Equipment?
Decide who will use the space, how the room will operate, and what kinds of play it must support. Equipment comes after those decisions. If you start with a large structure because it looks impressive in a catalog, you may later discover that it blocks the main route, creates a blind corner, or leaves too little room for children who need quieter play.
- Age and ability: Identify whether the room is for toddlers, preschoolers, or a mixed group. Children at different stages need different heights, challenges, access routes, and levels of supervision.
- Room constraints: Record the usable floor area, ceiling height, columns, doors, windows, HVAC, lights, outlets, exits, and any fixed building services.
- Daily schedule: Decide whether the room will serve free play, scheduled gross-motor sessions, small groups, family use, or more than one program.
- Staff operation: Mark where adults will stand, store equipment, clean surfaces, handle transitions, and respond if a child needs help.
- Project limits: Confirm the budget range, delivery route, installation conditions, opening date, and whether the equipment may need to change as enrollment changes.
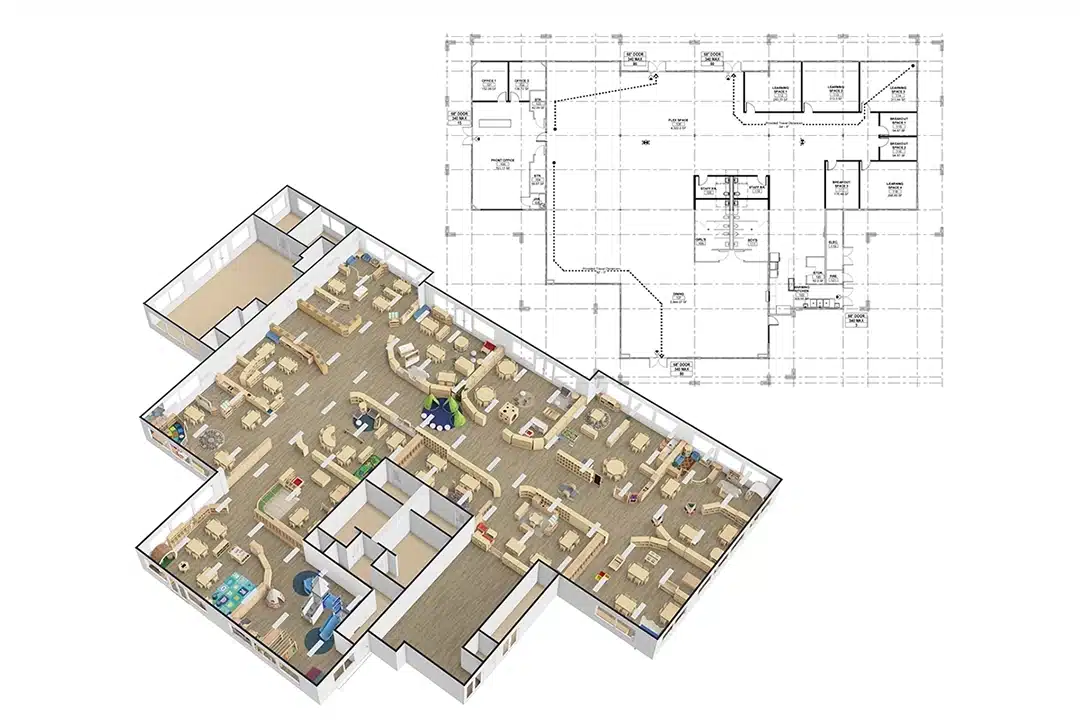
Draw these conditions into a plan before you compare products. A daycare floor plan can help you test routes, storage, staff positions, and flexible areas before you commit to a playground layout.

What Are the Key Elements of Preschool Indoor Playground Design?
A workable preschool indoor playground connects seven decisions: age fit, zoning, circulation, sightlines, physical challenge, inclusive access, and maintenance. These decisions affect one another. For example, a taller climbing feature may increase challenge, but it also changes the required supervision position, surrounding clearance, surfacing, and the age group that can use it.
| Design element | What you should decide | Why it affects the project |
|---|---|---|
| Age fit | Which children will use each feature and how independently they can use it | Scale and challenge must match children’s size, movement skills, and supervision needs. |
| Zones | Where active, social, sensory, quiet, and transition activities will happen | Clear zones reduce conflicts between fast movement and slower play. |
| Circulation | How children enter, move between features, and leave the space | Good flow prevents queues, crossing paths, and unnecessary congestion. |
| Sightlines | What adults can see from normal supervision positions | Staff should not have to rely on constant repositioning to monitor hidden areas. |
| Surfaces and structure | Which surfaces, edges, anchors, and finishes suit the equipment and site | These choices affect injury risk, cleaning, maintenance, and installation. |
| Future use | What can be moved, replaced, expanded, or reconfigured later | A design that cannot adapt may become inefficient when the program changes. |
How Should You Divide the Space Into Zones?
Divide the room by the way children use it, not by the number of products you want to display. You may combine zones in a small room, but each activity still needs a clear place, a clear access level, and a clear relationship to the main route.
Active movement zone
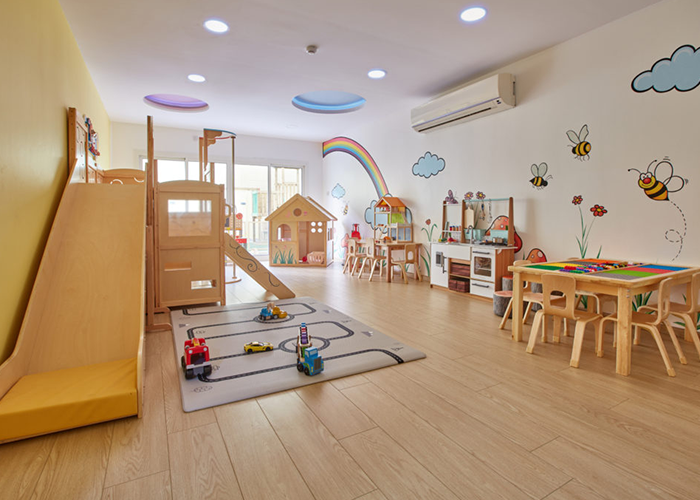
Place climbing, balancing, crawling, sliding, and other gross-motor challenges where children can move without crossing a quiet or seated activity. Keep the entry and exit of the zone easy to understand. If children must pass through the active zone to reach storage or a bathroom, the layout will create avoidable interruptions.
Social and imaginative play zone
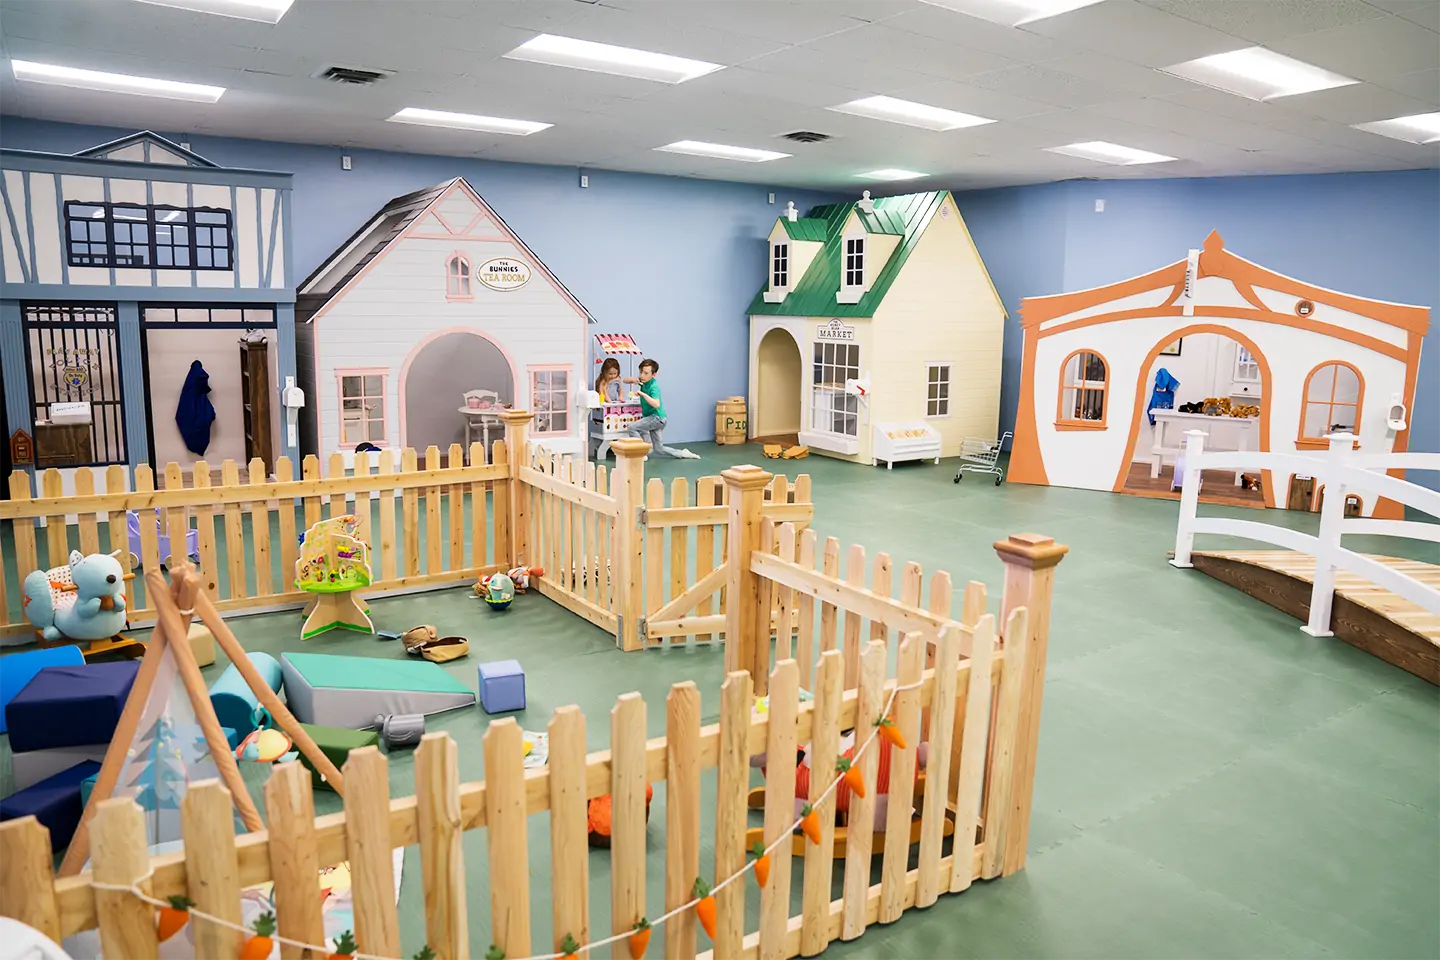
Role-play panels, pretend-shop elements, small houses, and open-ended props give children a place to negotiate roles and stories. Keep this zone close enough to see, but far enough from the fastest movement that children can talk and play without being constantly interrupted. Store larger props where children can return them without carrying them across the room.
Sensory and fine-motor zone
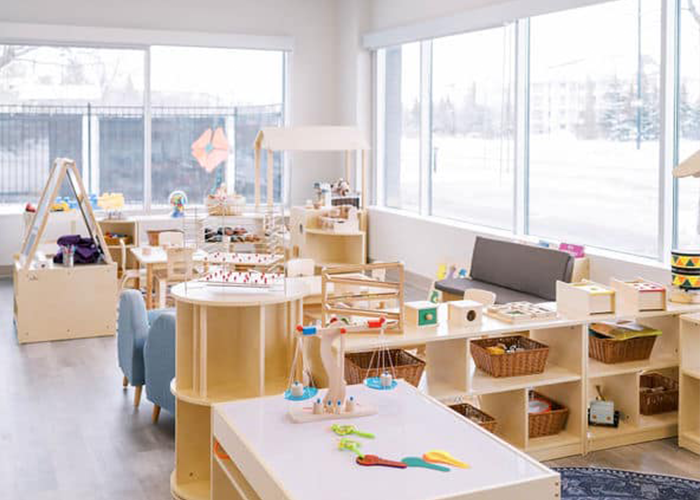
Use a smaller area for tactile panels, manipulatives, puzzles, and tabletop activities. These materials need controlled access and quick reset, especially when the same room serves different age groups. A low work surface or nearby storage can make the zone useful without taking space away from the main movement area.
Quiet or regulation zone
Give children a place to pause, look at a book, or reduce stimulation. This does not need to be a separate room. A partial enclosure, soft seating, calm lighting, and a clear view from the main staff position may be enough. Do not place the quiet zone beside a slide exit or in a narrow passage.
Entry and transition zone
Plan where children wait, remove shoes or outerwear, and join the activity. The transition area should not open directly into the busiest play path if you can avoid it. This is also a practical place for age labels, simple rules, hand hygiene supplies, and teacher-controlled storage.
How Does Age Change the Design?
Age changes the scale, challenge, access, and supervision plan. The U.S. Consumer Product Safety Commission separates toddler and preschool-age users because their abilities and equipment needs differ. Use the current CPSC Public Playground Safety Handbook as one reference for age-appropriate planning, then confirm the requirements that apply to your local childcare setting.
Toddlers
Toddlers need lower, simpler challenges and more room for adults to respond quickly. Keep routes short, limit complex climbing sequences, and avoid creating hidden pockets behind tall elements. You should also separate small loose parts and higher-risk activities from open toddler access.
Preschoolers
Preschoolers can usually manage a wider range of climbing, balance, imaginative, and cooperative challenges. You can introduce more varied routes and problem-solving features, but the design still needs clear supervision and a safe way to exit each activity. More challenge does not mean filling every part of the room with equipment.
Mixed-age groups
If toddlers and preschoolers share the room, separate access by layout, schedule, or both. Use equipment that has an obvious lower-level route for younger children and a more challenging route for older children only when the supplier can explain how the arrangement should be used. Do not rely on a sign alone to keep younger children away from a feature they can easily reach.
How Do You Plan Sightlines and Movement?
Stand where teachers will actually supervise and check what disappears from view. A design can look open from the entrance and still create blind spots behind a climbing structure, a tunnel, or a tall decorative panel. Keep the main staff position connected to the active zone, exits, and the areas where children need the most help.
- Keep the route from the entrance to the play area direct and easy to read.
- Place slide exits and climbing descents where they do not cut across the main walking path.
- Use low or visually open dividers when you need to separate activities.
- Leave space for adults to enter the equipment and assist a child without moving other children.
- Check whether storage doors, cleaning carts, and replacement parts can be accessed without closing the entire room.
Supervision is part of the design as much as staffing. The CPSC handbook also notes that toddlers and preschool-age children require attentive supervision and that supervision alone cannot prevent every injury. Your layout, equipment selection, maintenance routine, and staff practice must work together.
What Equipment Should You Include?
Select equipment as a balanced system instead of buying one large structure and filling the remaining space with unrelated pieces. A practical preschool indoor playground usually needs a combination of movement, social play, sensory exploration, and flexible open floor space. Use a playground equipment selection guide to compare categories, then return to your room plan before you request a final product list.
| Equipment group | What it adds | What to check before selecting it |
|---|---|---|
| Climbing and balance | Body control, strength, planning, and graduated challenge | Age fit, route difficulty, access and exit, fall protection, supervision, and installation. |
| Slides and descent features | Repeated movement, turn-taking, and confidence | Entry and exit flow, queue behavior, surrounding clearance, and whether staff can assist. |
| Soft-play elements | Lower-risk movement, building, crawling, and flexible setup | Cover durability, cleaning method, storage, seams, shape stability, and replacement options. |
| Role-play and activity panels | Language, cooperation, fine-motor work, and imaginative play | Height, access, visibility, cleaning, and whether the feature supports more than one use. |
| Open floor and loose materials | Flexible games, group movement, and child-led play | How materials will be stored, supervised, rotated, and removed during active sessions. |
Xiha Montessori’s product structure is useful for making this decision: use Play for movement, role-play, and open-ended activity; use Furniture for storage, low dividers, and room infrastructure; and use Learn for development-focused panels and materials. If you are also planning outdoor space, compare the indoor plan with this preschool playground design approach so the two environments support each other. For classroom storage and adjacent learning areas, review the preschool furniture range. The point is to make sure each product has a job in the design and a practical place to live.

How Do You Check Safety and Maintenance?
Ask for the safety and maintenance information that matches the actual equipment category and your site. A general statement such as “safe for children” is not enough to evaluate a complete project.
- Ask which current standards or local requirements apply to the equipment, installation, surfacing, fire protection, and egress.
- Request product drawings, installation instructions, inspection guidance, and maintenance information before approval.
- Confirm which surfaces and finishes can be cleaned with your routine and cleaning products.
- Check whether covers, soft components, hardware, or other wear parts can be replaced.
- Plan how staff will inspect the room before use and how they will report damage or changes.
For U.S. projects, the CPSC handbook provides public-playground guidance and points readers to applicable ASTM standards and local requirements. ASTM F1918 is specific to soft contained play equipment; it is not a blanket standard for every indoor playground product. Read the standard that matches your system and ask the supplier to explain what has been tested, what is site-specific, and what must be completed during installation.
Requirements vary by jurisdiction. Always confirm current requirements with your local licensing or regulatory authority, building officials, fire authority, and insurer before construction or installation.
How Can You Make the Space More Inclusive?
Start by giving children more than one way to participate. An inclusive indoor playground can offer movement at different challenge levels, clear routes, reachable activity features, a quieter place to pause, and enough space for an adult or mobility device to assist a child. Inclusion should be part of the main layout rather than a separate feature added at the end.
- Provide a lower-effort route or activity option beside more demanding movement challenges.
- Use visual cues and simple wayfinding so children can understand where an activity begins and ends.
- Keep sensory intensity adjustable through lighting, sound, distance, and access to quieter space.
- Include open-ended panels and role-play materials that reflect the children and families in the program.
- Ask teachers and specialists what adaptations are needed for the children who will actually use the room.
What Should You Confirm Before Ordering?
Before you approve a final design, send the supplier a measured plan and a clear project brief. Include the room dimensions, age range, expected users, staff positions, activity goals, ceiling and building constraints, delivery route, installation conditions, cleaning routine, and target opening date.
- Layout: Ask for the equipment footprint, access routes, exits, supervision positions, and any required clearance shown on the plan.
- Product details: Confirm dimensions, materials, finishes, age guidance, surface requirements, cleaning instructions, and included accessories.
- Installation: Check anchoring, wall or floor conditions, assembly sequence, site preparation, and who is responsible for each step.
- Delivery: Confirm packaging, labels, unloading access, storage before installation, shipping assumptions, and the condition in which the equipment will arrive.
- Future changes: Ask whether components can be moved, replaced, or expanded without rebuilding the whole room.
- Customization: If you need changes to size, material, finish, or configuration, approve project-specific drawings and specifications before production.
Xiha Montessori can support Classroom Design / Layout & Planning, Product Selection, project-specific customization review, production and quality control, and packing and shipping coordination. The useful starting point is your room plan and operating requirements, not a request for a random product list.
Common Preschool Indoor Playground Design Mistakes
- Choosing the main structure first: The largest item should fit the room plan, not dictate every other decision.
- Designing around a theme: A jungle, ocean, or space theme does not solve circulation, access, cleaning, or supervision.
- Filling the entire floor: Children and adults need usable space to move, queue, assist, clean, and reset the room.
- Leaving quiet play out: A room that only supports high-energy movement will be difficult for children who need a pause or a lower-stimulation activity.
- Using supervision as a substitute for layout: Staff cannot compensate for blind corners, blocked exits, or equipment that creates conflicting routes.
- Ignoring maintenance: If staff cannot inspect, clean, store, or replace parts efficiently, the design will become harder to operate over time.
- Accepting a generic quote: A quote without a room-specific drawing, product specifications, installation assumptions, and delivery details is difficult to compare.
Frequently Asked Questions
How much space do you need for a preschool indoor playground?
There is no single room size that works for every project. The usable area depends on the number and ages of children, the equipment type, circulation, supervision, required clearances, storage, and local requirements. Measure the actual room and test the layout before you request final pricing.
Can toddlers and preschoolers use the same indoor playground?
They can share a room when the design separates access, challenge, and supervision. You may need different routes, scheduled use, controlled materials, or a physical separation between age groups. Do not assume that one mixed-age label makes every feature suitable for every child.
Should you add digital technology to an indoor playground?
Only if it supports a clear program goal and your staff can manage it. A digital panel should not replace movement, social play, or hands-on materials simply because it looks modern. Check power, cleaning, supervision, durability, and replacement before adding it.
How often should you inspect the playground?
Follow the manufacturer’s inspection instructions, your local requirements, and your center’s operating procedure. Staff should know how to identify damage, loose parts, worn surfaces, blocked routes, and changes that affect safe use. Record repairs and remove damaged equipment from use until it has been assessed.
A Practical Way to Start the Project
A strong preschool indoor playground design starts with the children, the room, and the way staff will operate it. Plan zones and sightlines before equipment, match challenge to age, leave enough usable floor space, and confirm safety, maintenance, installation, and delivery details before approval. When you send a supplier a clear room plan and project brief, you get a design that is easier to compare, install, and use every day.