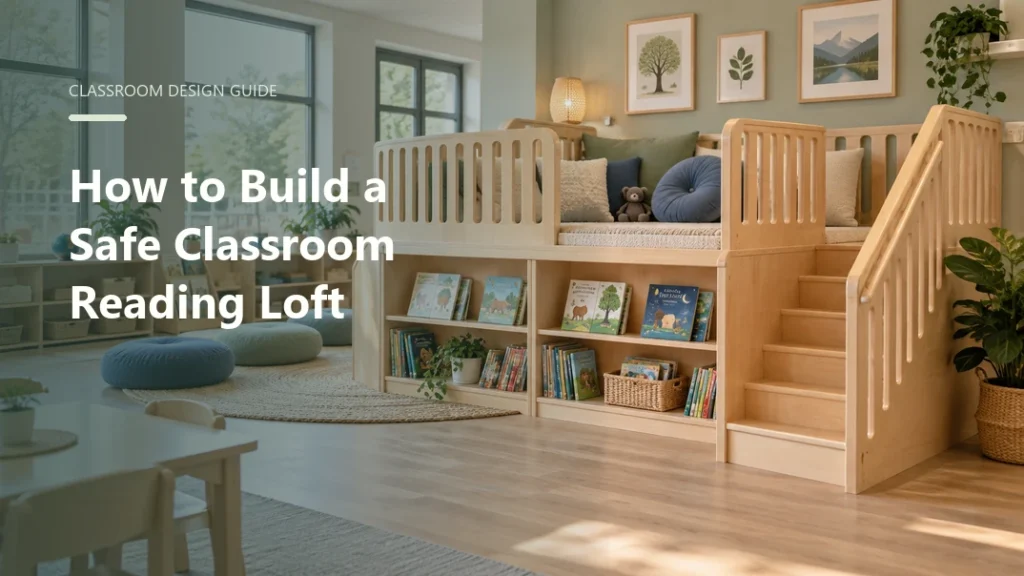
A classroom reading loft can turn underused vertical space into a memorable place for independent reading, small-group literacy, and quiet reflection. In a school or childcare setting, though, the loft is part of the room’s safety and supervision plan—not simply a piece of decorative furniture.
This guide explains how to plan a reading loft from the ground up: define the use case, assess the room, choose a suitable structure, design safe access, specify materials, and establish daily operating rules. It is a planning guide, not a substitute for local building, fire, accessibility, or childcare requirements. If children will climb, play, or use the platform for anything beyond reading, confirm the applicable rules before ordering or building.
Start With the Use Case, Not the Loft Shape
Before choosing a platform, write a short design brief. A reading-only loft for quiet use has different requirements from a structure that children climb, use for dramatic play, or share with a large group. The brief should answer:
- Which age range will use it, and will younger children have access?
- How many children may be inside at one time?
- Will the space be used for independent reading, teacher-led reading, or active play?
- How will an adult see and reach children from the main teaching area?
- What books, cushions, or other materials must be stored there?
A loft is not automatically the best answer. If the room is small, the ceiling is low, the group is very young, or staff cannot maintain a clear view, a low platform may provide the same sense of place with less complexity. Compare the idea with a classroom reading corner before committing to an elevated structure.
Assess the Classroom Before Designing
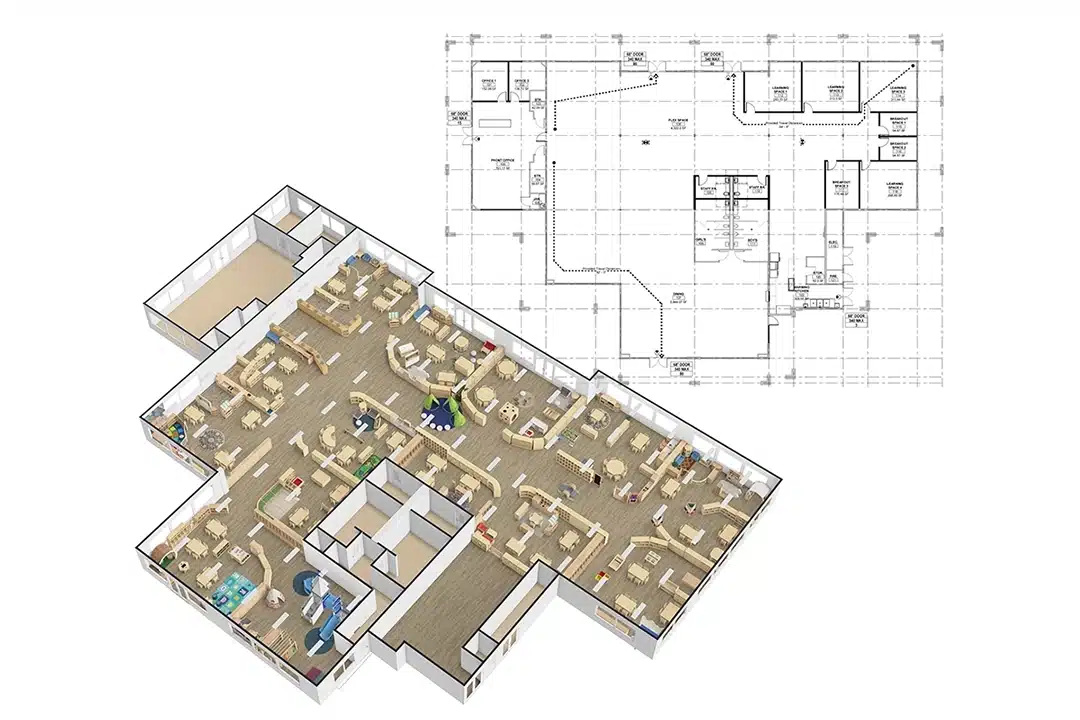
Mark the proposed footprint on the floor plan before discussing finishes or decorations. Record the room dimensions, ceiling height, door swings, windows, heating and cooling equipment, sprinklers, smoke detectors, electrical outlets, and any fixed furniture. Keep required exits and access routes clear, and make sure the loft will not create a hidden area that adults cannot supervise.
Also map the daily movement pattern: arrival, handwashing, toileting, group time, cleanup, and emergency evacuation. A structure that looks attractive in a rendering can become a collision point when children cross the room several times a day. Reviewing daycare floor plan priorities and classroom layout examples can help you test circulation and functional zones before finalizing the footprint.
- Visibility: Can staff see the access point and the interior of the loft from normal teaching positions?
- Reachability: Can an adult assist a child quickly without moving furniture?
- Clearance: Are doors, windows, equipment, exits, and required walkways unobstructed?
- Capacity: Is the intended number of users realistic for the available floor area and supervision?
- Cleaning: Can staff reach every surface, corner, stair, and soft furnishing?
Choose the Right Loft Type
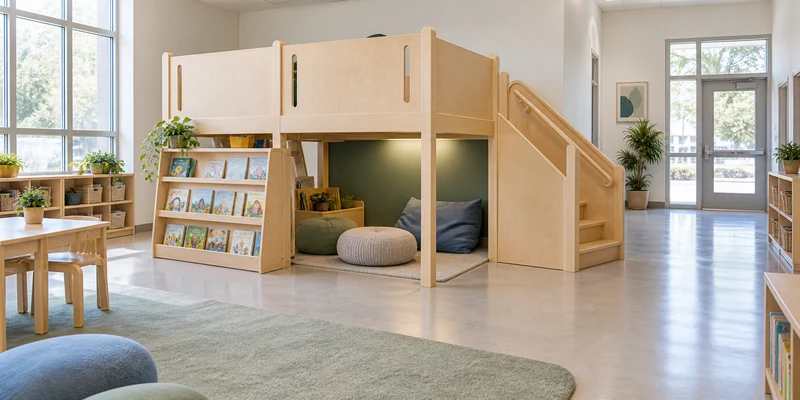
Most classroom projects fall into one of three broad approaches. The right choice depends on the building, the age group, the level of flexibility you need, and the approval requirements in your location.
| Approach | Best fit | Key question |
|---|---|---|
| Freestanding modular loft | Rooms that may be rearranged or expanded later | Can it be anchored and inspected without damaging the room? |
| Built-in or wall-supported loft | Permanent renovations with a defined layout | Has the structure, wall connection, and installation been reviewed by the right professionals? |
| Low reading platform | Younger children, smaller rooms, or lower-risk flexible zones | Does it create enough separation without compromising visibility or circulation? |
Do not select a design only because it looks like a home play loft. Commercial classroom use brings more frequent climbing, cleaning, moving, and supervision. Ask the supplier or installer for the intended use, user capacity, material and finish information, anchoring method, installation instructions, and maintenance guidance.
Design Access and Fall Protection First
Access is a safety feature, not an afterthought. Decide whether stairs or a ladder is appropriate for the age group, then integrate handrails, protective sides, edge protection, and a clear landing into the design. Avoid openings or decorative elements that could create a head, neck, or limb entrapment risk. Keep loose cords, string lights, and climbable objects away from the edge.
Safety requirements vary by country, state, province, municipality, and by how the loft is classified and used. Before construction or installation, have the complete design checked against the requirements that apply to your site, including fire protection, exits, accessibility, supervision, platform access, edge protection, and building connections. For licensed early-learning settings, review the health and safety requirements for regulated child-care environments alongside local building and fire guidance. If you need a concrete example of how an authority may address an elevated platform, consult one jurisdiction’s indoor-loft provisions as a reference point, not a universal specification. Do not copy a height, barrier detail, or stair dimension from another project and assume it is valid for your classroom.
- Confirm the required platform height, barrier, stair, ladder, and handrail details with your local authority or qualified professional.
- Keep sightlines open; do not use tall solid panels or storage that hides children from staff.
- Check headroom and the route into and out of the loft for the actual room and users.
- Confirm the structure’s load rating, anchoring, stability, and floor or wall conditions before installation.
- Define what happens if a barrier, stair, fastener, or surface becomes damaged: stop use, isolate the area, repair, and re-inspect.
Select Materials and Write a Product Specification
For a classroom, a good specification is more useful than a vague request for “a wooden reading loft.” Describe the surfaces staff must clean, the edges children may touch, the hardware that needs checking, and the conditions the structure must withstand.
- Structure: specify the construction material, joints, load information, anchoring, and installation method.
- Child-contact surfaces: use smooth, durable, cleanable finishes with rounded or protected edges.
- Access: identify the stair or ladder type, handrail needs, landing, and anti-slip treatment.
- Protection: describe barriers and openings rather than leaving edge protection to the installer.
- Soft furnishings: choose removable, cleanable cushions or mats appropriate for the classroom’s hygiene routine.
- Documentation: request drawings, dimensions, care instructions, warranty details, and any applicable test or compliance information.
When evaluating the rest of the room, use the same practical approach in your classroom furniture selection: match the material and construction to cleaning frequency, expected use, and the people responsible for maintenance.
Plan the Reading Experience Inside the Loft
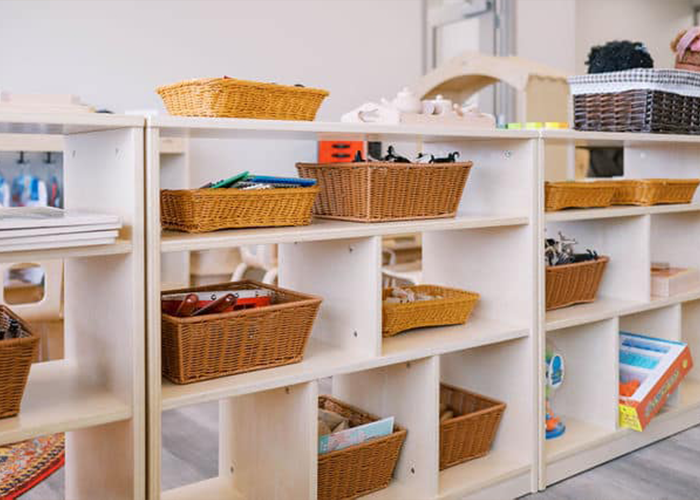
A safe platform will not become a reading space unless the books and seating are easy to use. Keep the collection small enough to stay organized, place popular titles where children can see the covers, and avoid heavy objects near an edge or on high shelves. A front-facing display is usually more useful to early readers than a deep shelf with tightly packed spines.
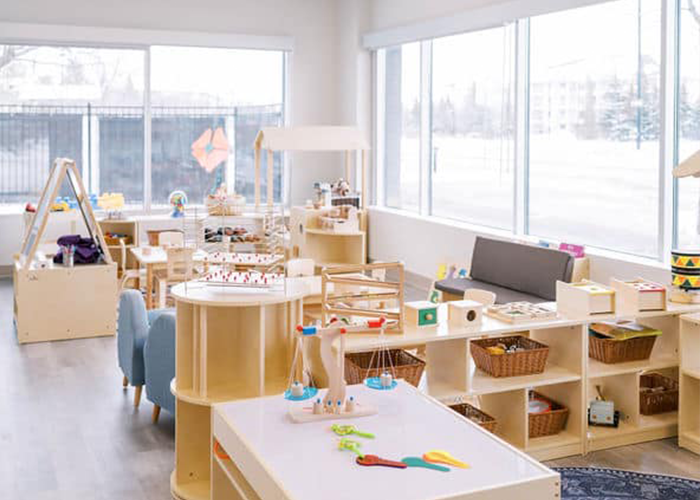
Consider a comfortable but cleanable seating surface, soft lighting that does not create glare, and a simple visual boundary that defines the space without blocking adult sightlines. The classroom bookshelf ideas page shows several ways to support book display and storage; select only the option that fits the loft’s capacity, access, and supervision plan.
Build or Commission It in Controlled Stages
For most schools and childcare centers, the safest workflow is to commission a reviewed classroom solution rather than improvise a carpentry project from a generic online plan. A practical sequence is:
- Approve the brief: record the age range, capacity, reading-only or active-play use, supervision positions, and daily rules.
- Approve the layout: check footprint, circulation, exits, sightlines, cleaning access, and service locations against the actual room.
- Approve the specification: confirm materials, edges, access, barriers, load information, anchoring, and documentation.
- Install with qualified support: follow the approved drawings and do not substitute hardware or change the structure on site without review.
- Complete a pre-use inspection: check stability, fasteners, stairs, handrails, barriers, surfaces, and clearances before children enter.
If the project is part of a larger classroom renovation, share the floor plan, age group, estimated capacity, and preferred use with a classroom design team before ordering. This lets the loft be coordinated with storage, activity zones, teacher sightlines, and future maintenance instead of being added as an isolated feature.
Set Daily Rules and Maintenance Checks
Write short rules that children and staff can follow consistently. For example: enter one at a time when required, walk on the stairs, keep books and cushions in their assigned places, do not climb the sides, and use the loft only when an adult can supervise. The exact rules should match the approved design and the age group.
Add the loft to the room’s cleaning and inspection routine. Staff should look for loose hardware, movement, sharp or damaged edges, worn anti-slip surfaces, cracked finishes, unstable bookshelves, and blocked access. Record the inspection frequency, the person responsible, and the stop-use procedure. A beautiful loft that cannot be cleaned or checked easily is not a good long-term classroom solution.
When a Low Reading Corner Is Better
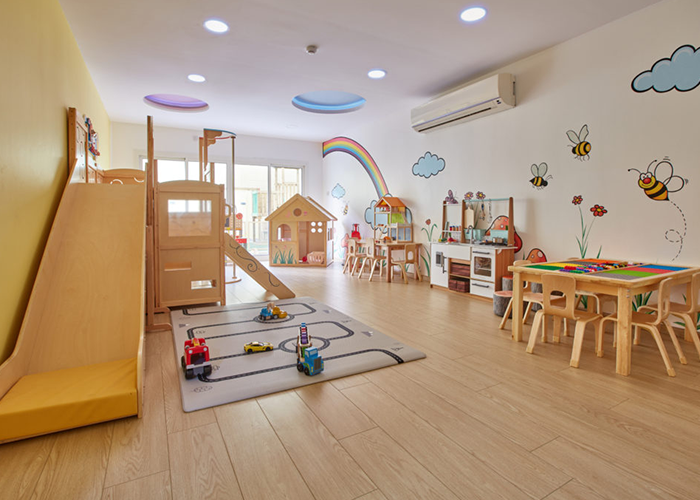
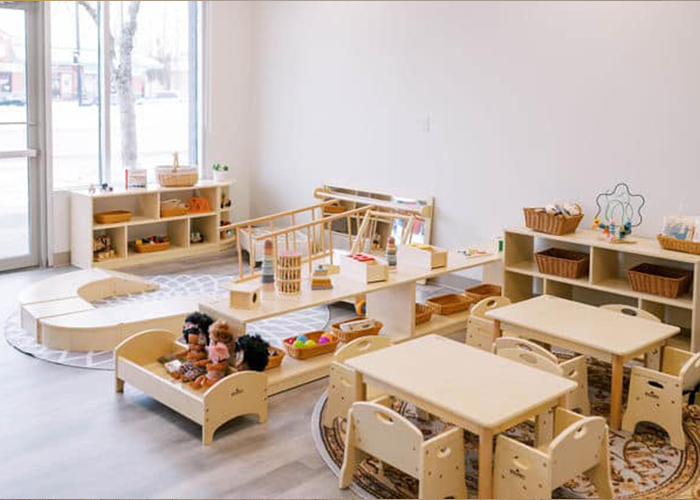
Choose a low reading corner instead when the room has limited ceiling clearance, the group includes very young children, supervision is difficult, the layout may change often, or local approval for an elevated platform is uncertain. A low platform, rug, book display, and soft boundary can still create a strong literacy zone while preserving flexibility. Start with the classroom reading corner planning guide and compare the result with the loft brief.
Frequently Asked Questions
Can I build a classroom reading loft myself?
Do-it-yourself construction is risky when the structure is elevated, anchored to a building, or used by multiple children. A qualified designer, contractor, or supplier should review the design, materials, connections, access, barriers, and local requirements. Do not treat a residential playhouse or a generic internet plan as a classroom specification.
How high should a classroom reading loft be?
There is no single height that is safe for every classroom. The answer depends on age, use, ceiling and floor conditions, access, fall protection, supervision, evacuation, and local rules. Set the height only after the complete room plan and applicable requirements have been reviewed.
Is a reading loft suitable for toddlers?
Not automatically. Toddlers need a design that matches their mobility, supervision level, and local childcare requirements. If you cannot maintain close supervision and appropriately controlled access, choose a low reading platform or reading corner instead.
Does an elevated reading loft need guardrails?
Elevated platforms commonly require some form of protective barrier, but the exact design depends on the jurisdiction, height, age group, and use. Confirm the applicable rule before construction; do not copy a dimension from another project and assume it applies to yours.
What should be stored in the loft?
Store lightweight, age-appropriate books and a limited number of cleanable cushions. Keep heavy loose items, long cords, unstable containers, and objects that encourage climbing away from edges and access points. Storage should never reduce the clear route or adult visibility.
Conclusion
The best classroom reading loft begins with a clear use case and a realistic room plan. Confirm local requirements, preserve supervision and circulation, design access and barriers as one system, choose durable materials, and create a simple inspection routine. If an elevated platform adds too much complexity, a low reading corner may deliver more value with less risk.
Planning a new classroom or renovation? Share your floor plan, age group, estimated capacity, and intended activities with Xiha Montessori’s classroom design and layout team so the reading area can be coordinated with the rest of the learning environment.