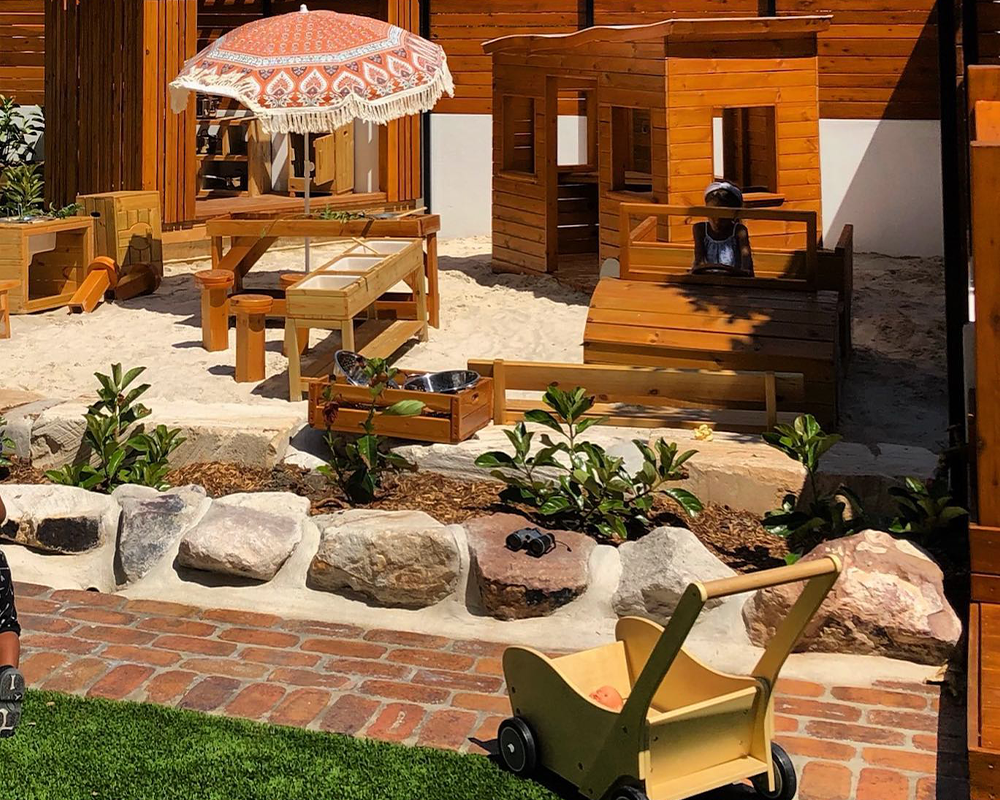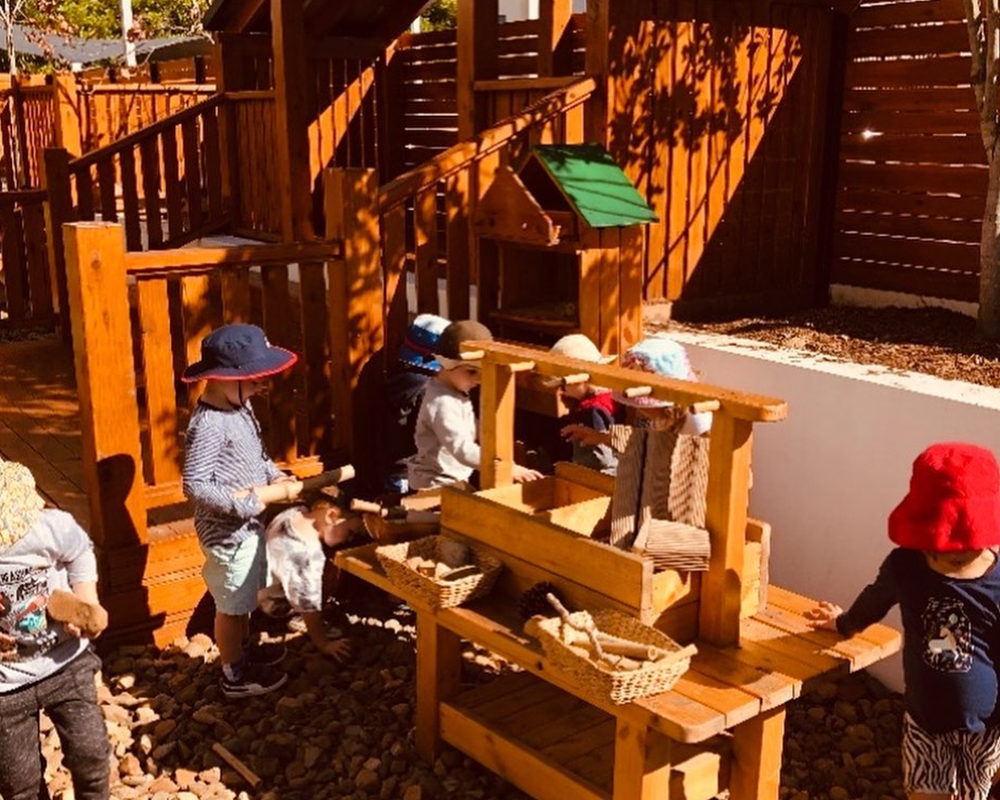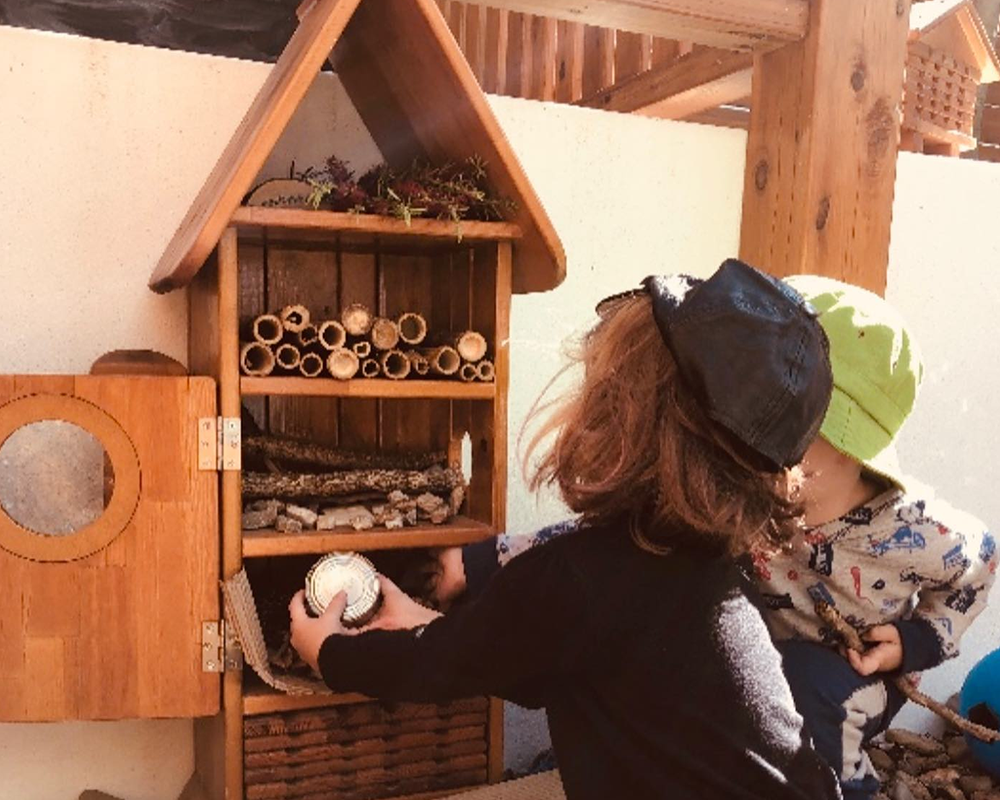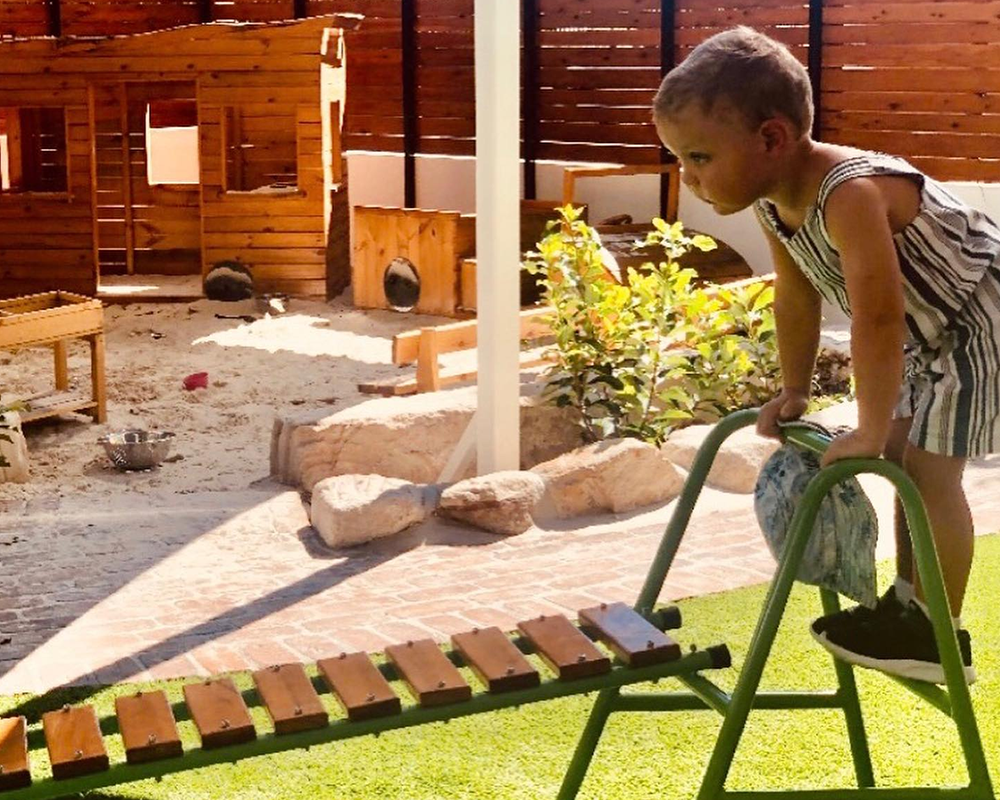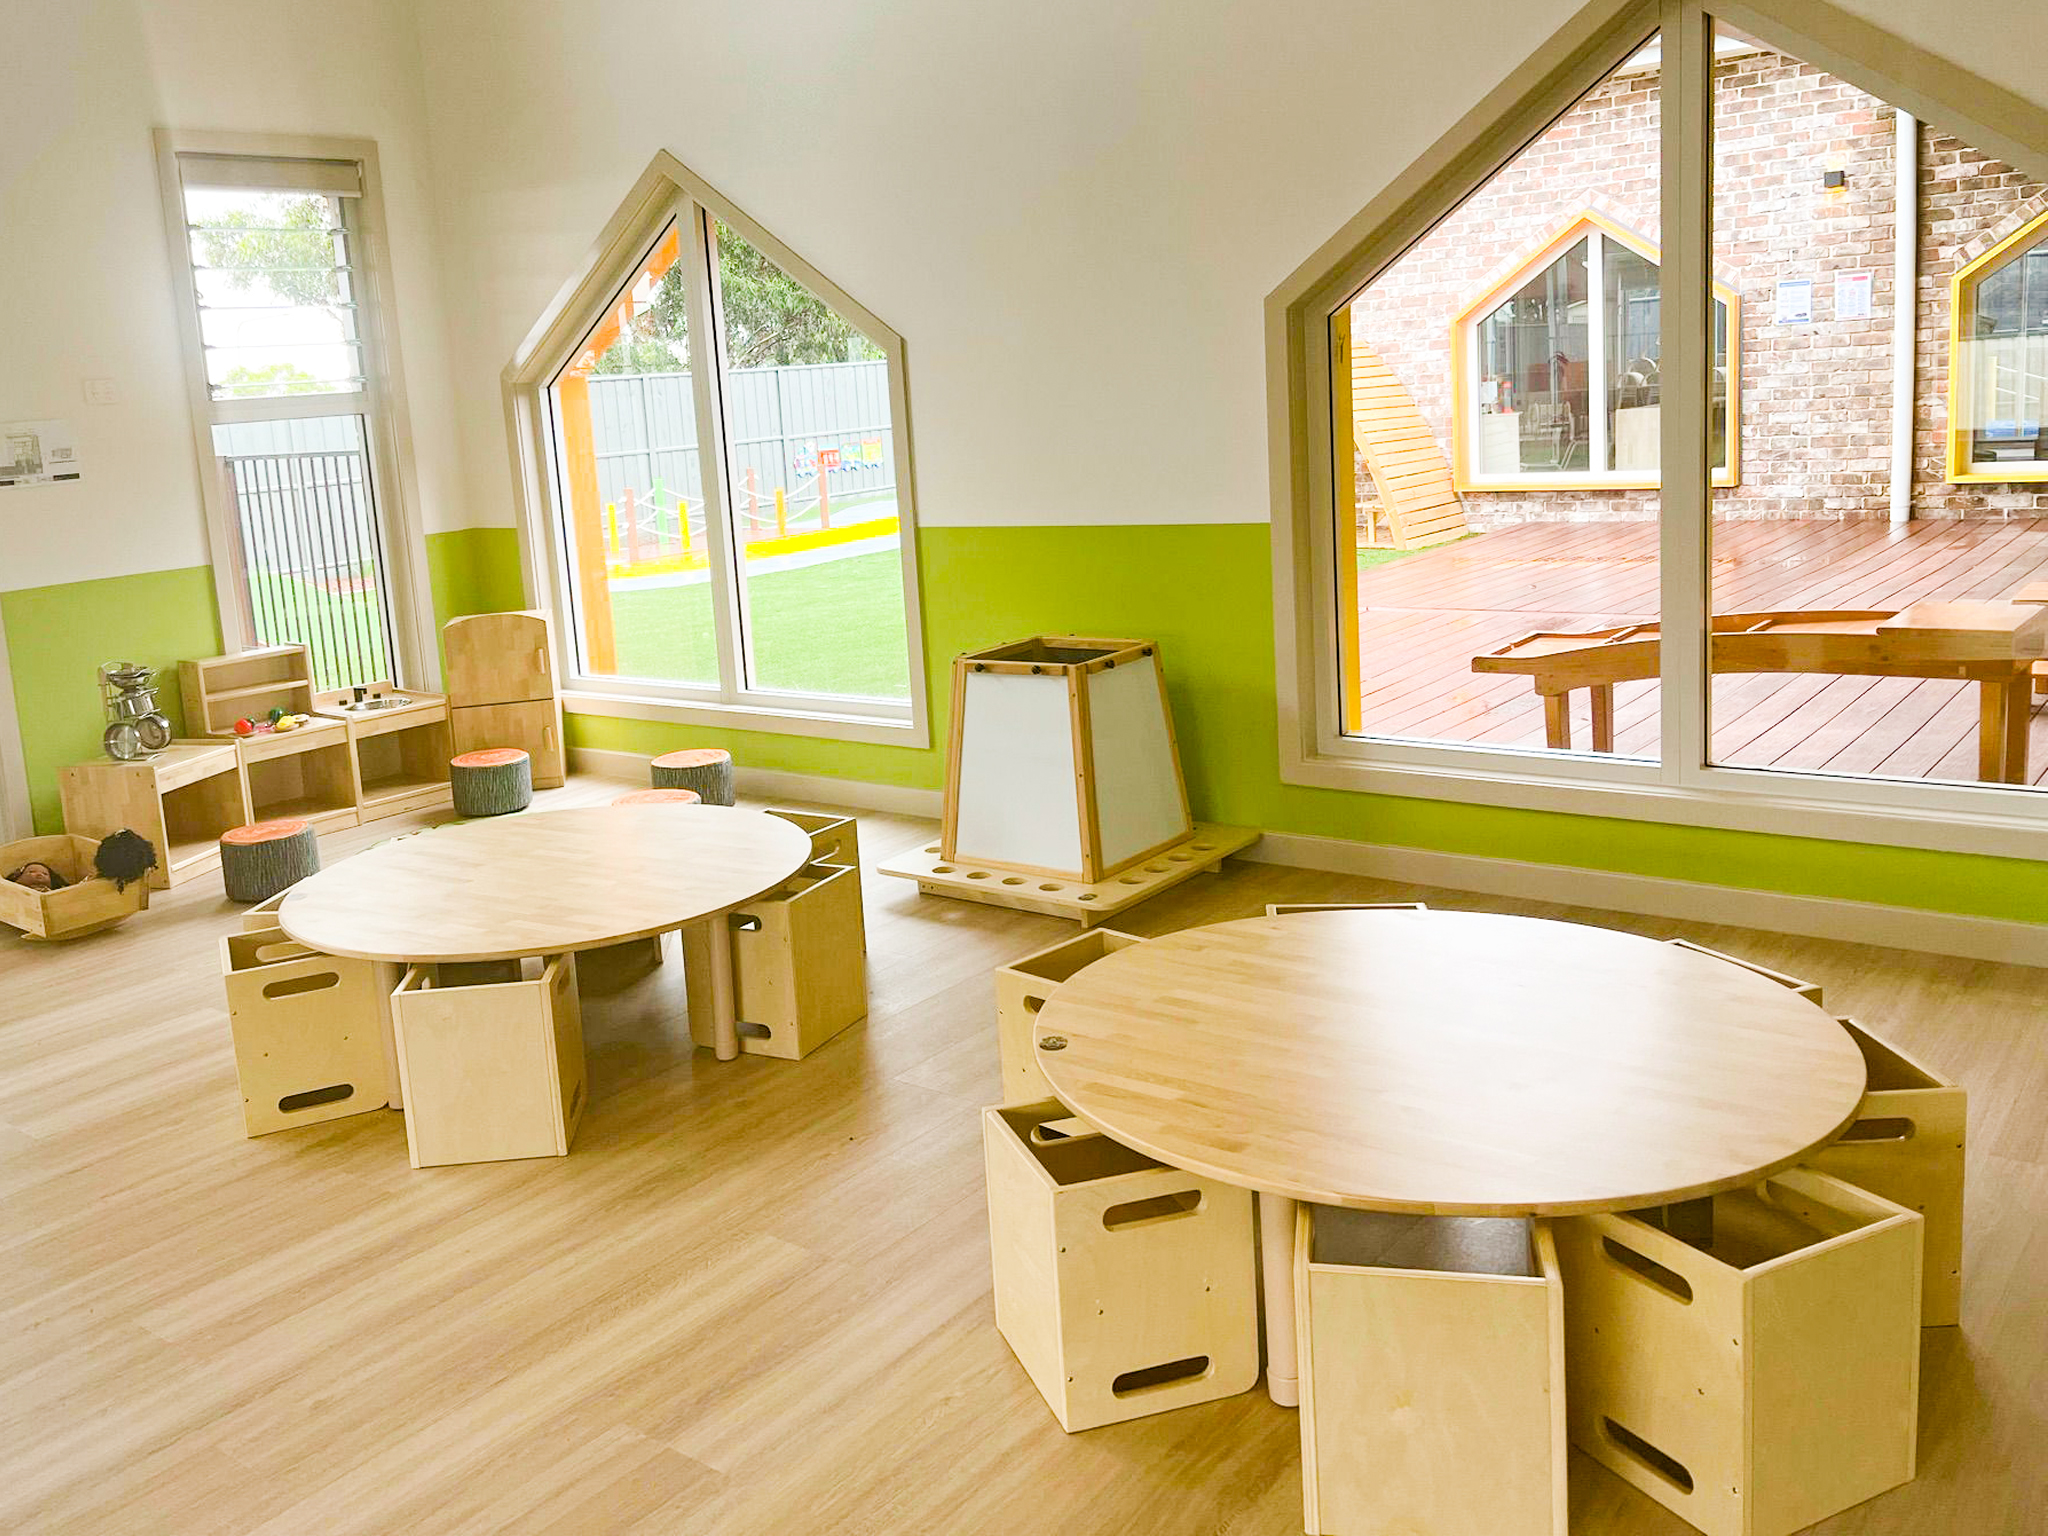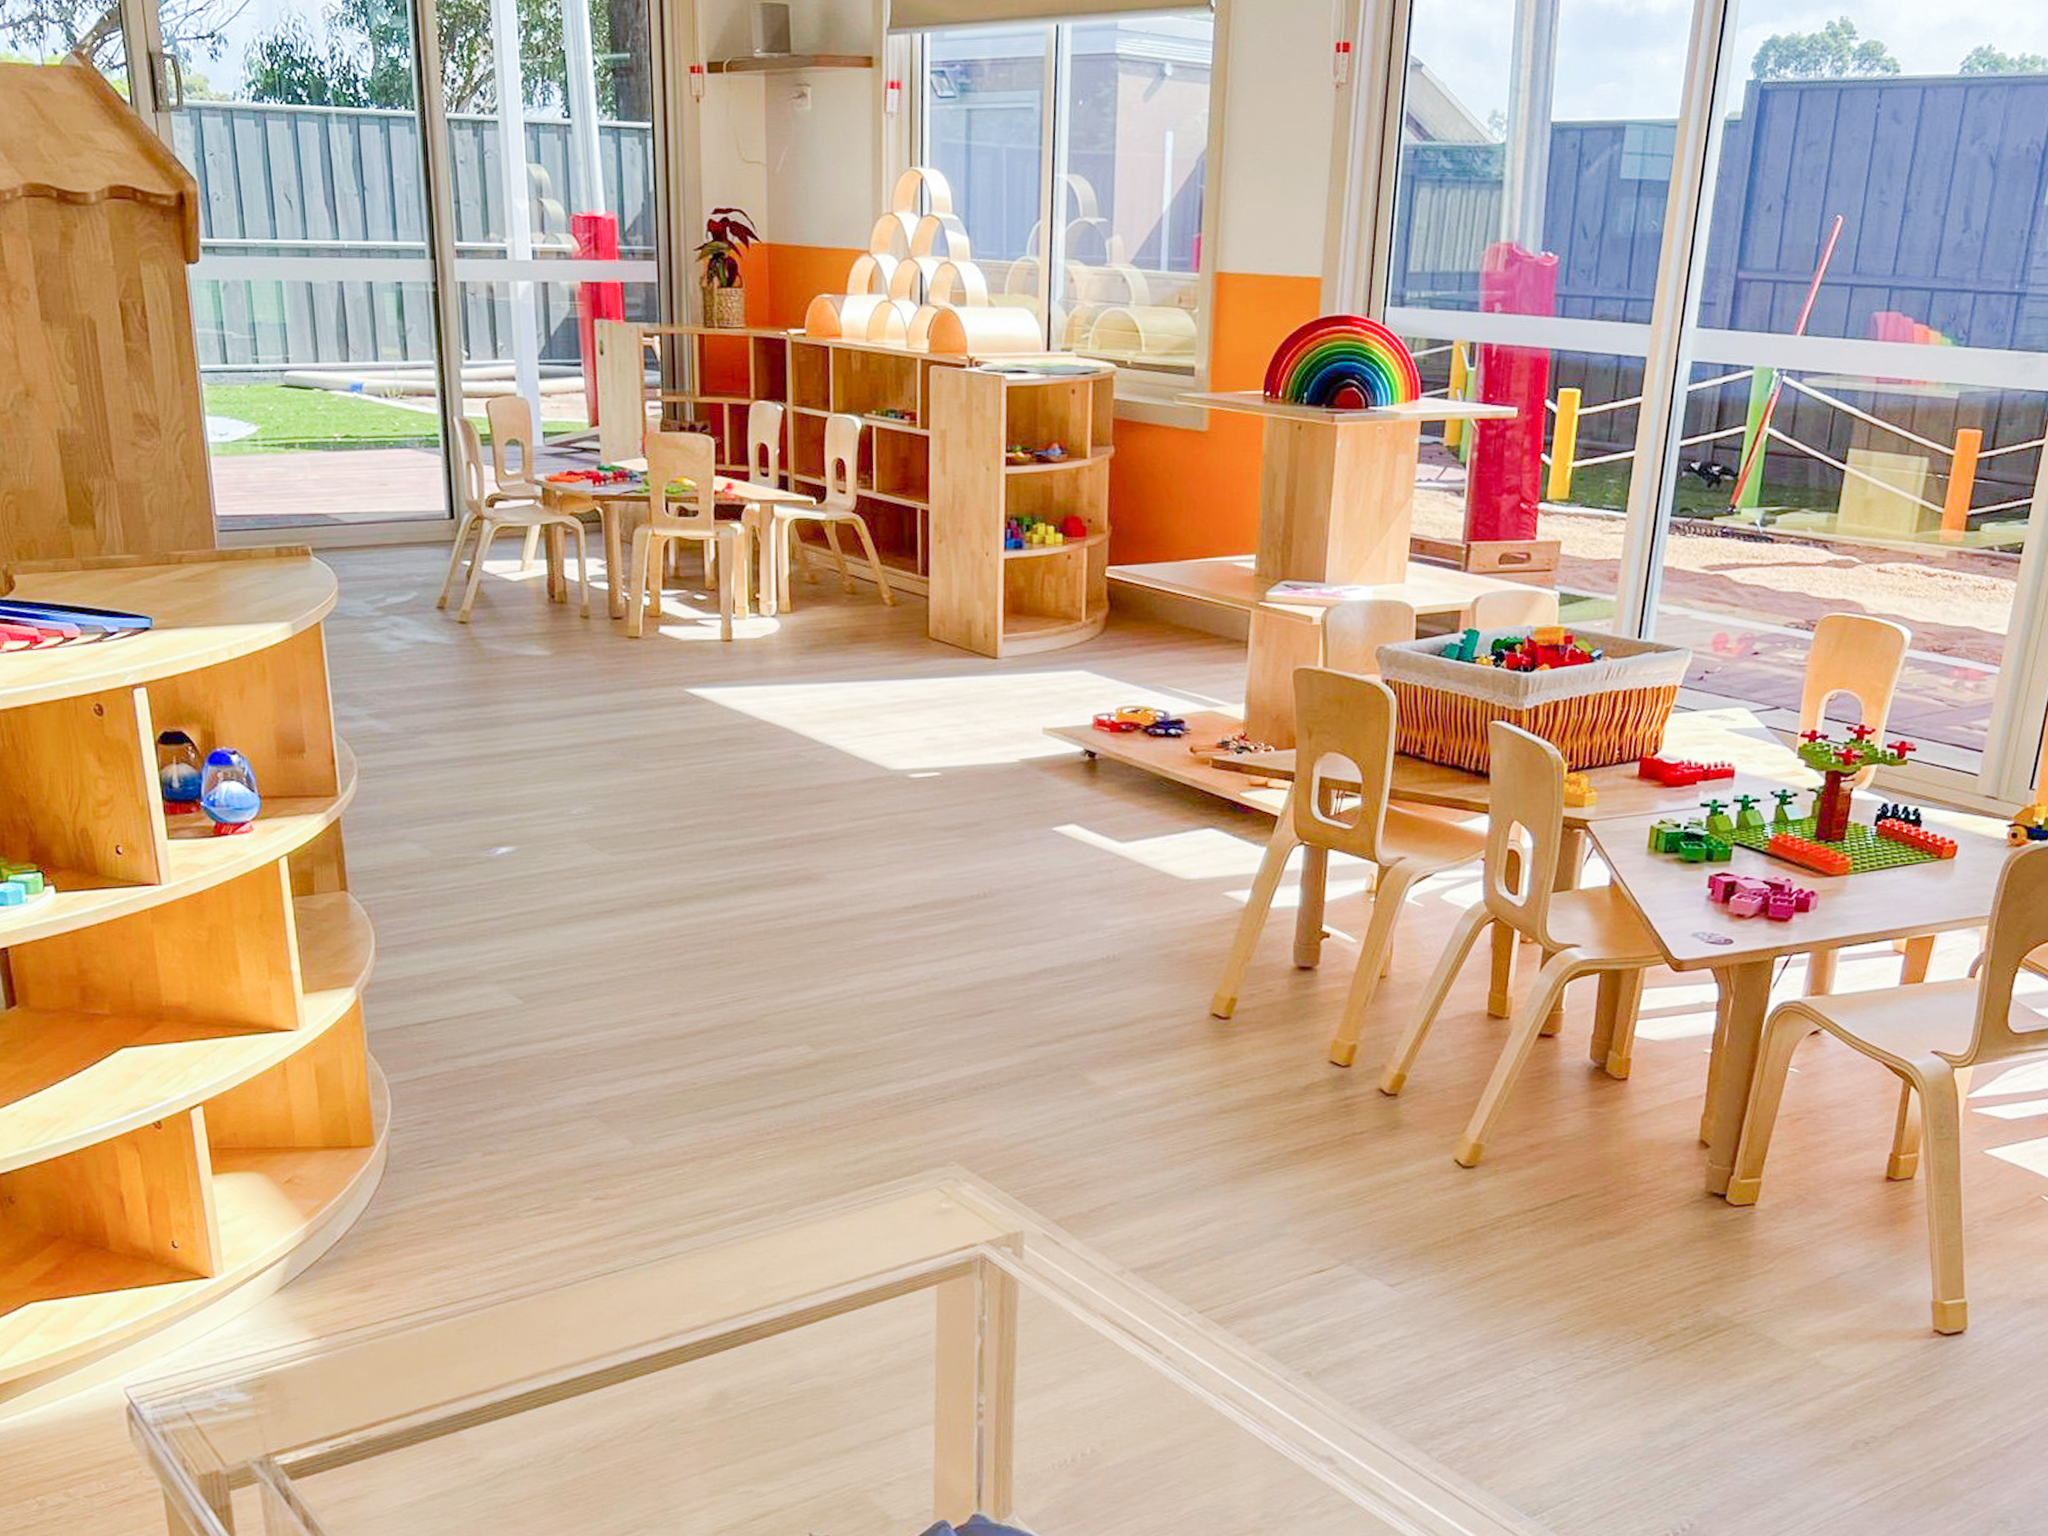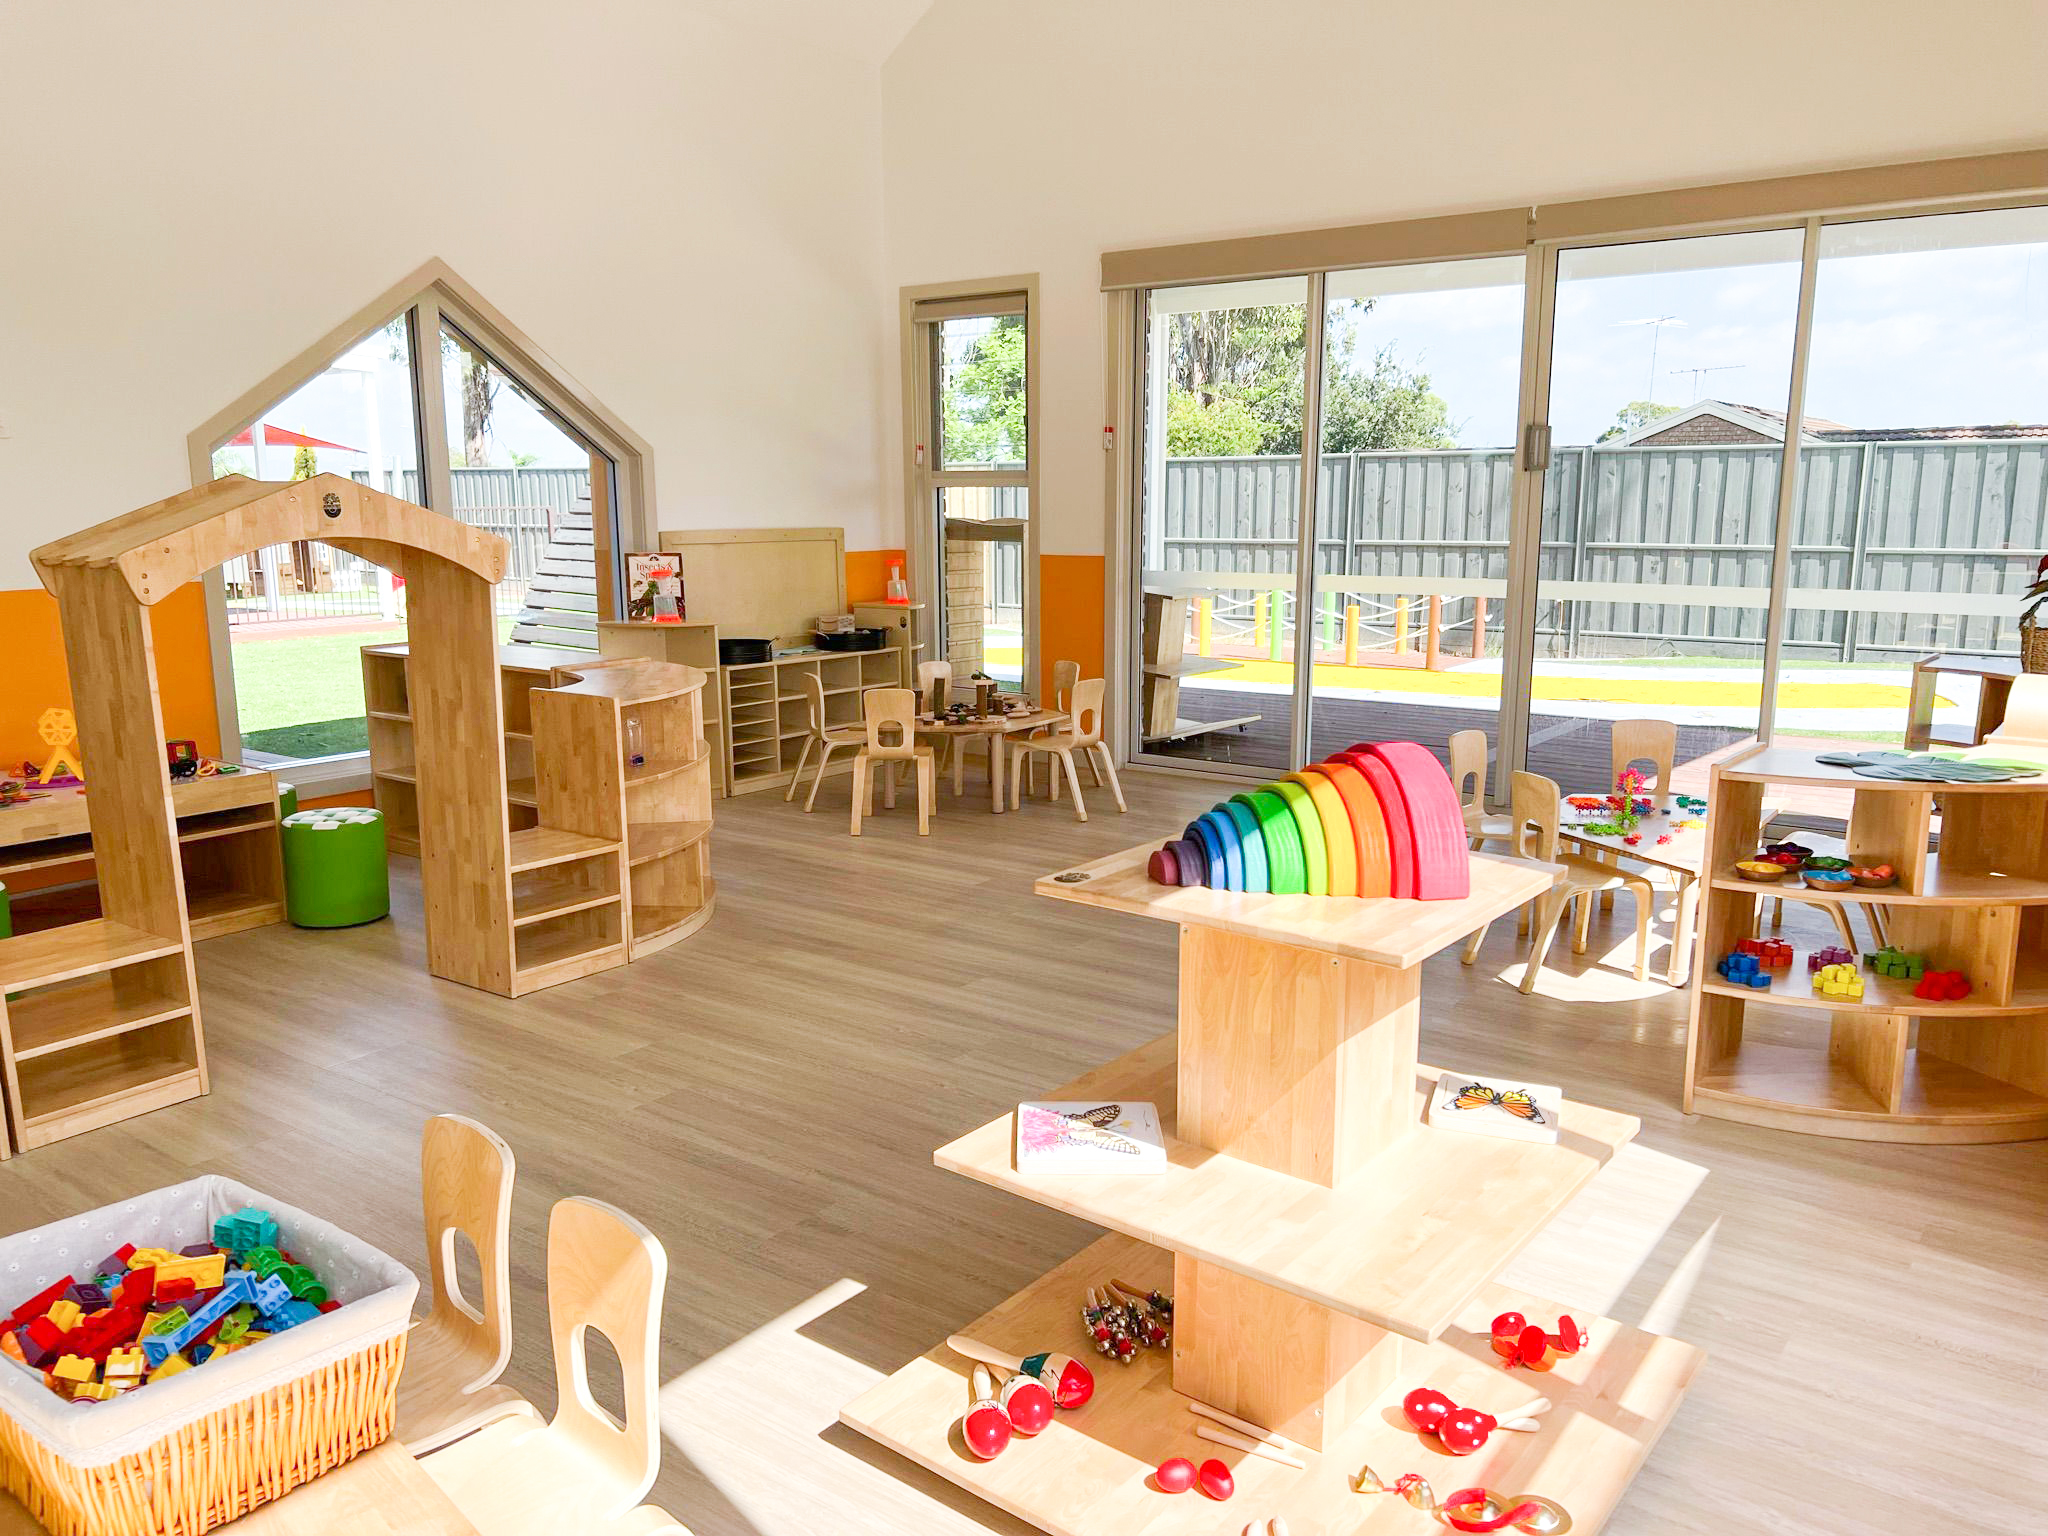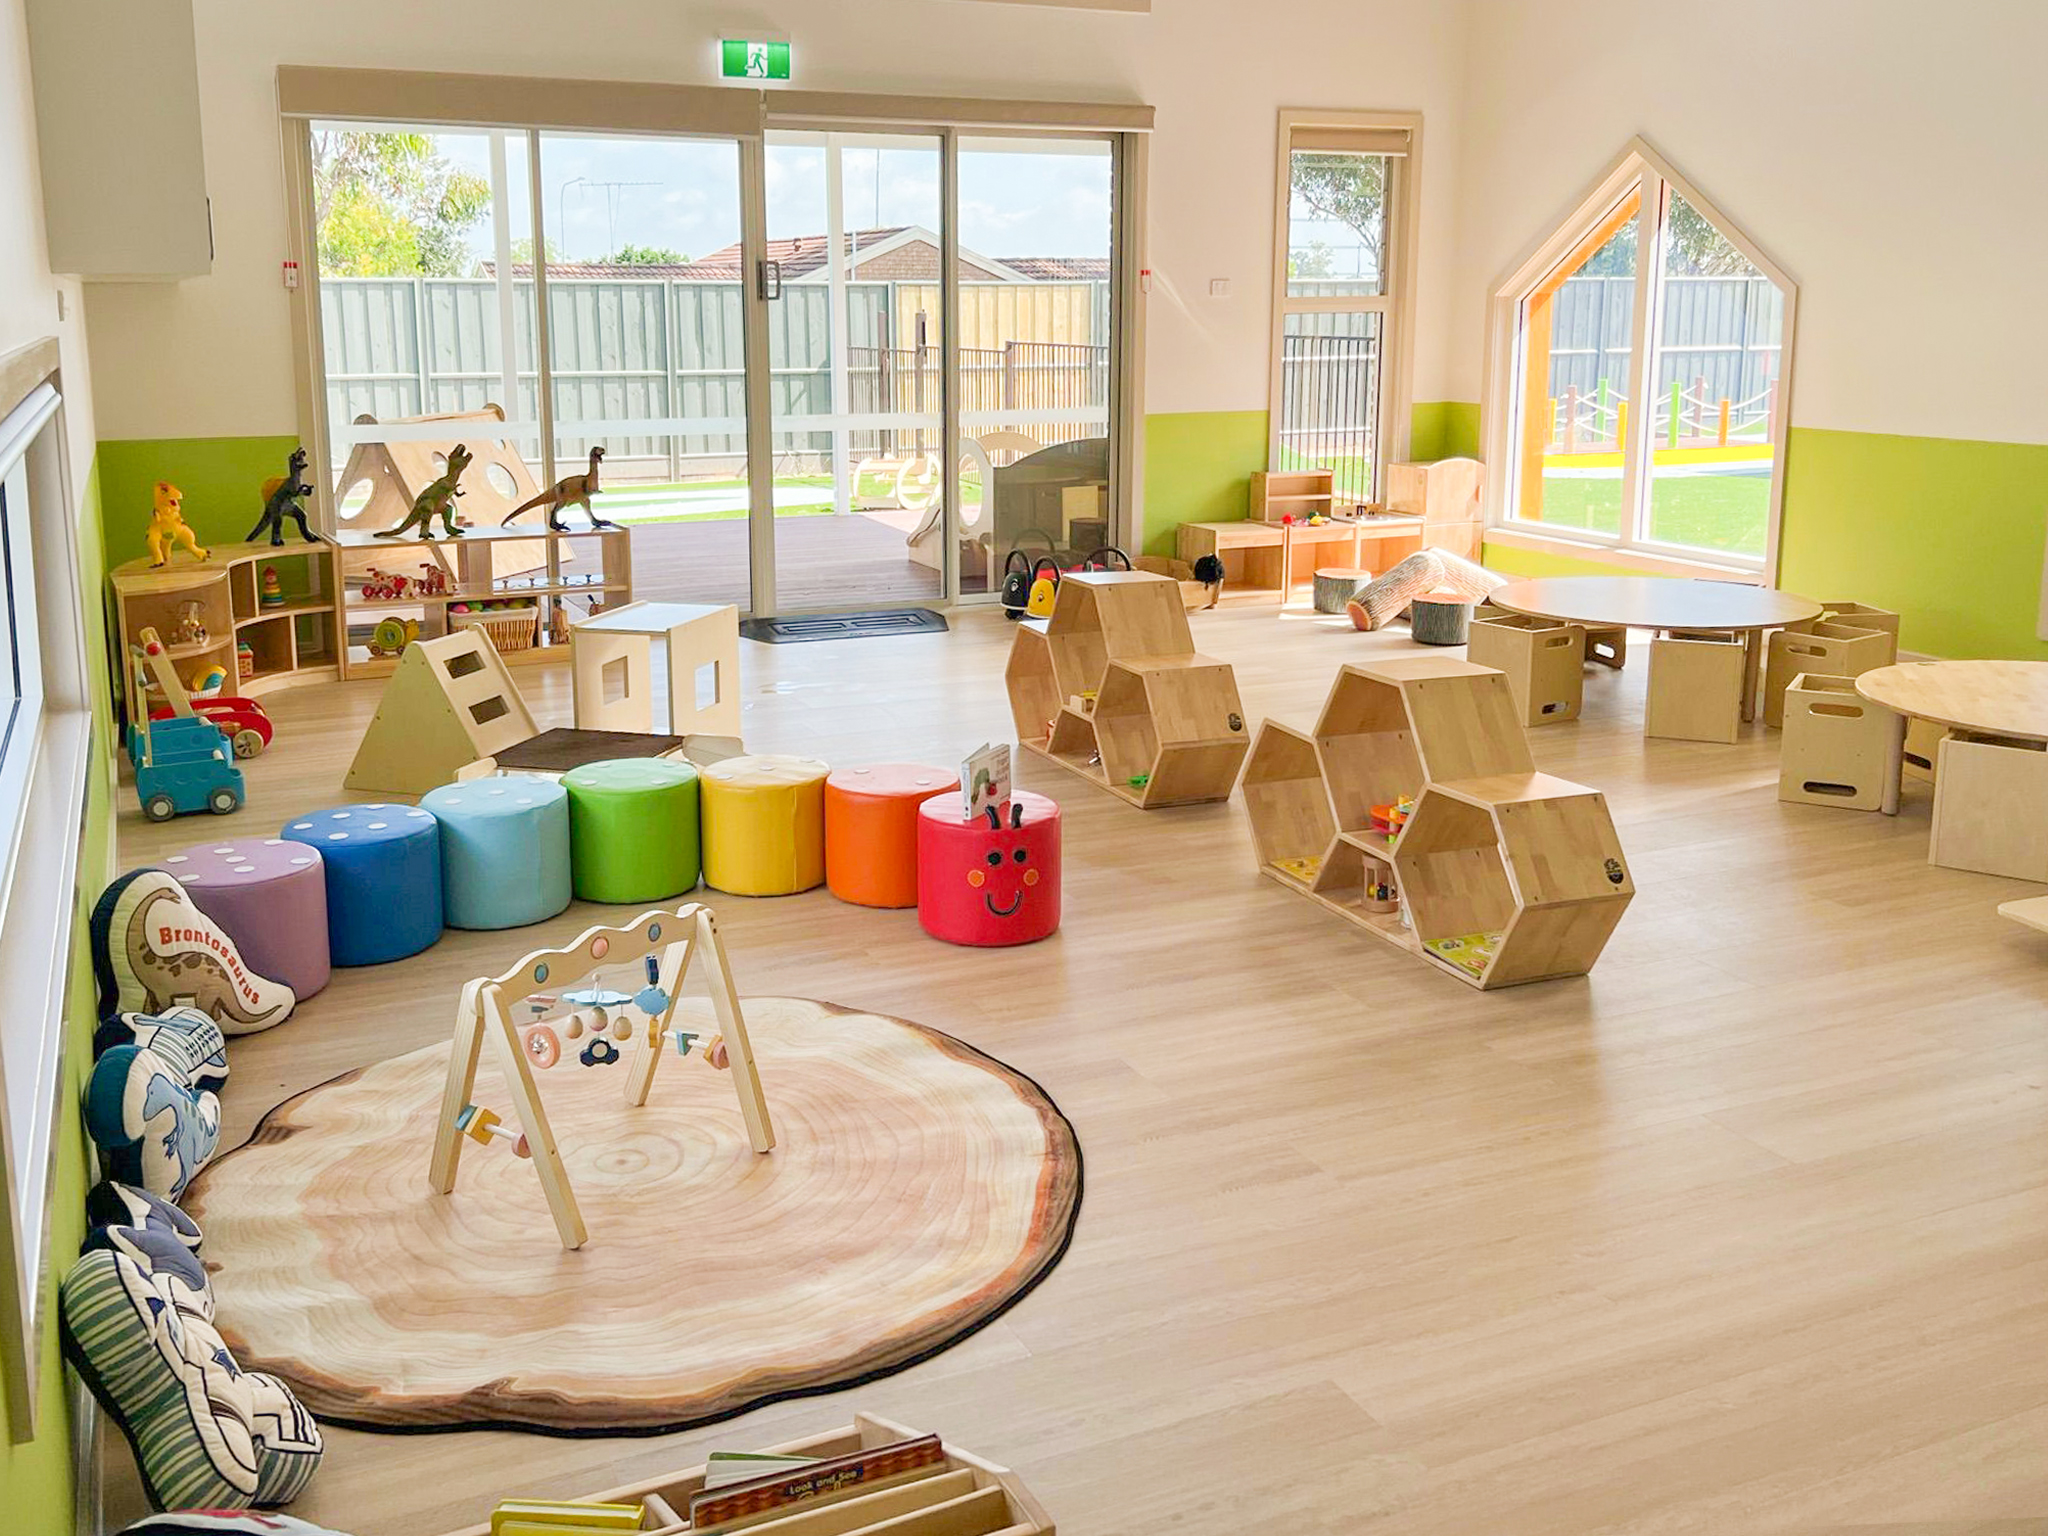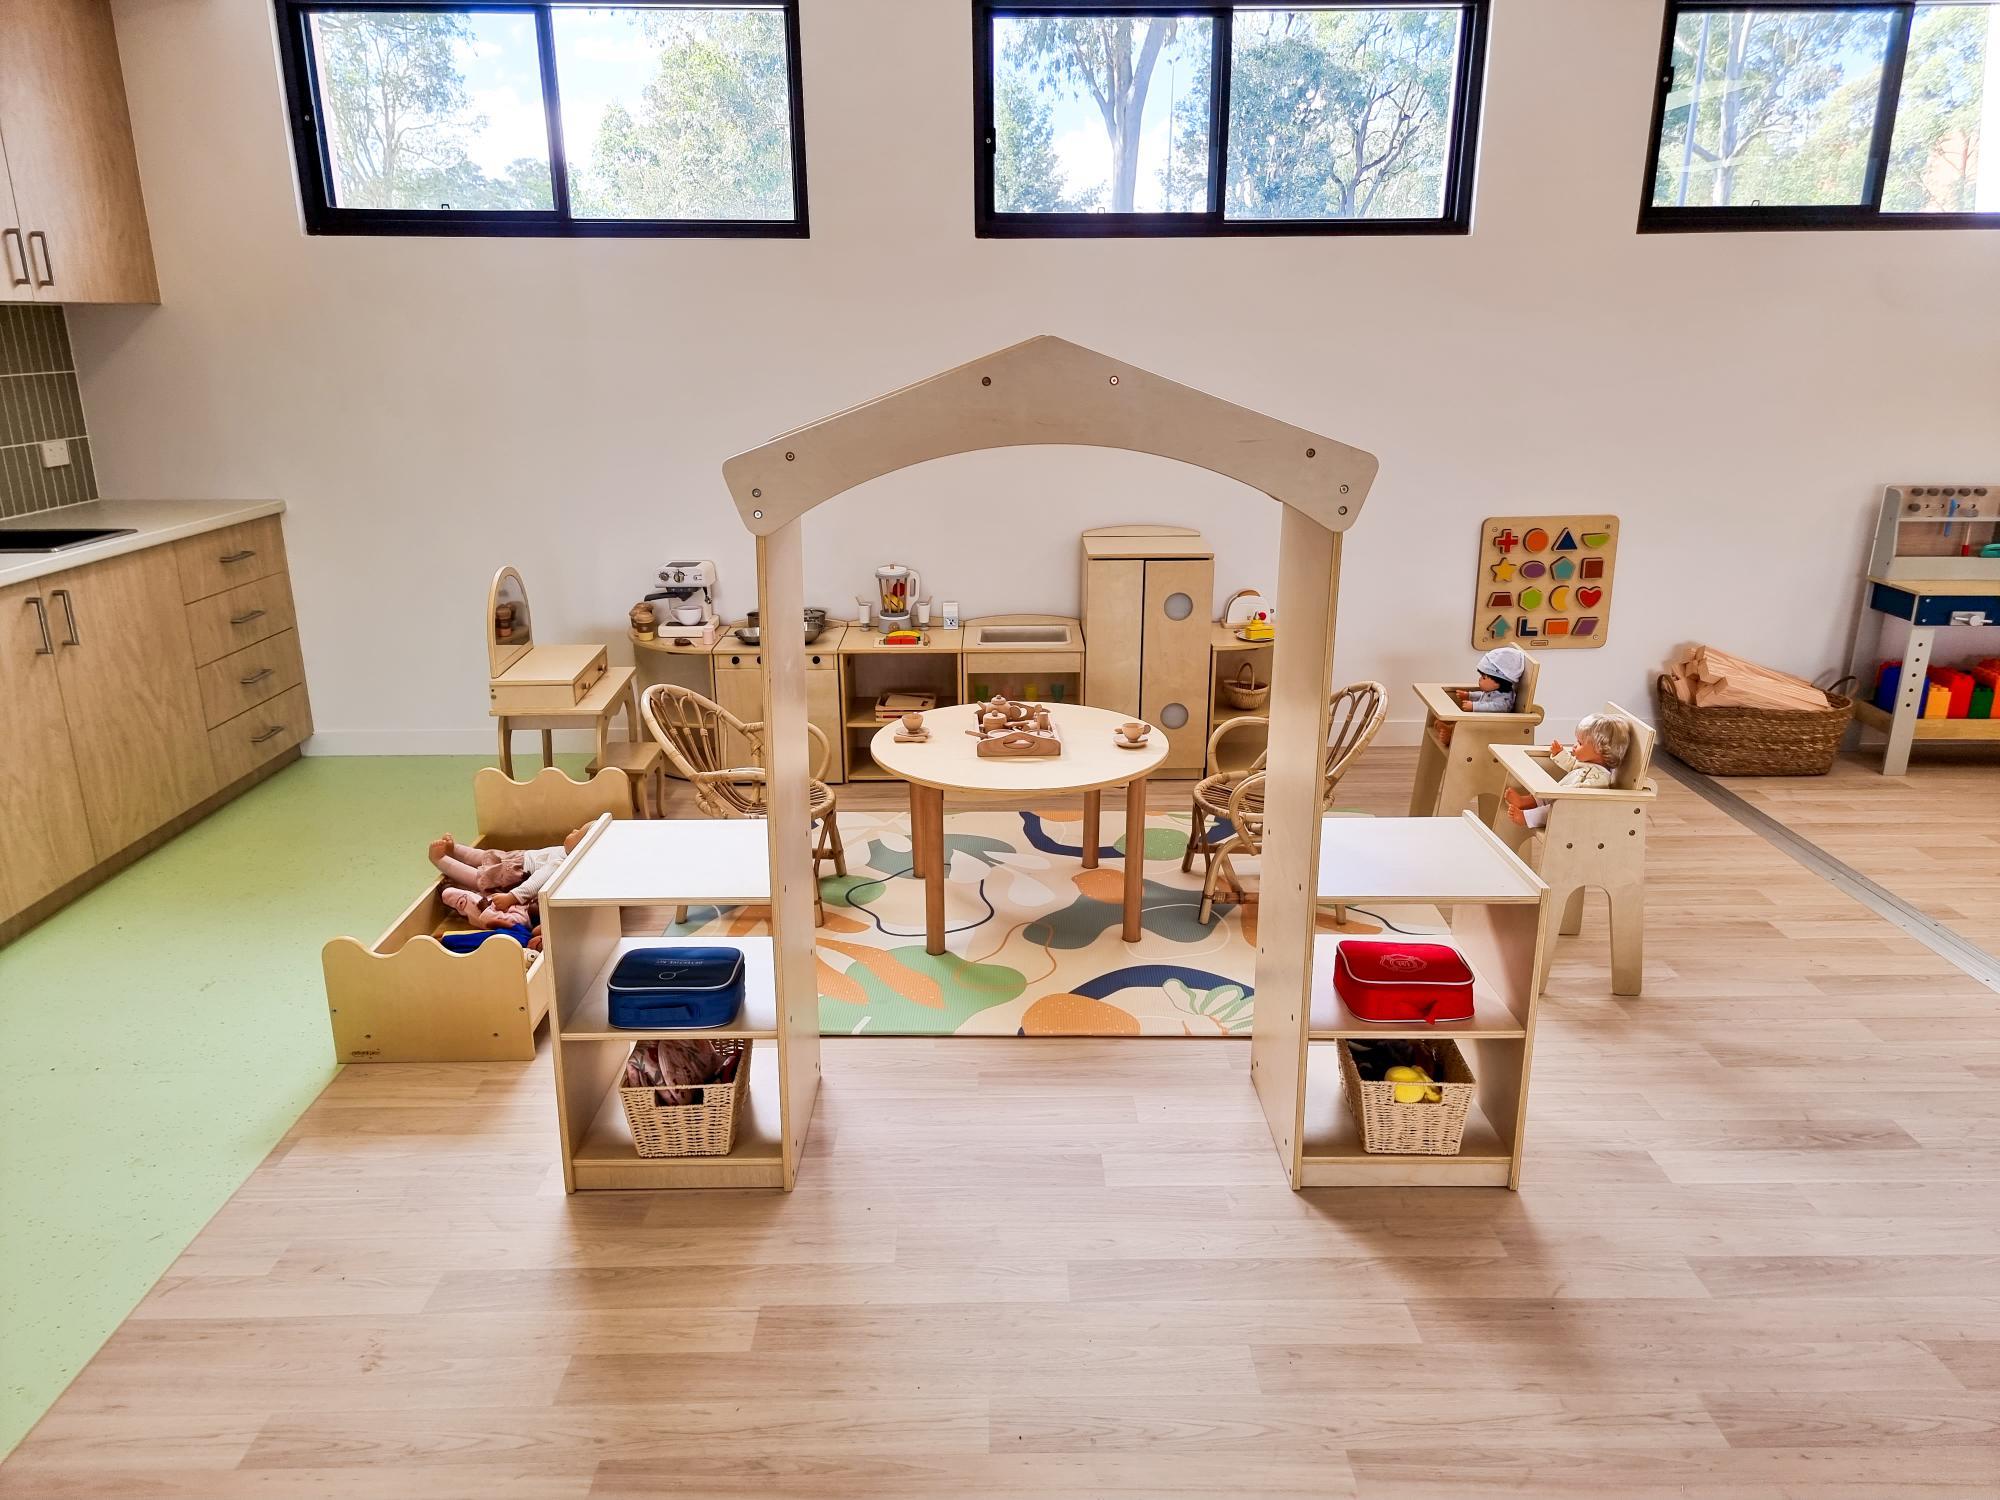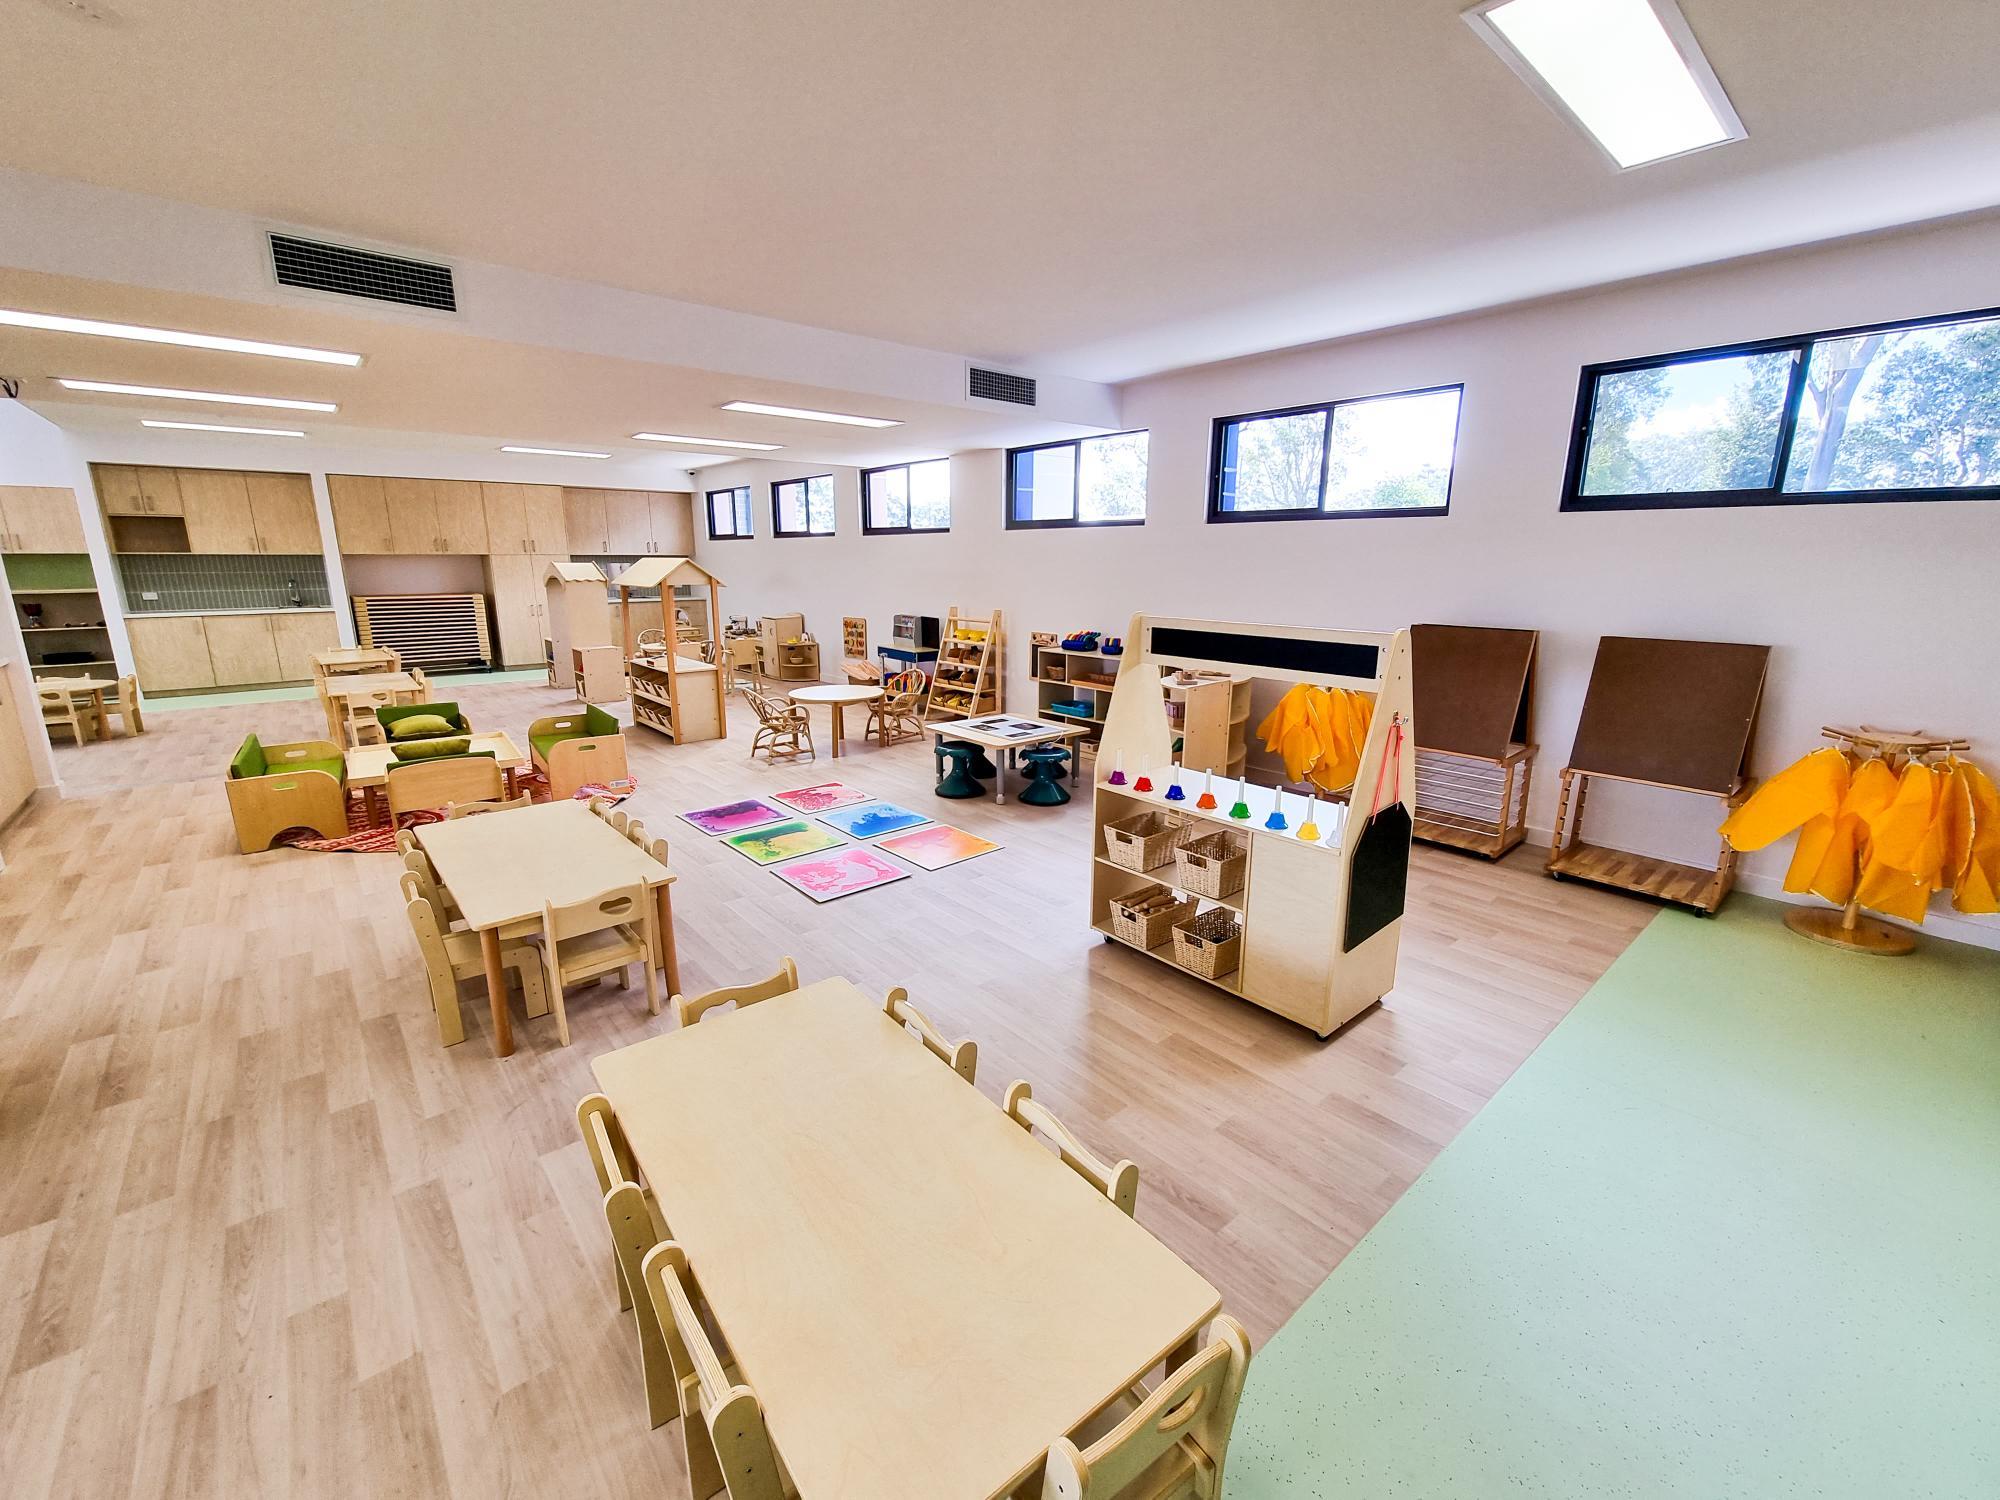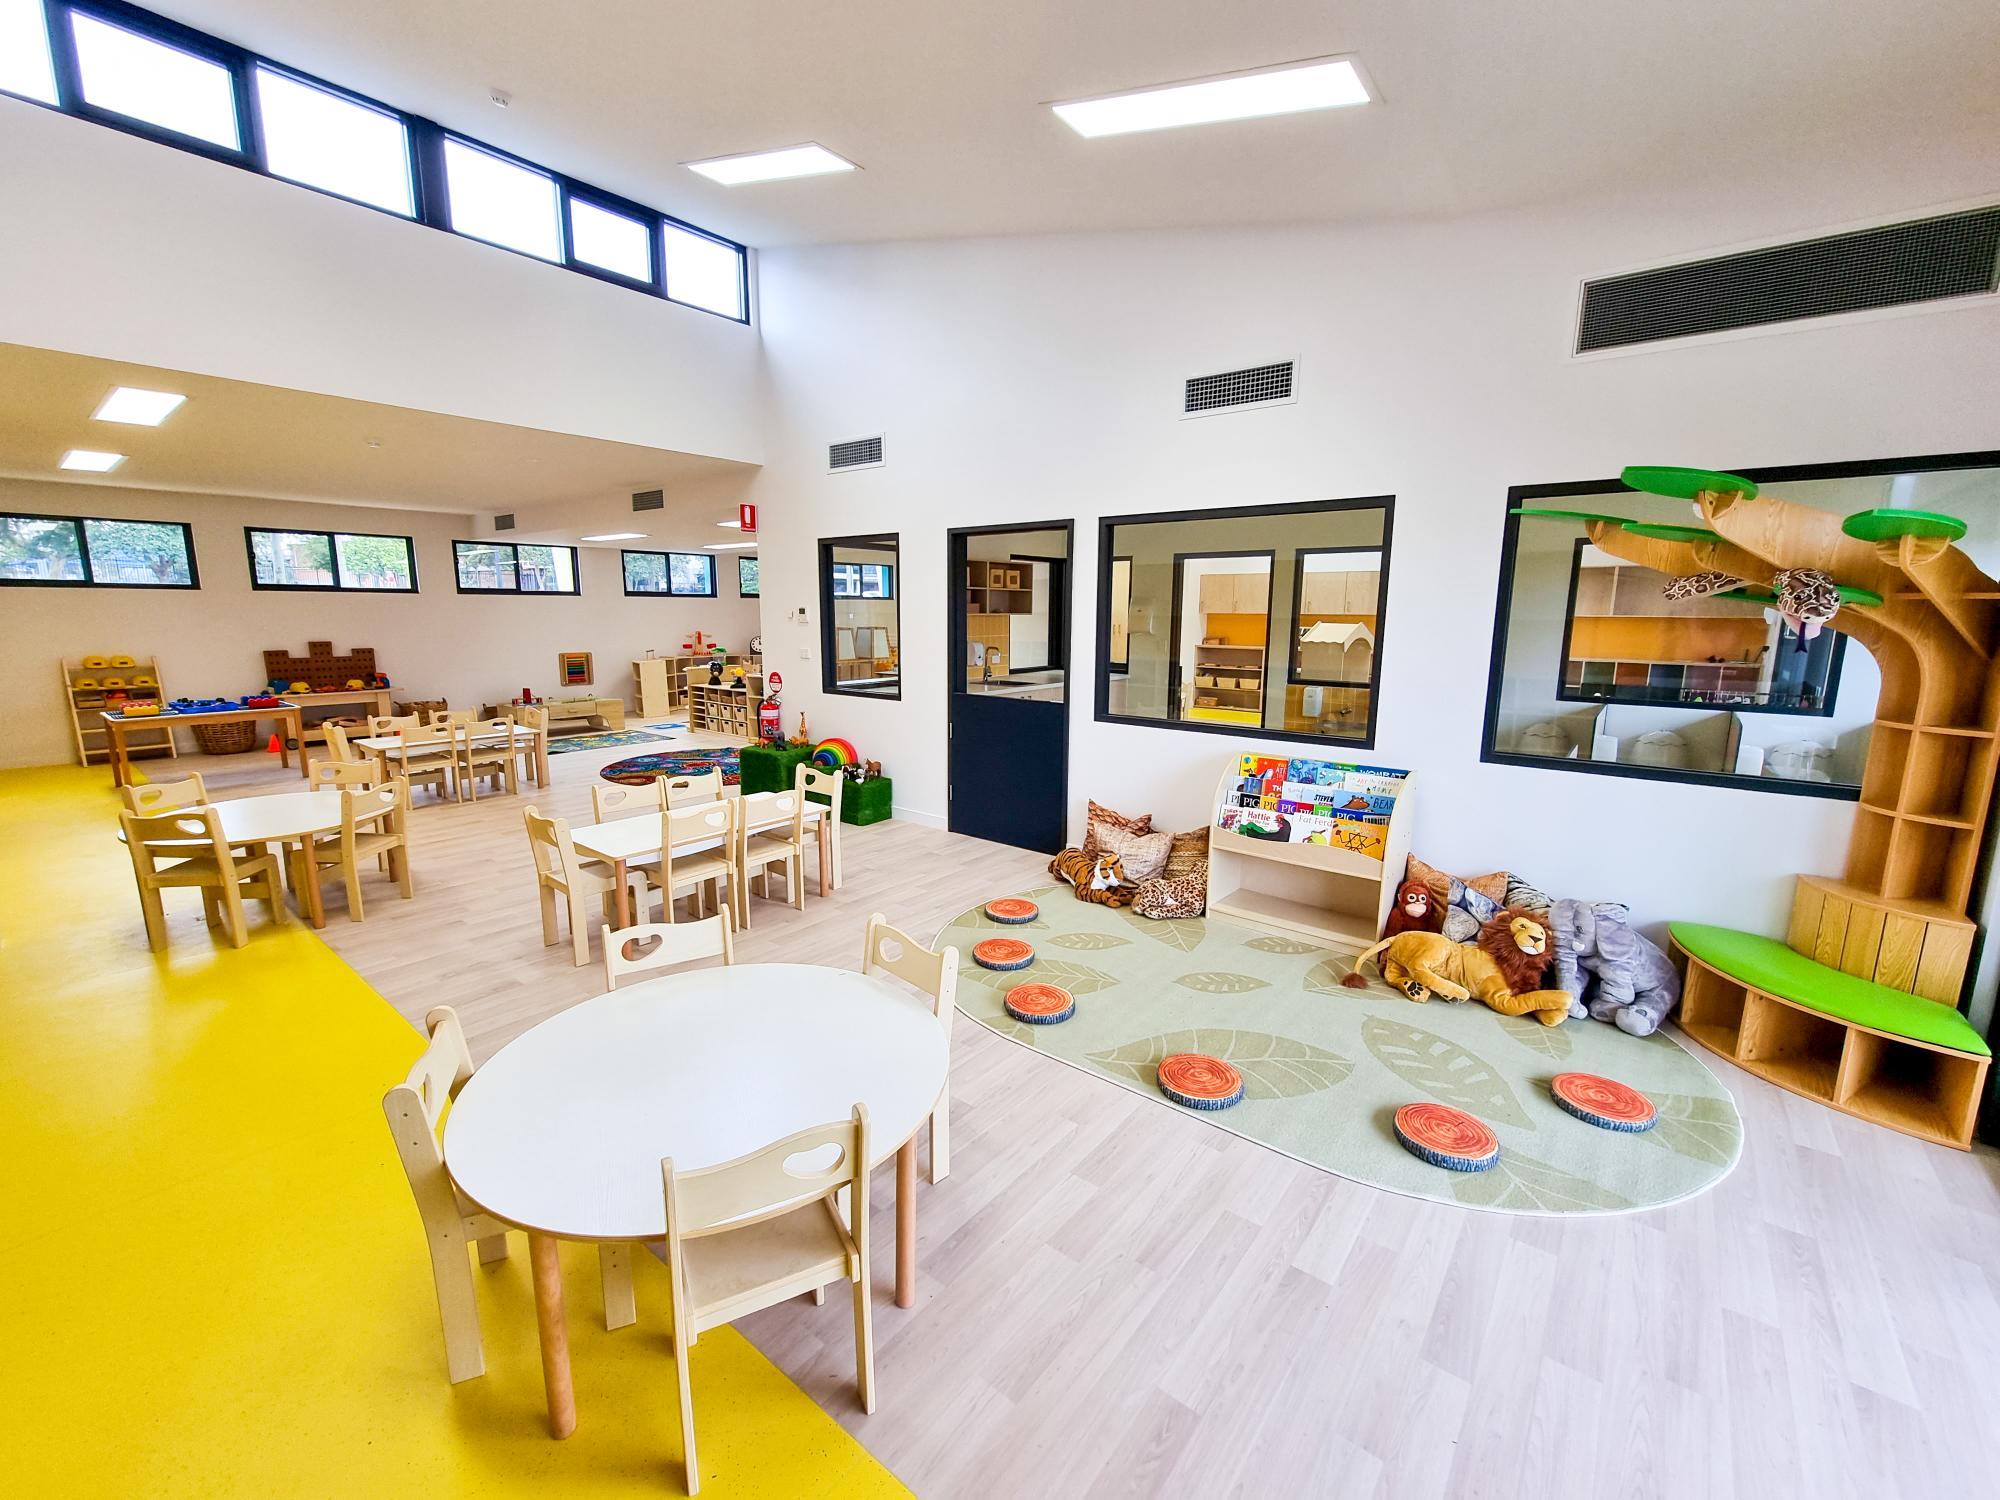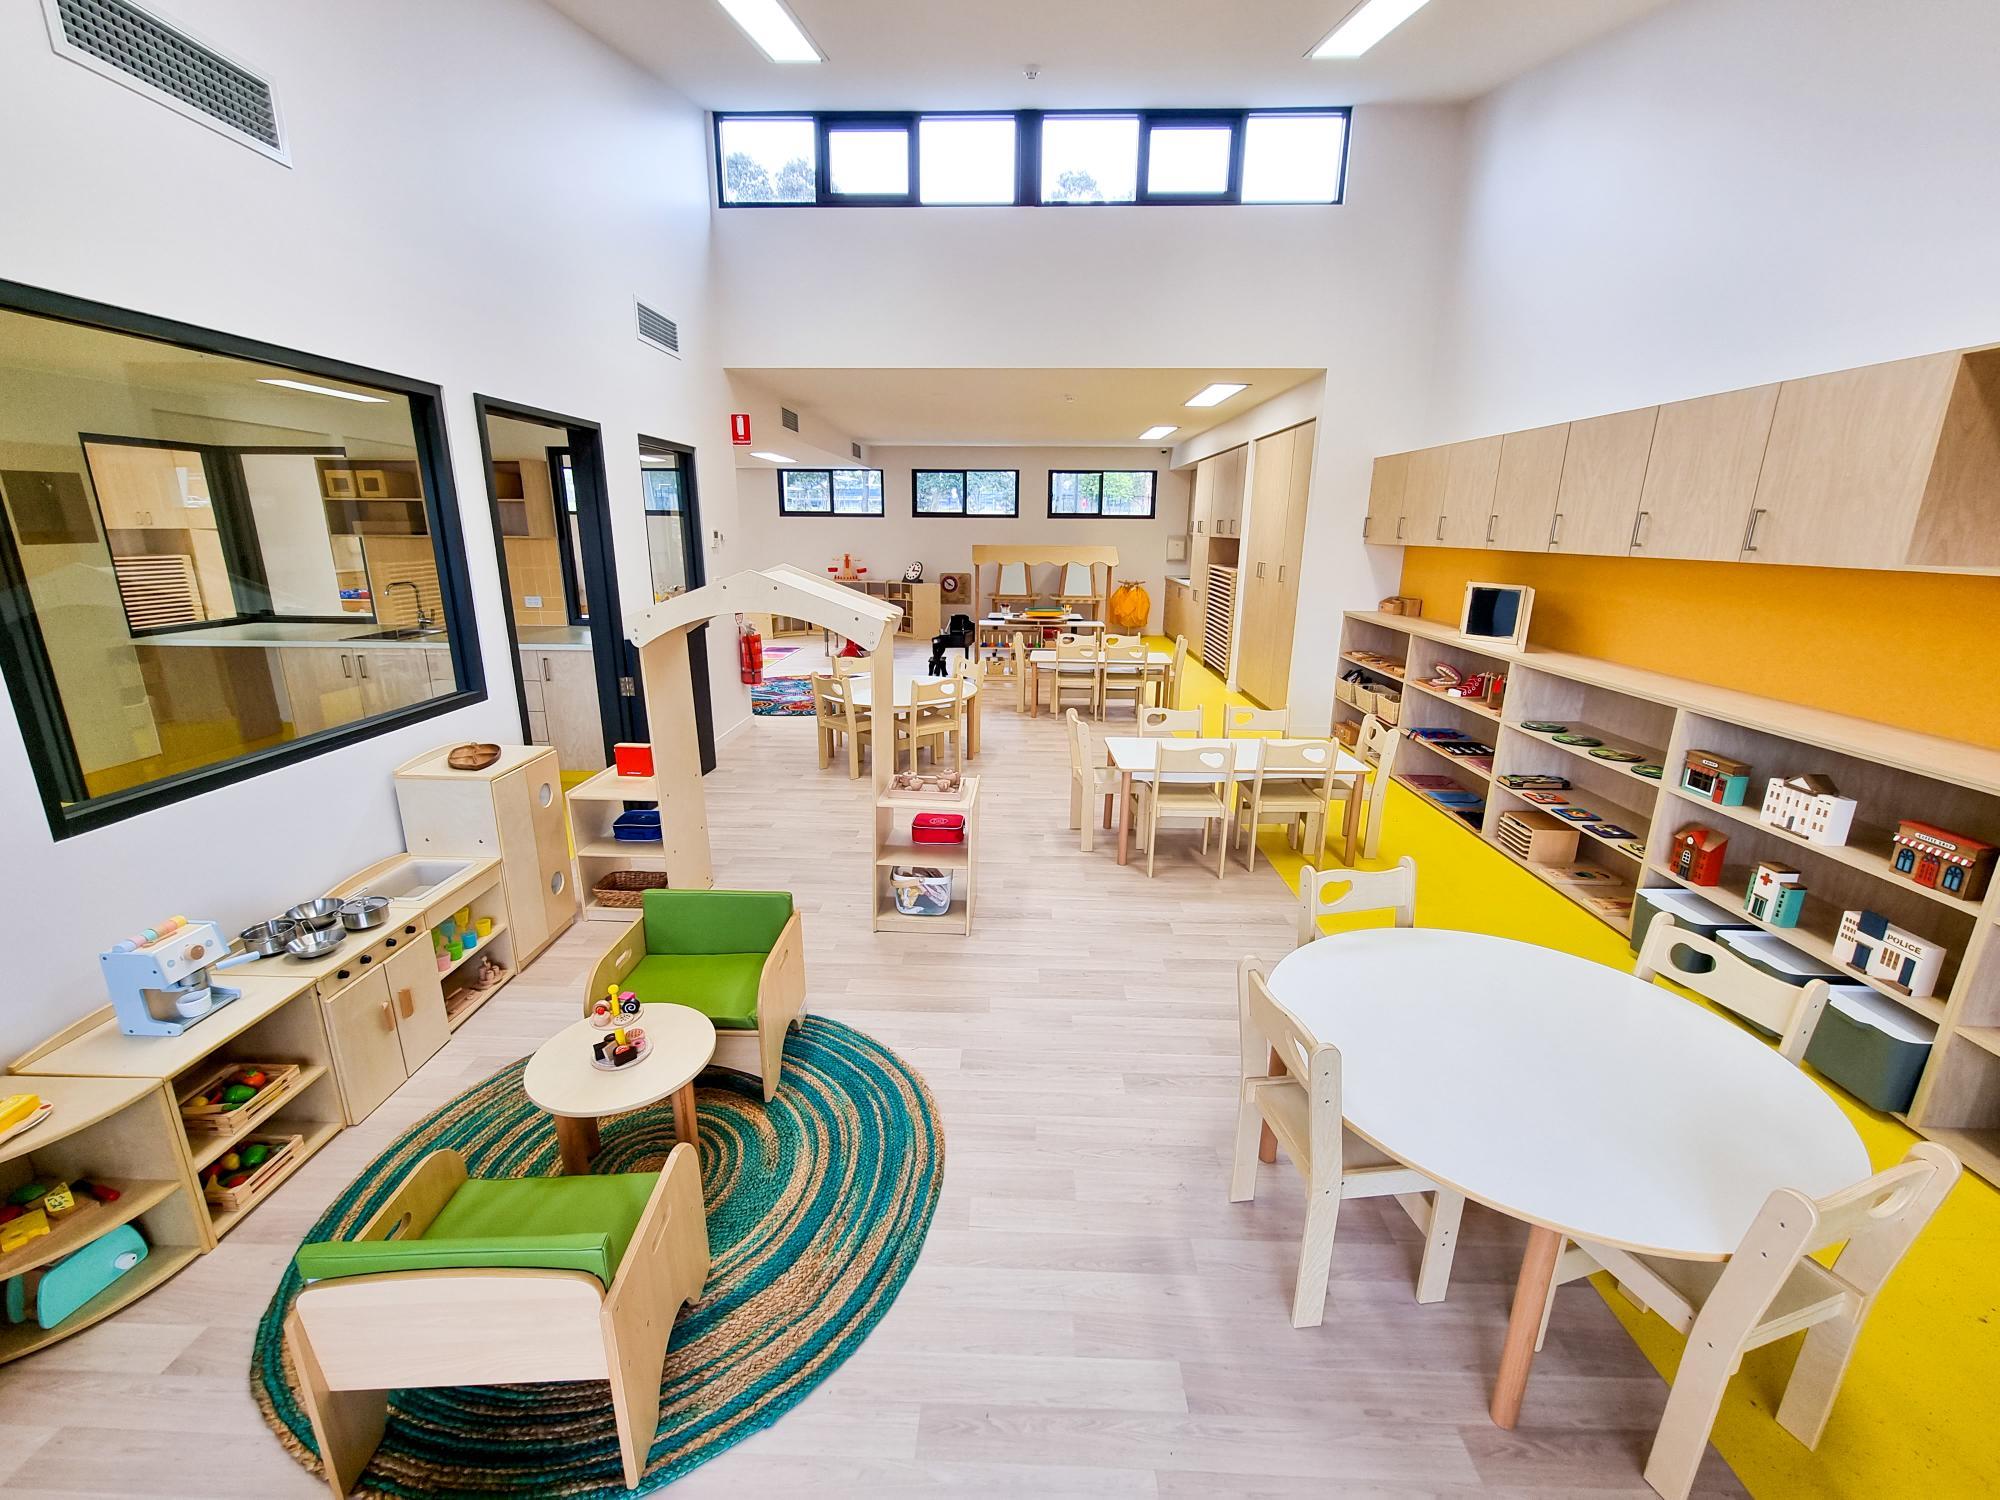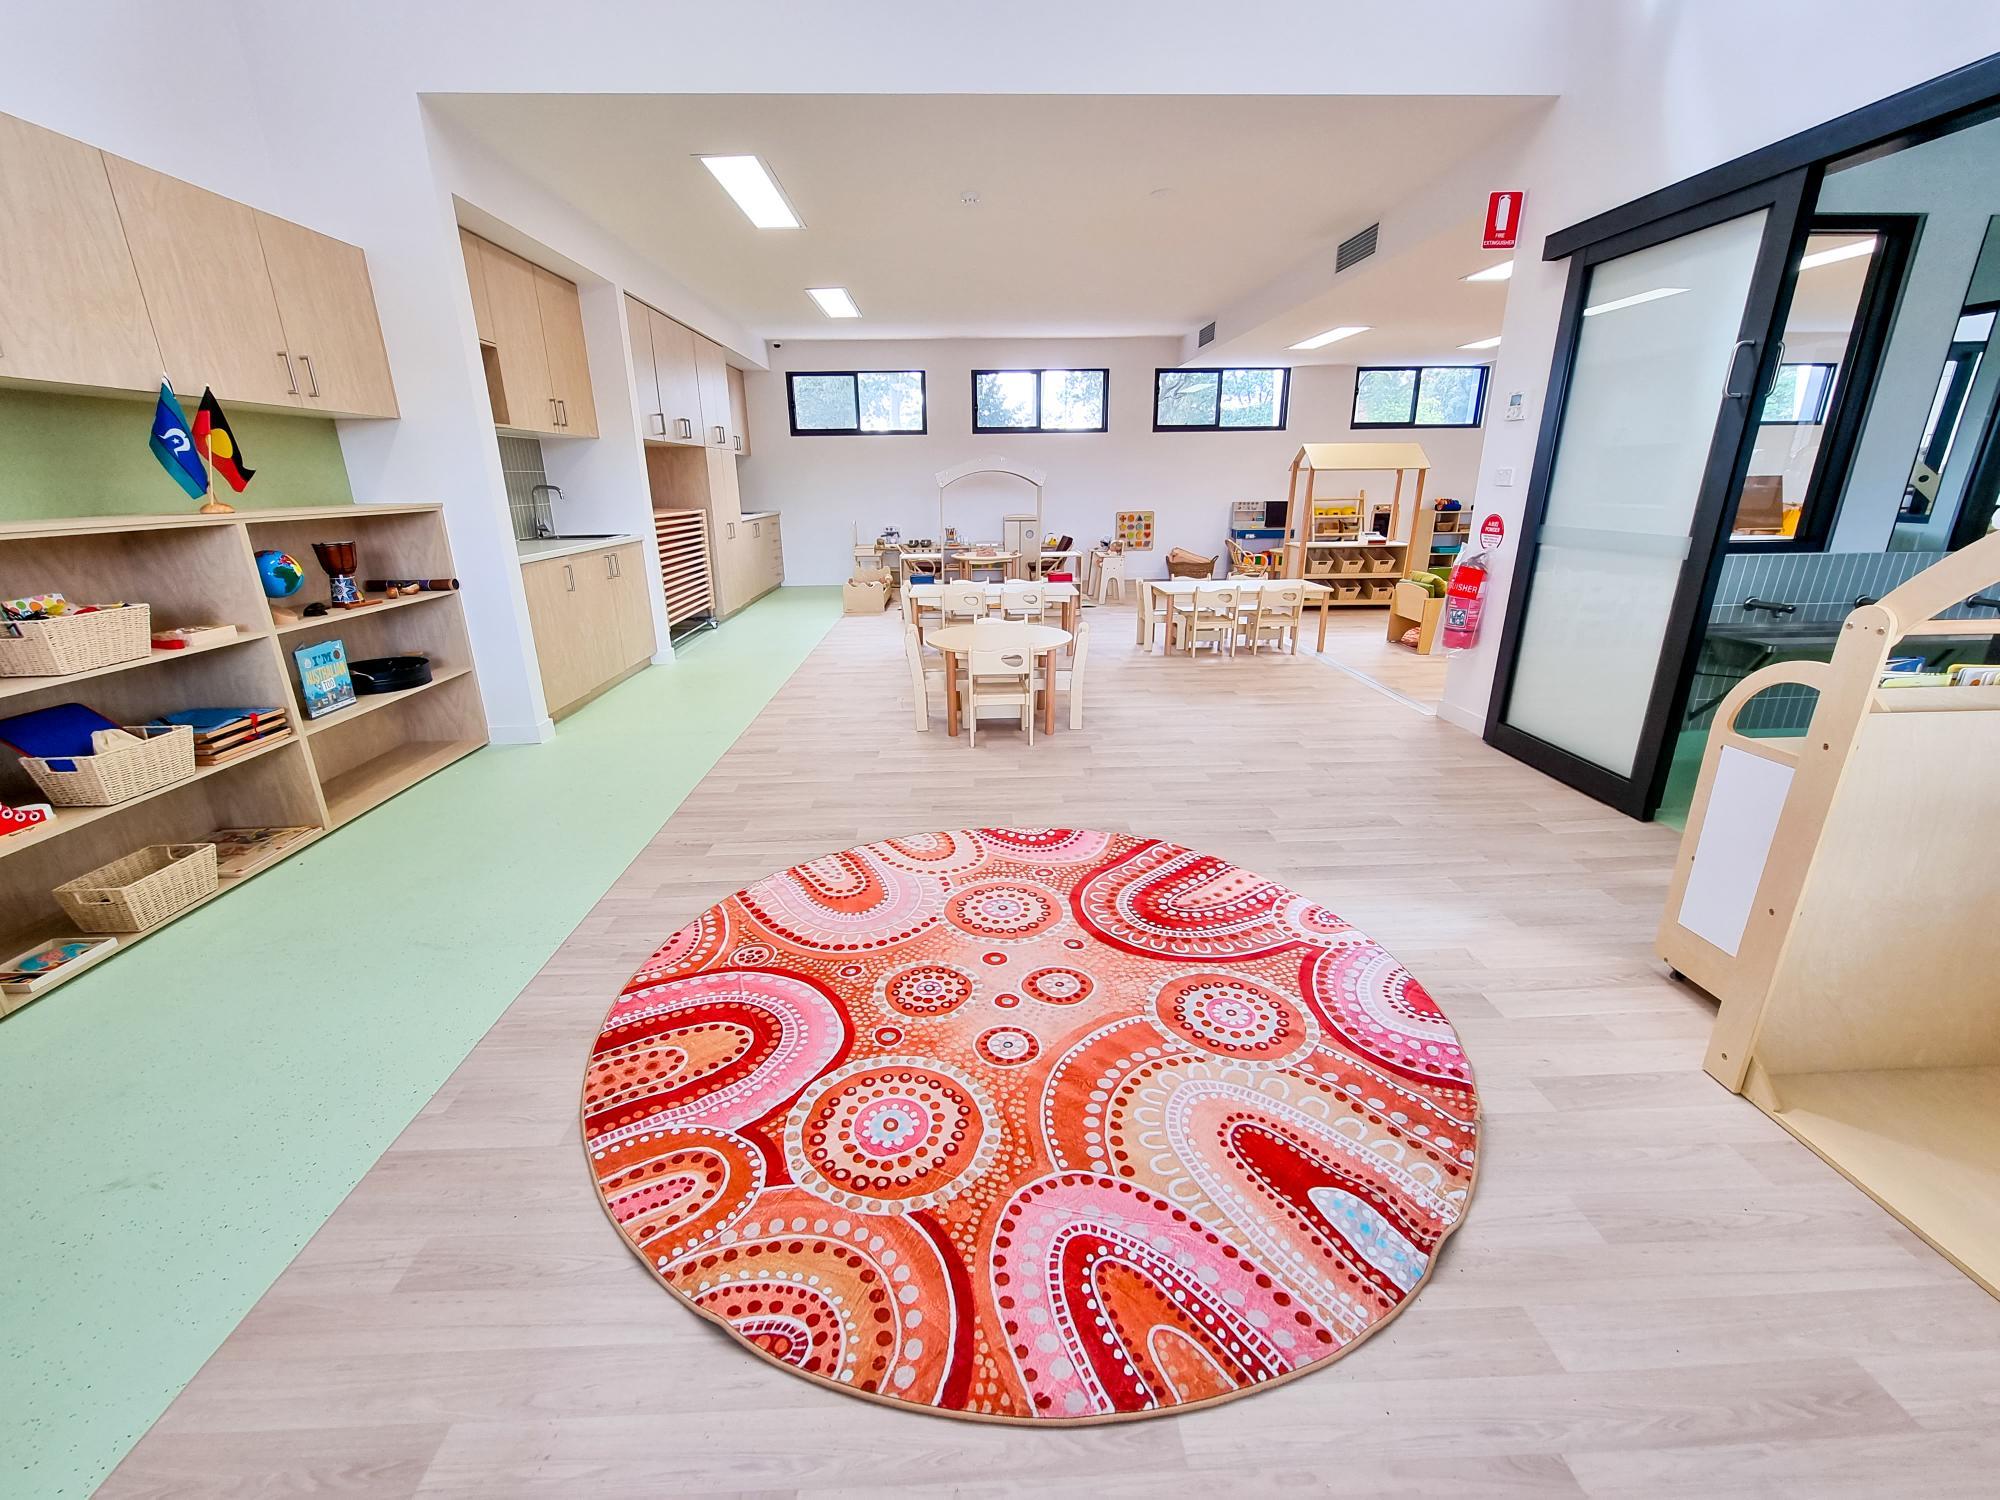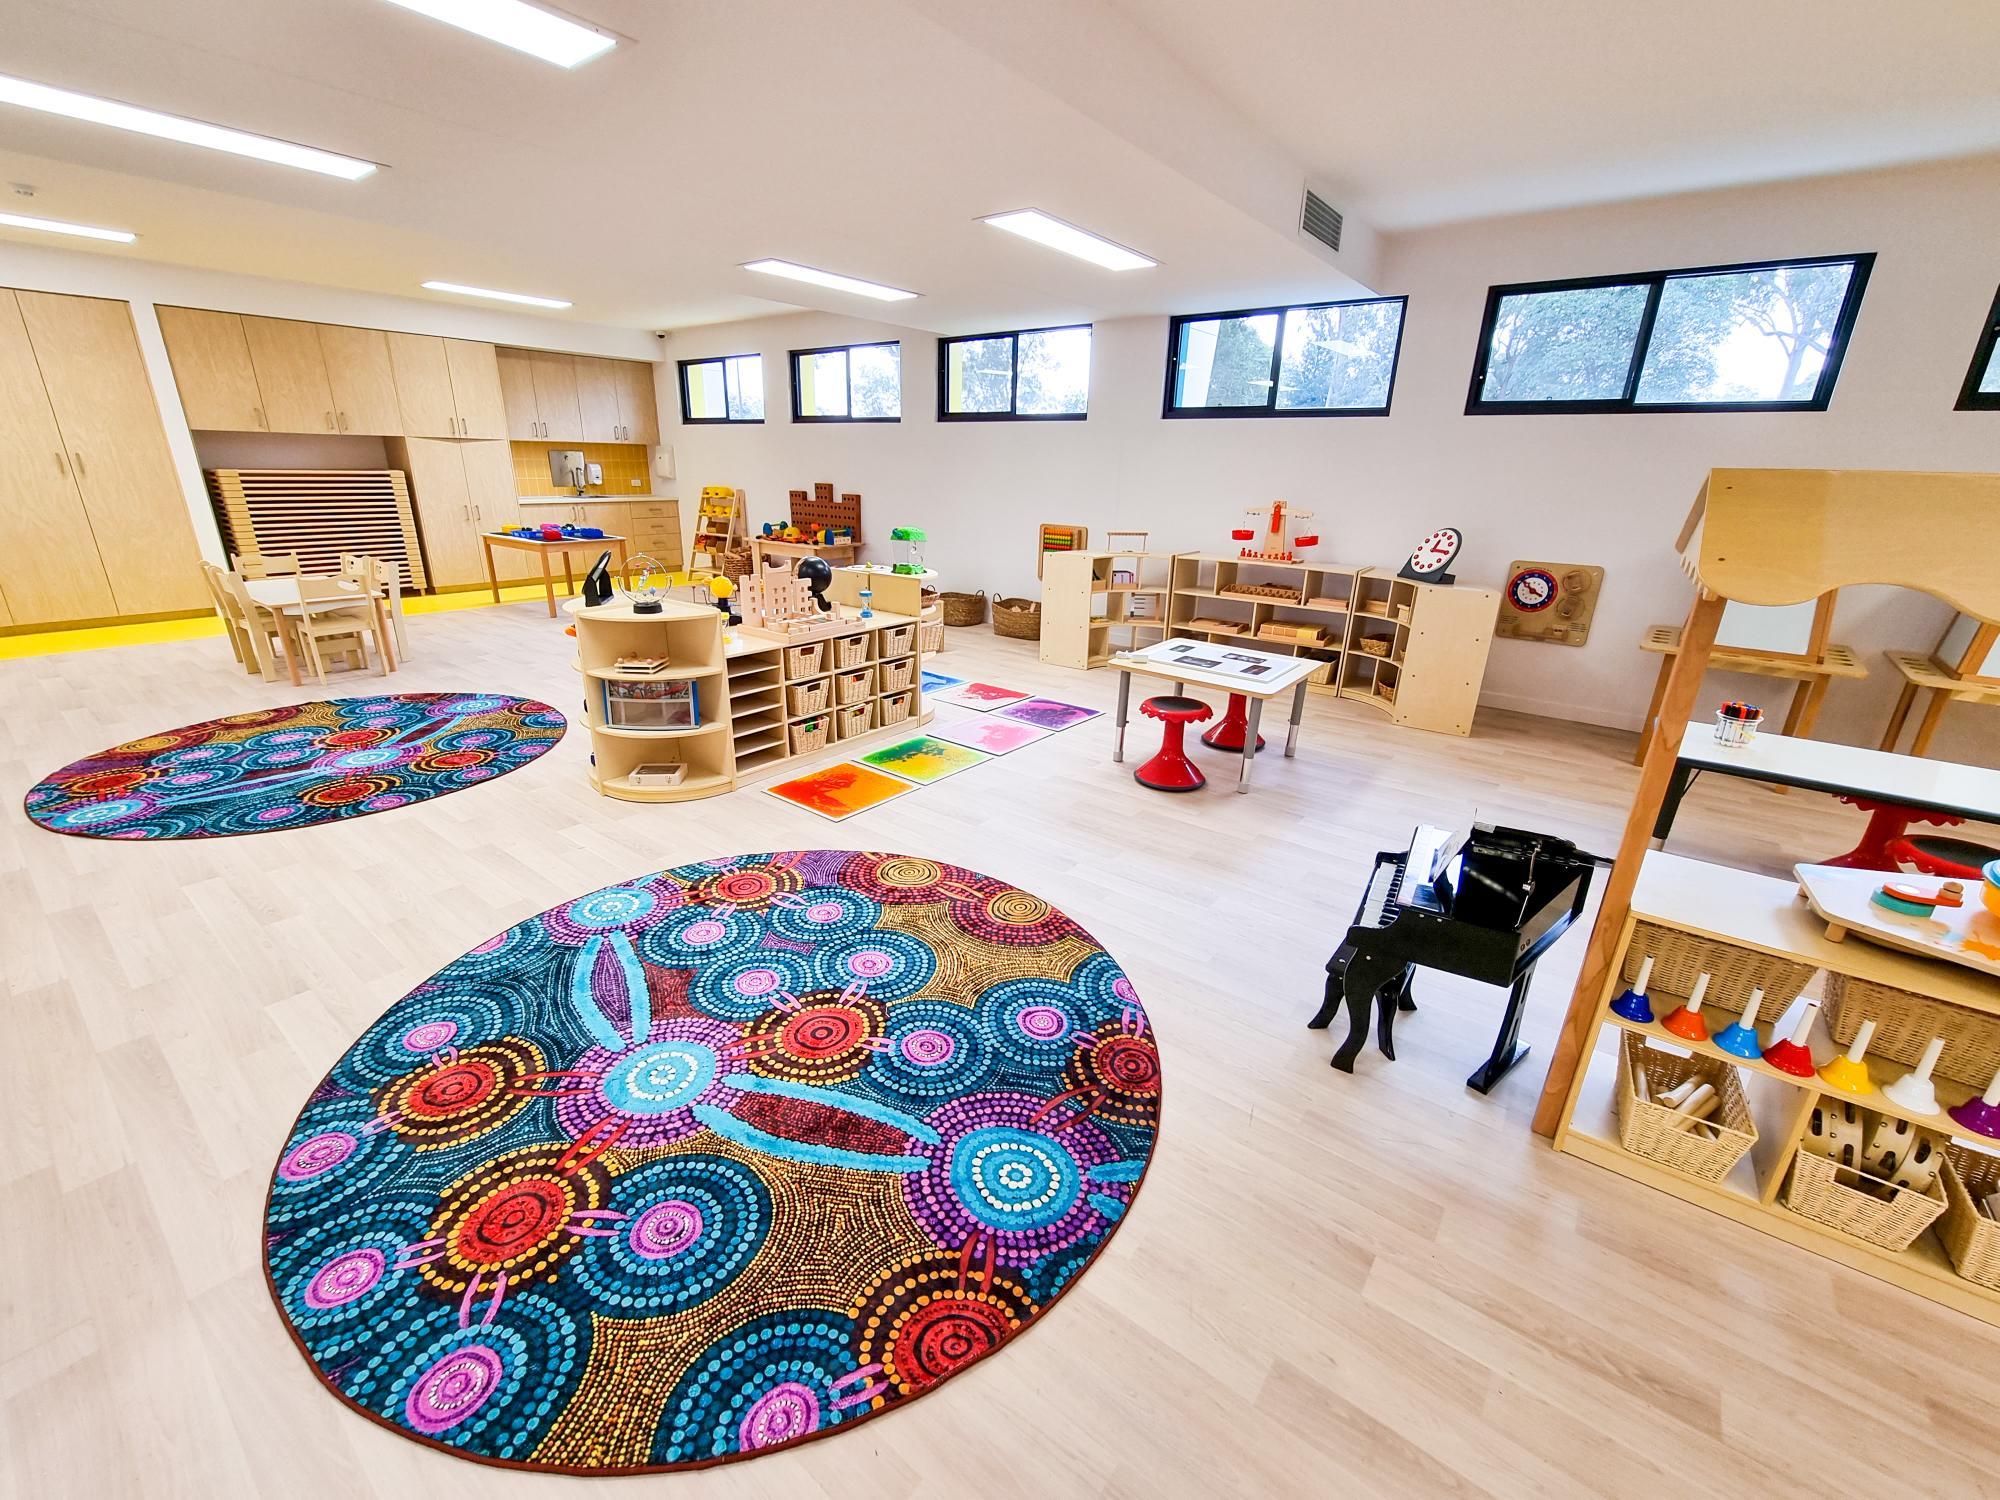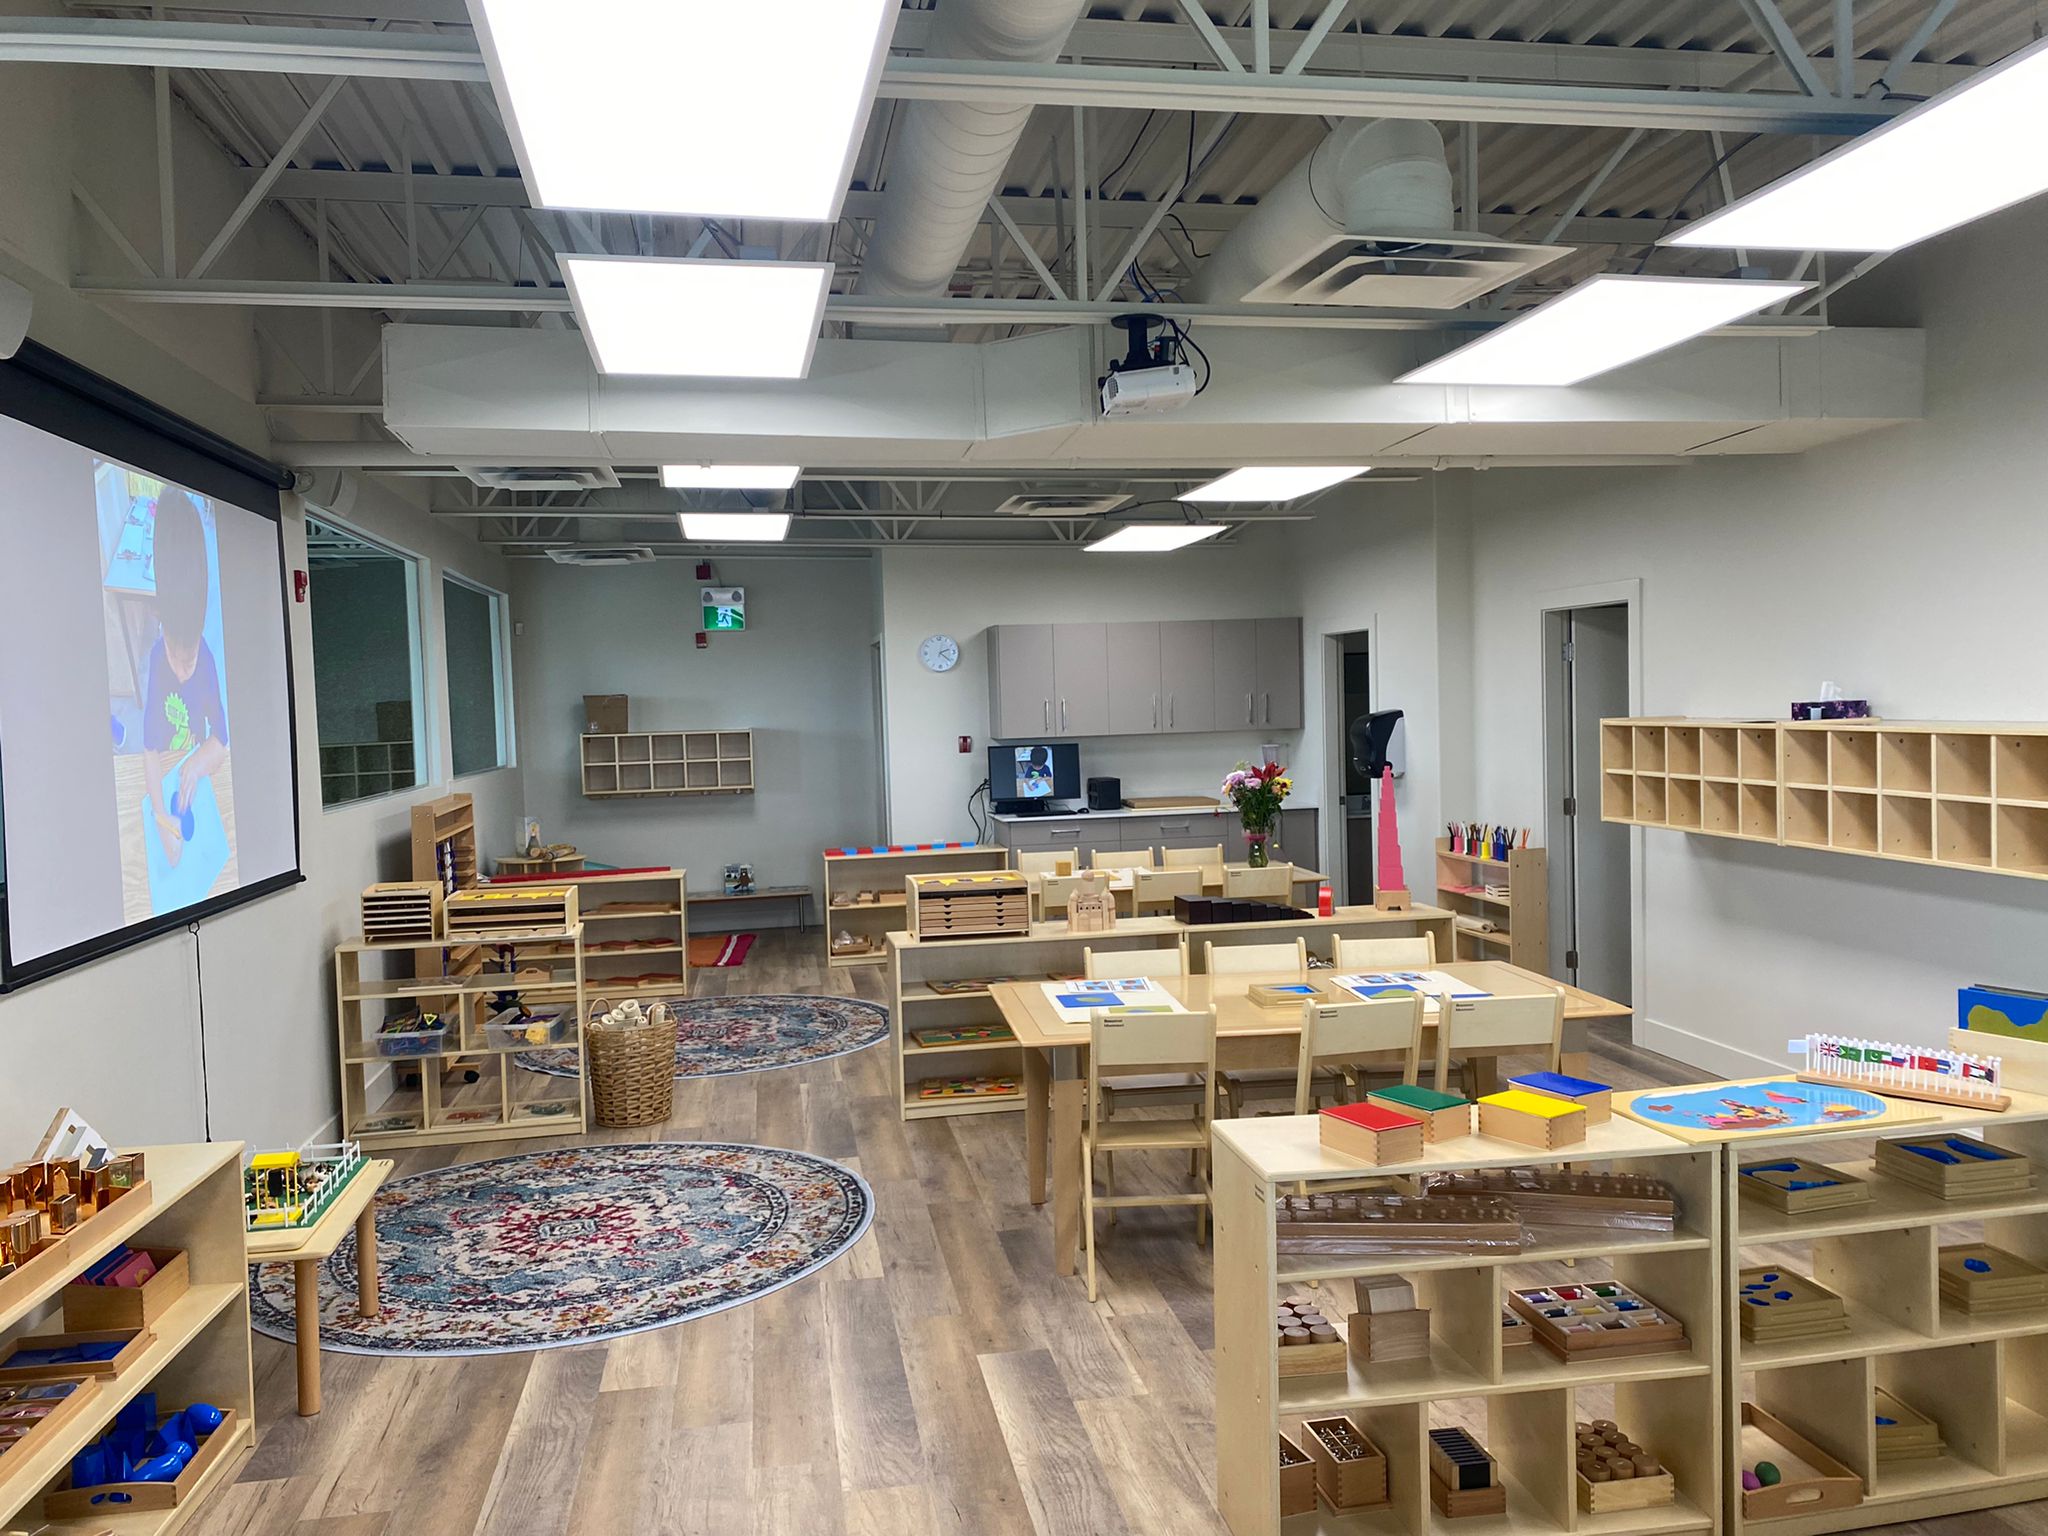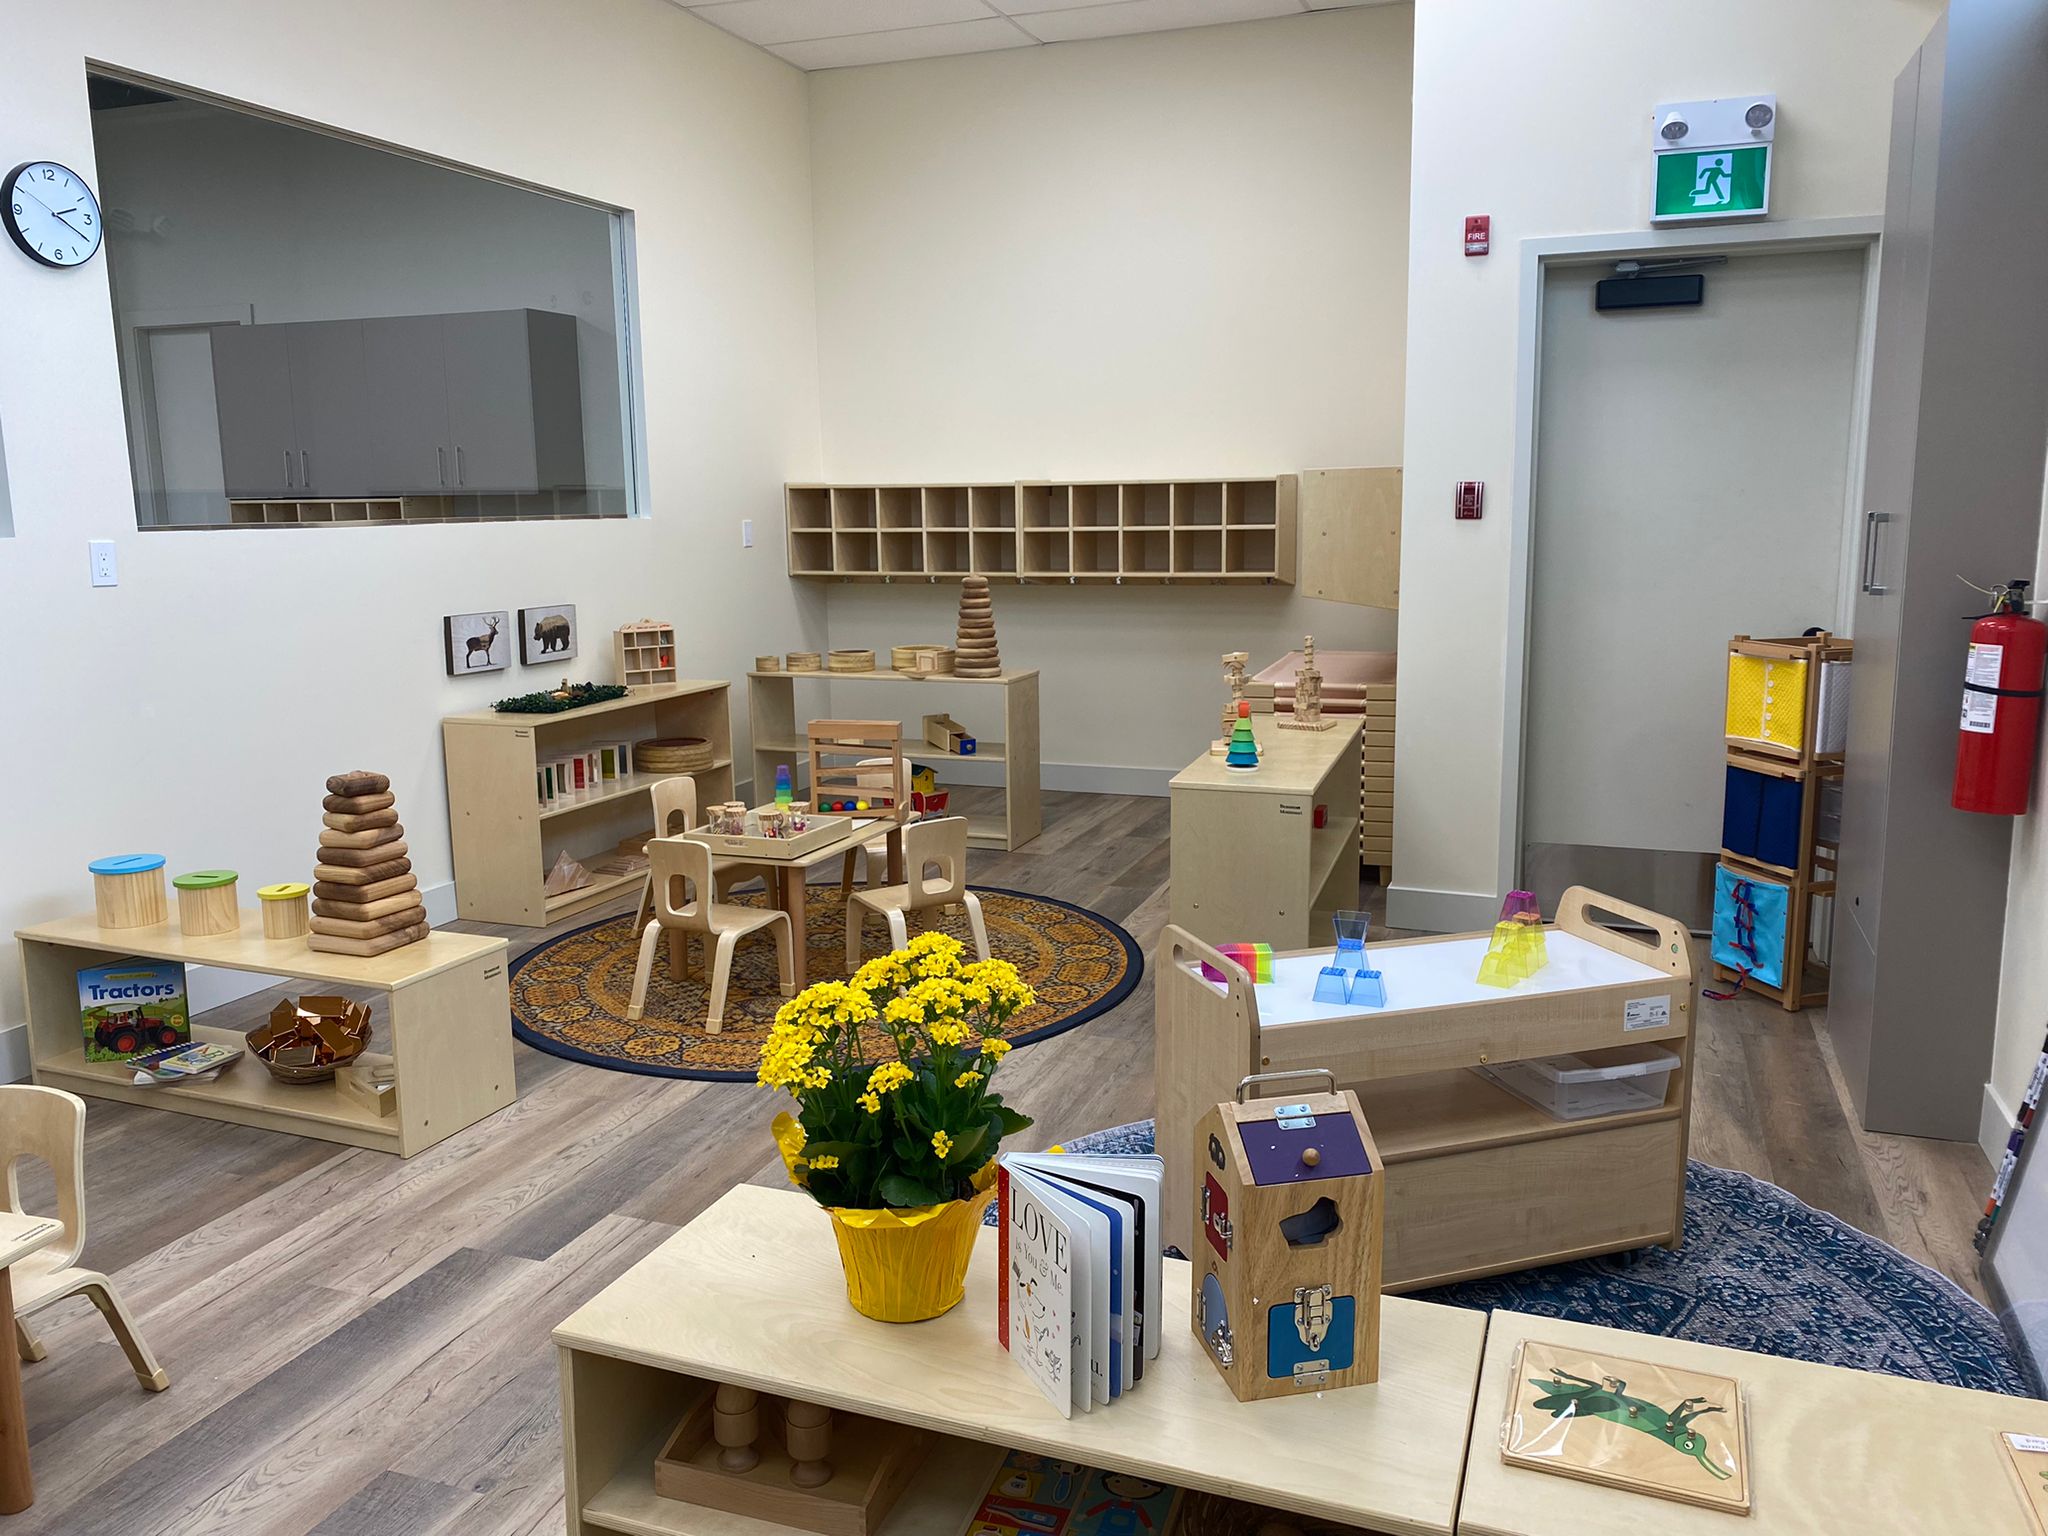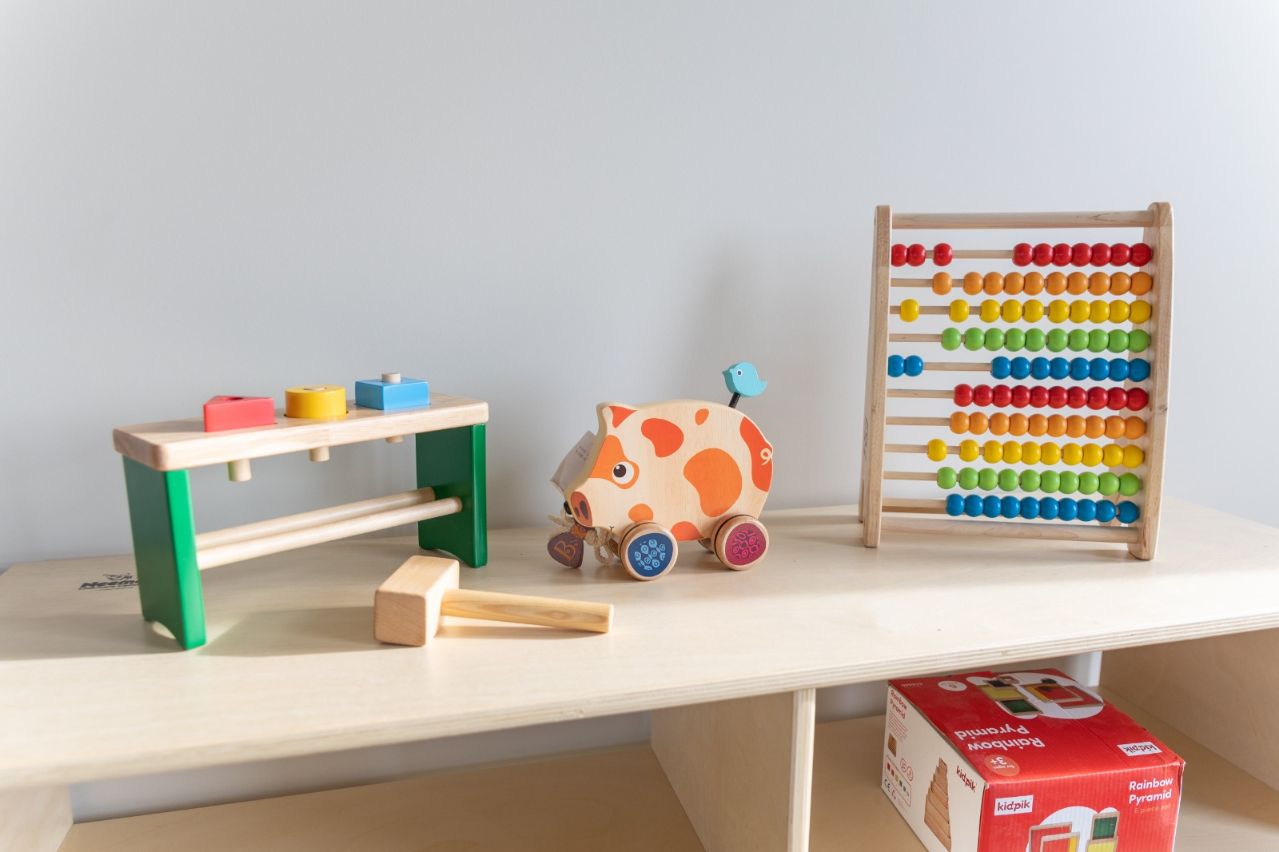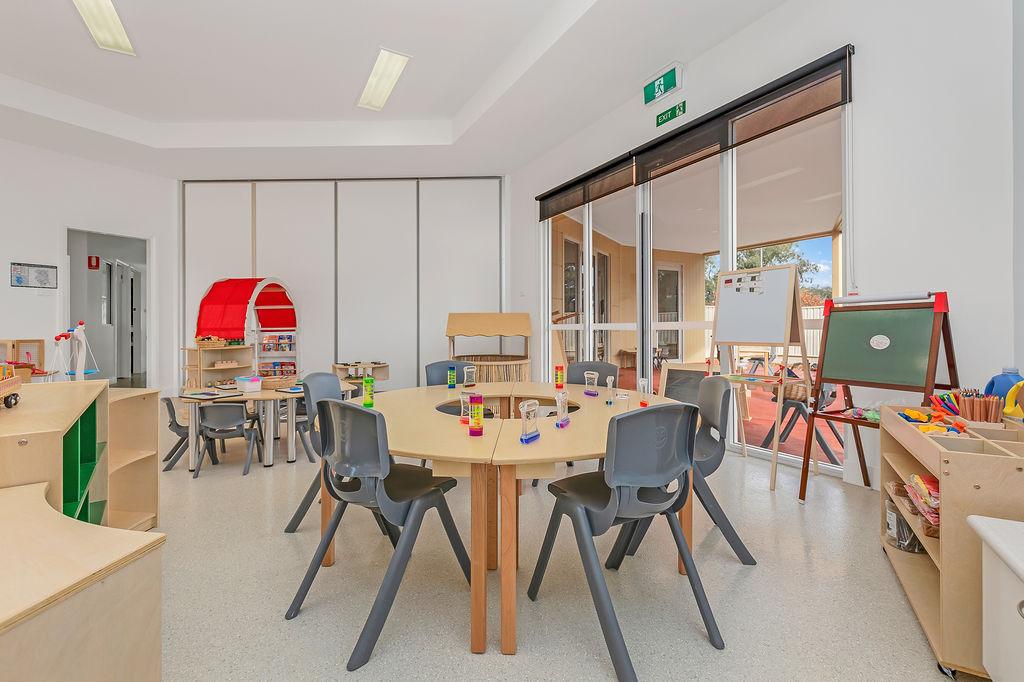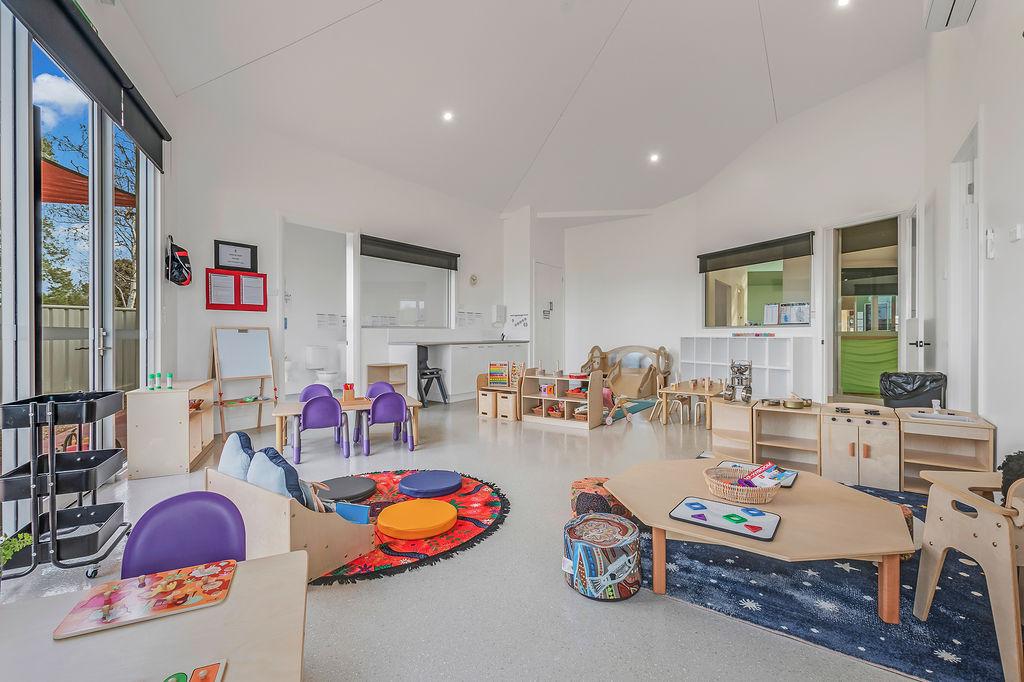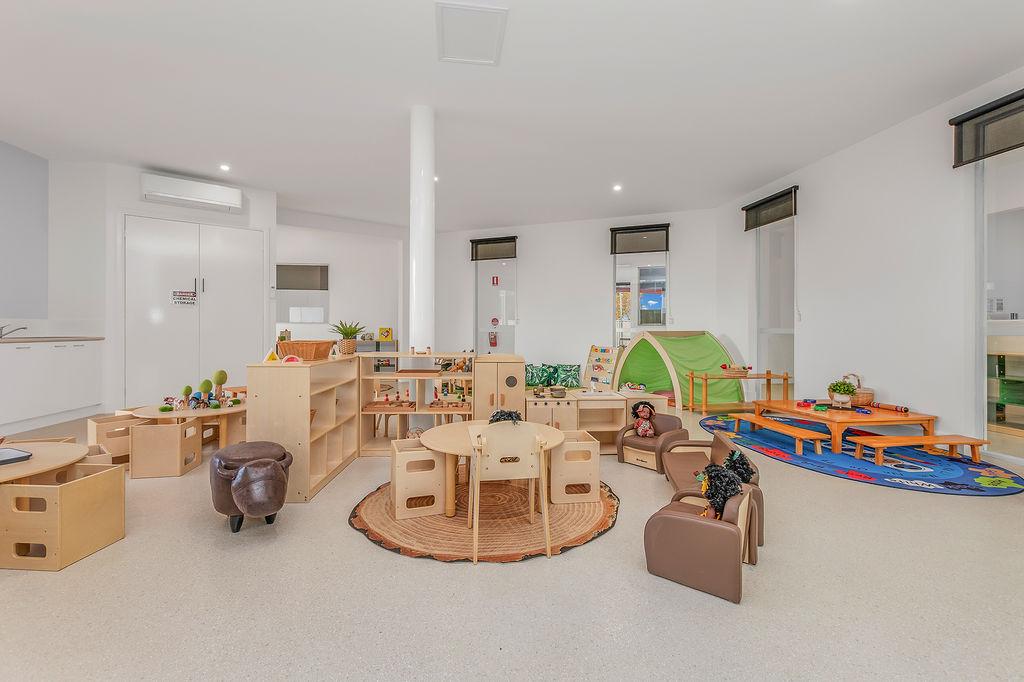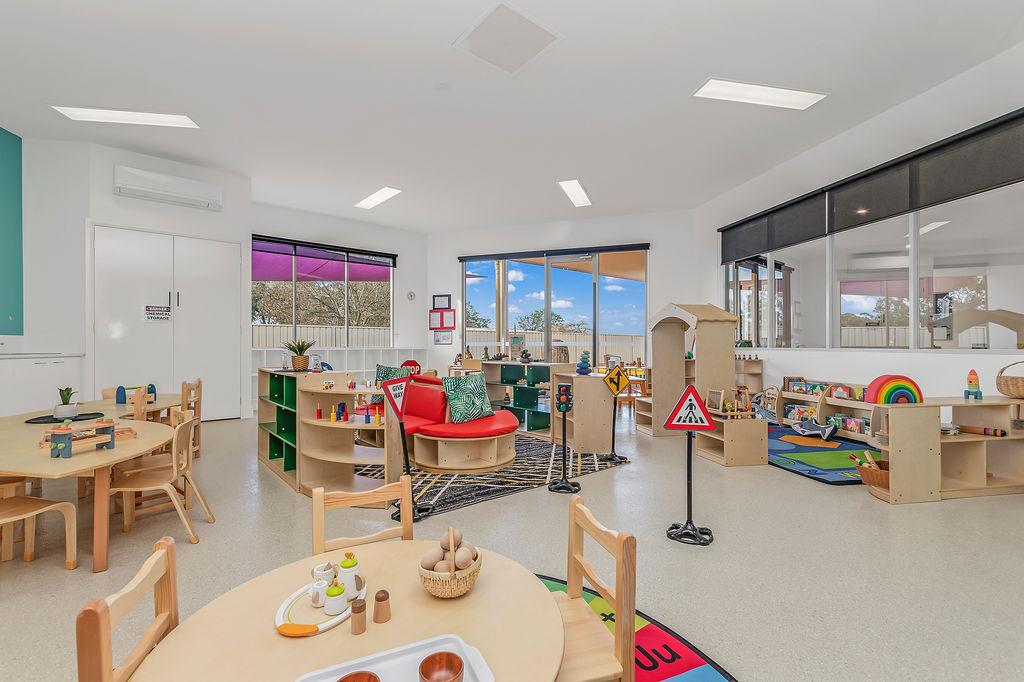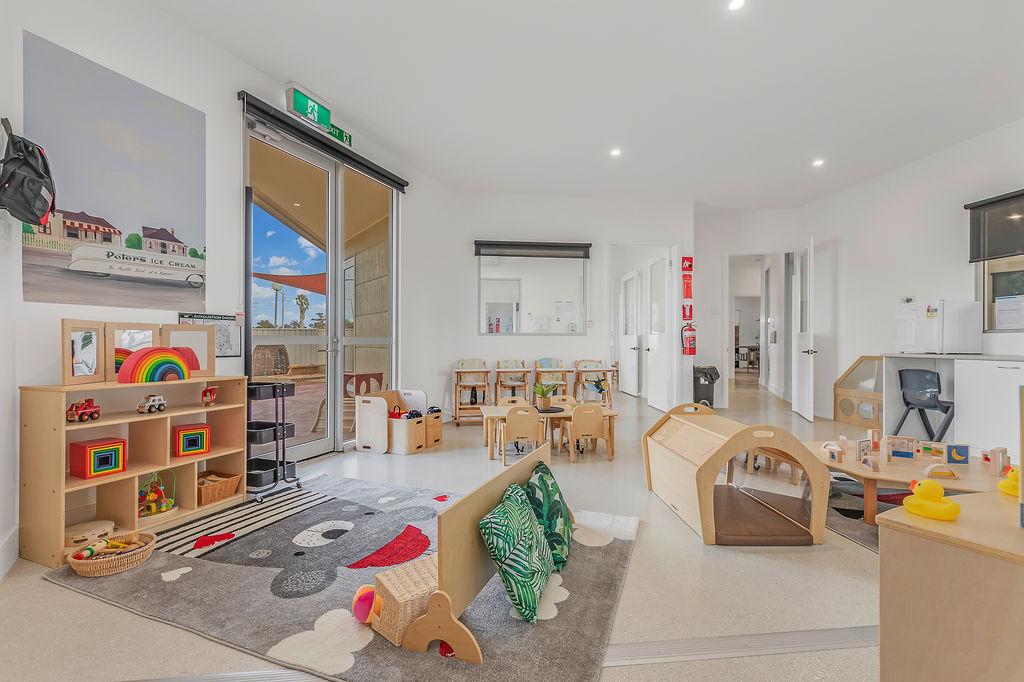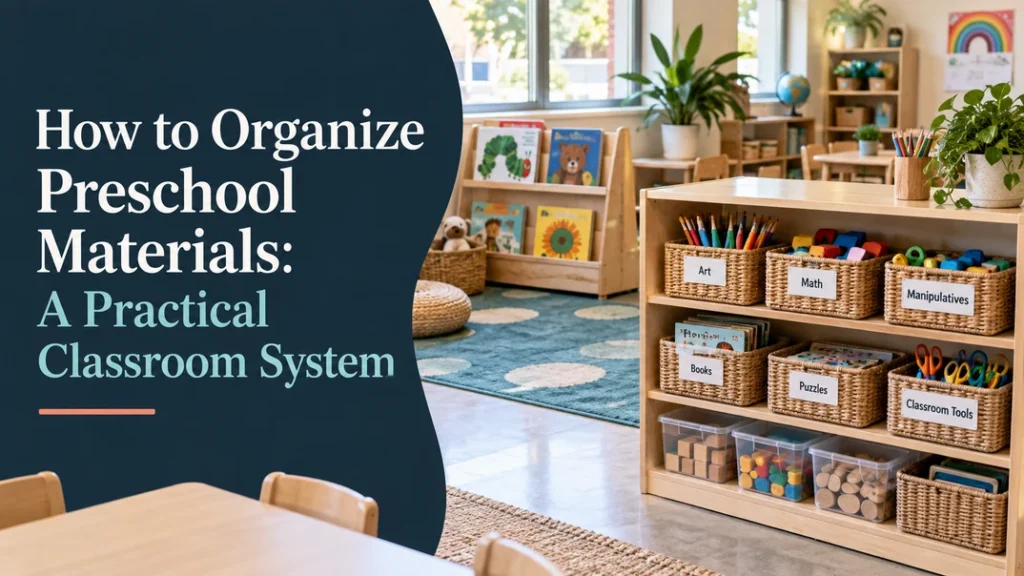
To organize preschool materials well, you need more than labeled bins. You need a system that tells children where to find, use, and return each item while keeping teacher supplies, backups, and safety-sensitive materials under adult control. Start with an inventory, store materials near the activity that uses them, and keep only a manageable selection on open shelves. The result is a calmer room and less time spent resetting it.
What Should Your Preschool Material Organization System Achieve?
Your system should make the right material easy to find, easy to carry, and easy to return. It should also help you supervise the room, protect supplies, and adjust the materials as children’s interests and abilities change.
That is why a tidy-looking shelf is not automatically a useful shelf. If children cannot reach the materials, cannot tell where they belong, or need an adult to assemble every activity, the room may look organized while the daily routine remains inefficient. Organize for three outcomes: independence, easy use, and learning. This approach is consistent with the Virtual Lab School’s guidance on organizing preschool learning environments.
1. Audit Your Materials Before You Buy Storage
Before you order another bin or shelf, take everything out of the cabinets, closets, and classroom corners. Organizing materials that you have not counted usually leads to the wrong container sizes, duplicate purchases, and storage that fills up again within weeks.
Sort each item into four practical groups:
- Active materials: items children use regularly and should see in the classroom.
- Teacher-prepared materials: items that need adult setup, such as lesson components, adhesives, or small loose parts.
- Rotation or backup materials: seasonal books, extra art stock, and materials waiting for a future activity.
- Repair, recycle, donate, or discard: broken, incomplete, unsafe, duplicated, or unused items.
Keep a material only if it has a clear use, is in usable condition, and fits the space you have. If a puzzle is missing pieces, a container no longer closes, or a craft supply has dried out, moving it to a nicer bin will not solve the problem. Remove it from the active system.
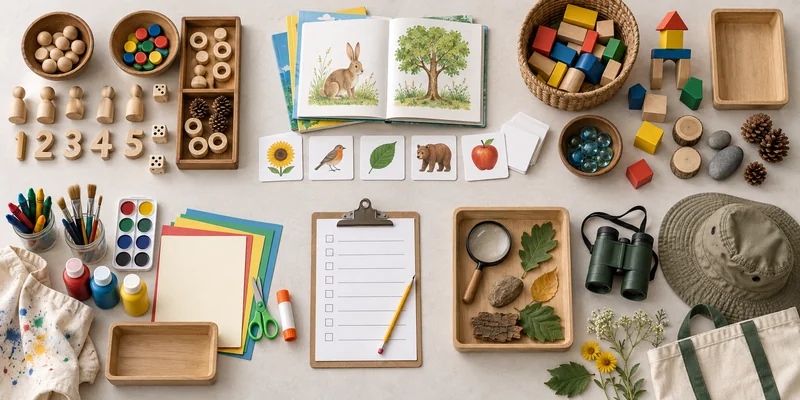
Next, record approximate quantities and measure the storage area. Note shelf width, depth, clearance, doorway access, and the space children need to stand or work in front of it. This information should guide your preschool furniture and container choices—not the other way around.
2. Store Materials Where Children Will Use Them
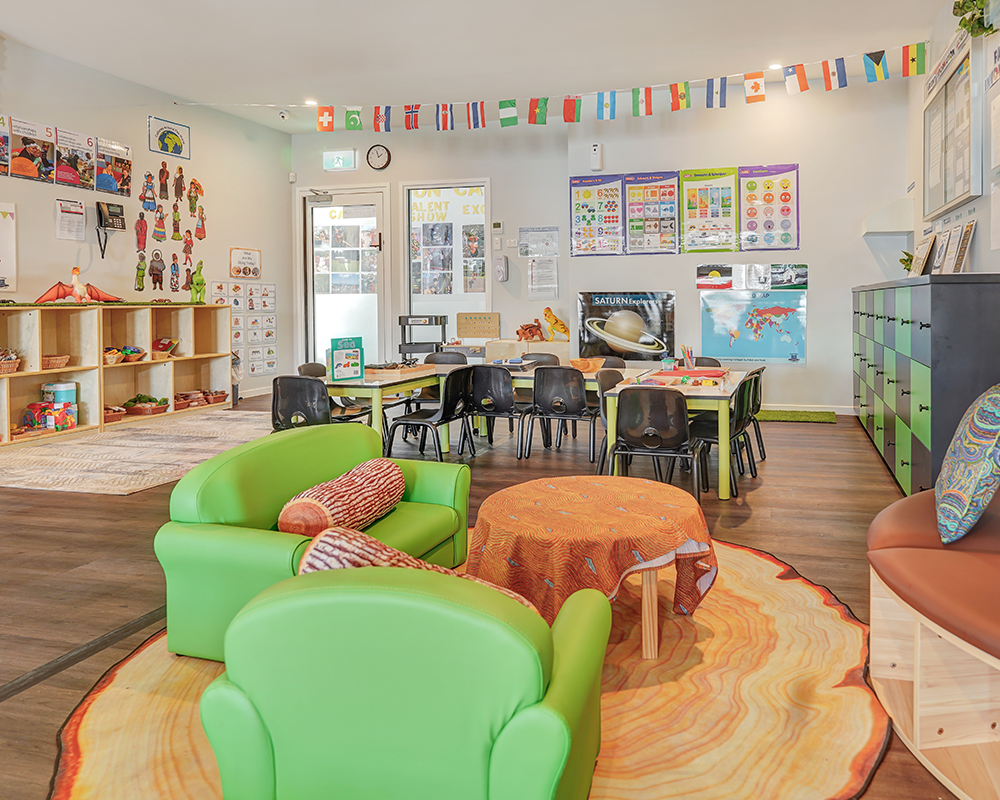
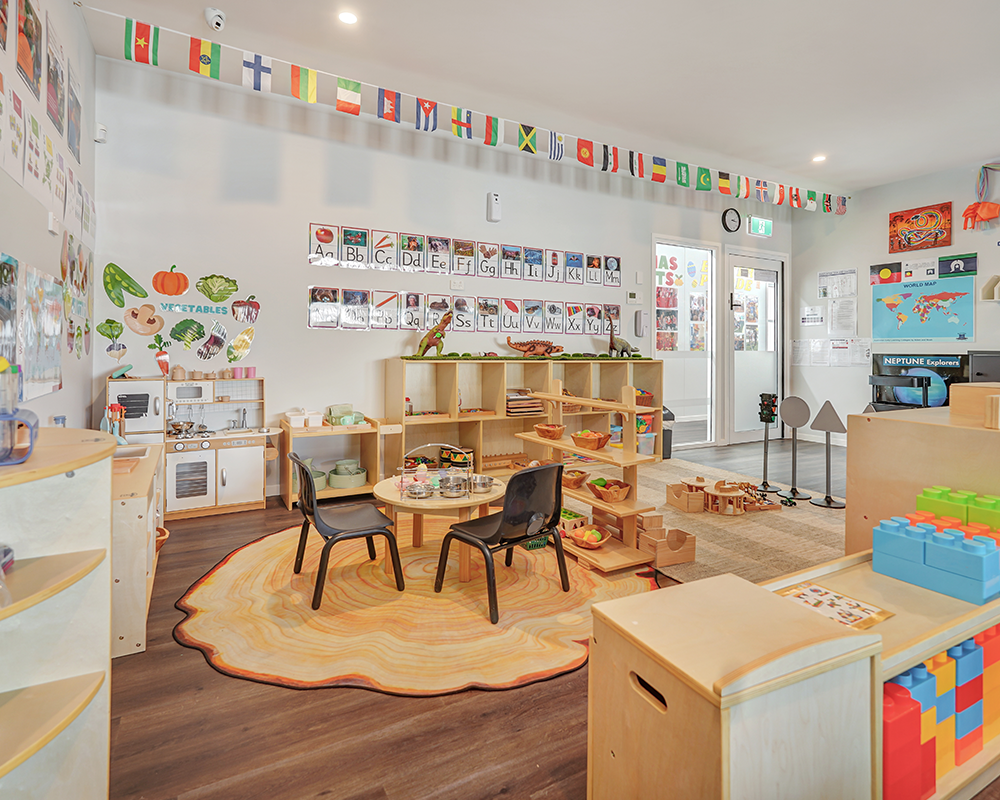
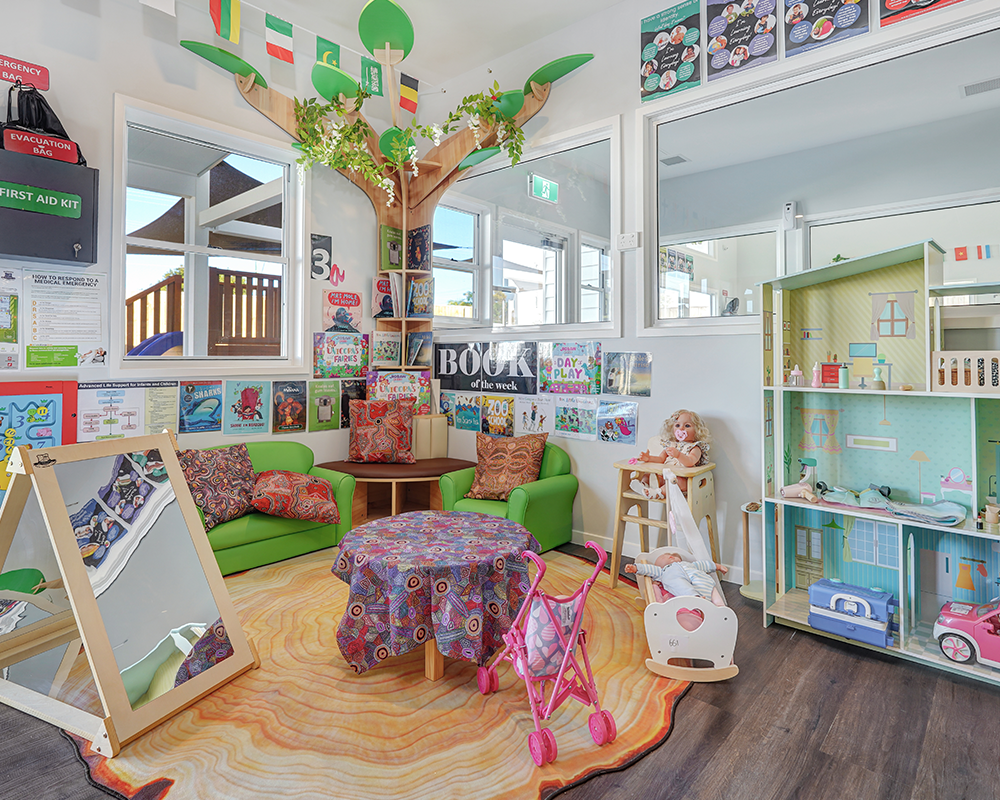
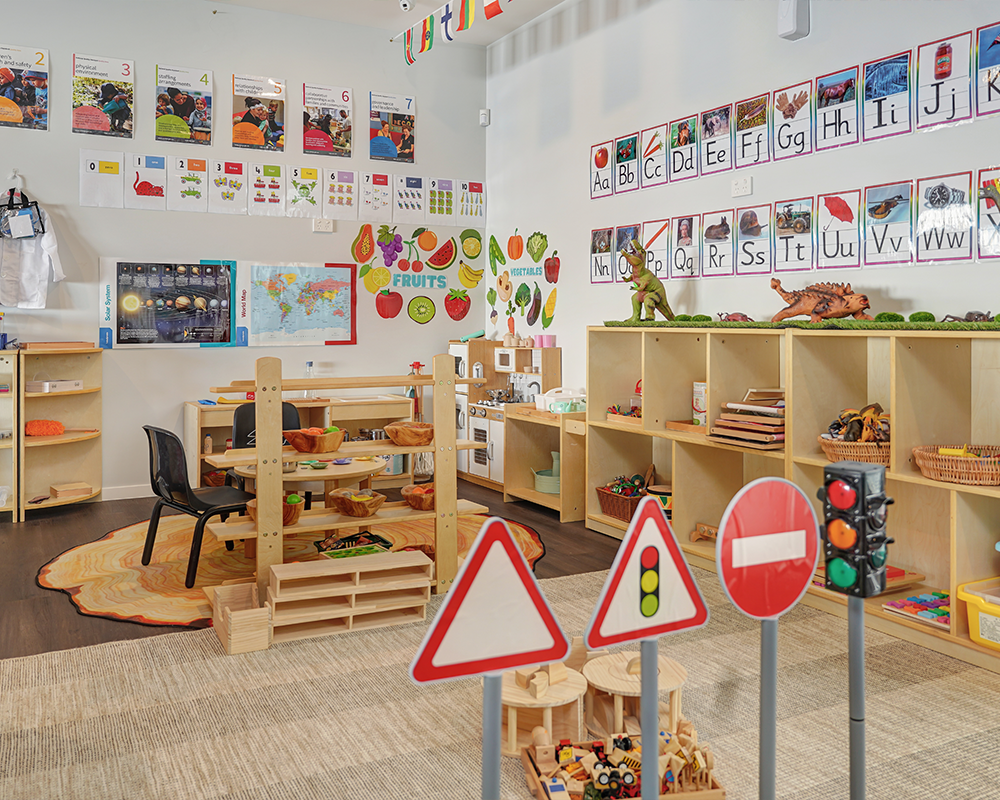
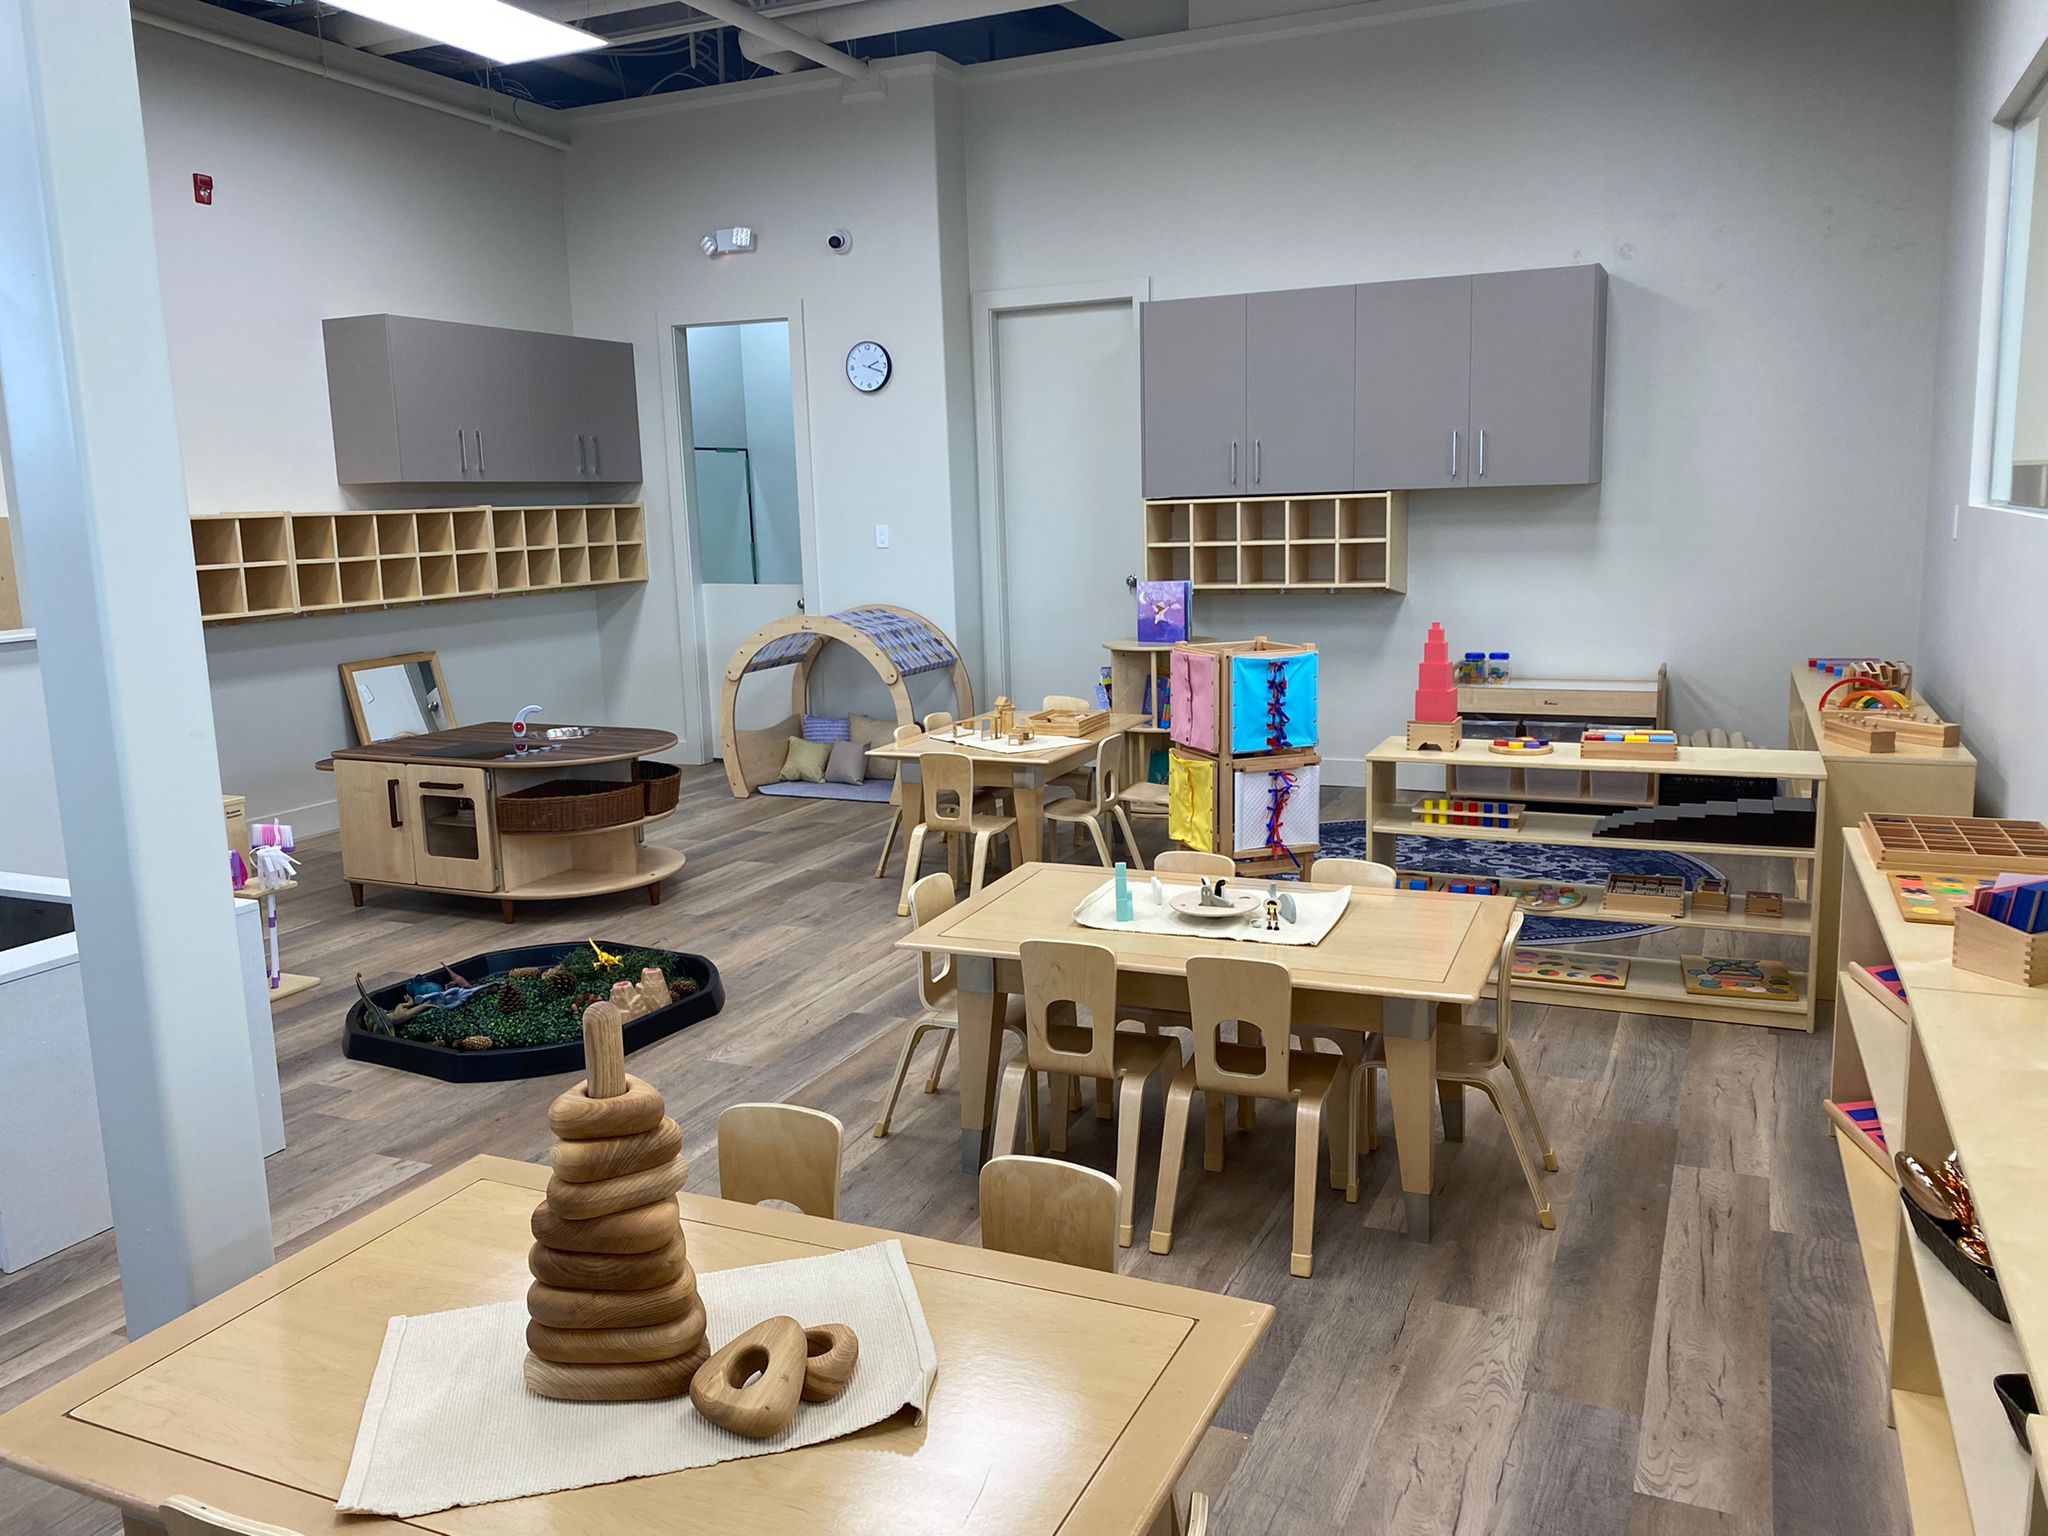
Group materials by the activity or learning area that uses them, then group similar items within that area. For example, keep play-dough, tools, trays, and placemats together. Store measuring tapes, clipboards, and building plans near blocks if children use them during construction play. Put paper, crayons, paint, and smocks near the art table instead of scattering them across the room.
Organizing only by product type can create extra walking and extra interruptions. A classroom may have “all paper” in one cabinet, but if children need paper in the writing, art, and block areas, a small working supply in each location may be more efficient. You do not need to duplicate expensive materials; duplicate the inexpensive tools that remove unnecessary traffic.
When you plan a room for procurement, think in two layers: the learning area children recognize and the product system that supports it. West Shore organizes its offer around Furniture, Learn, Play, Art, Outdoor, and By Age. That distinction helps you decide whether you need a better storage unit, a complete activity set, or a different access rule—not just another container.
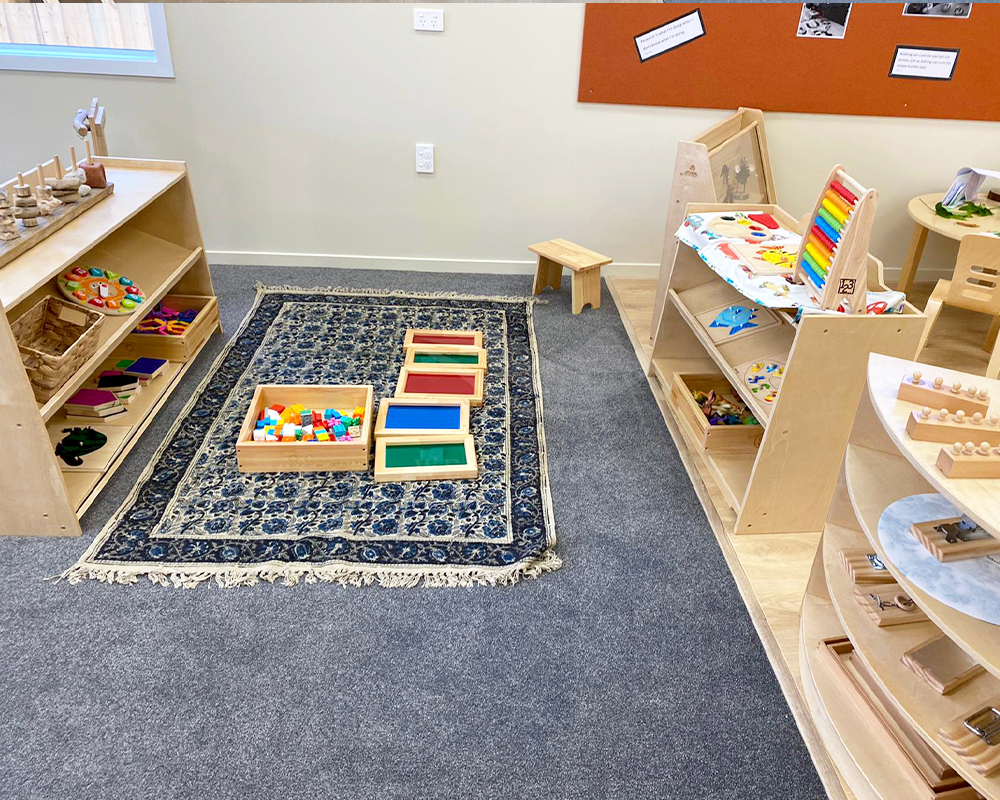
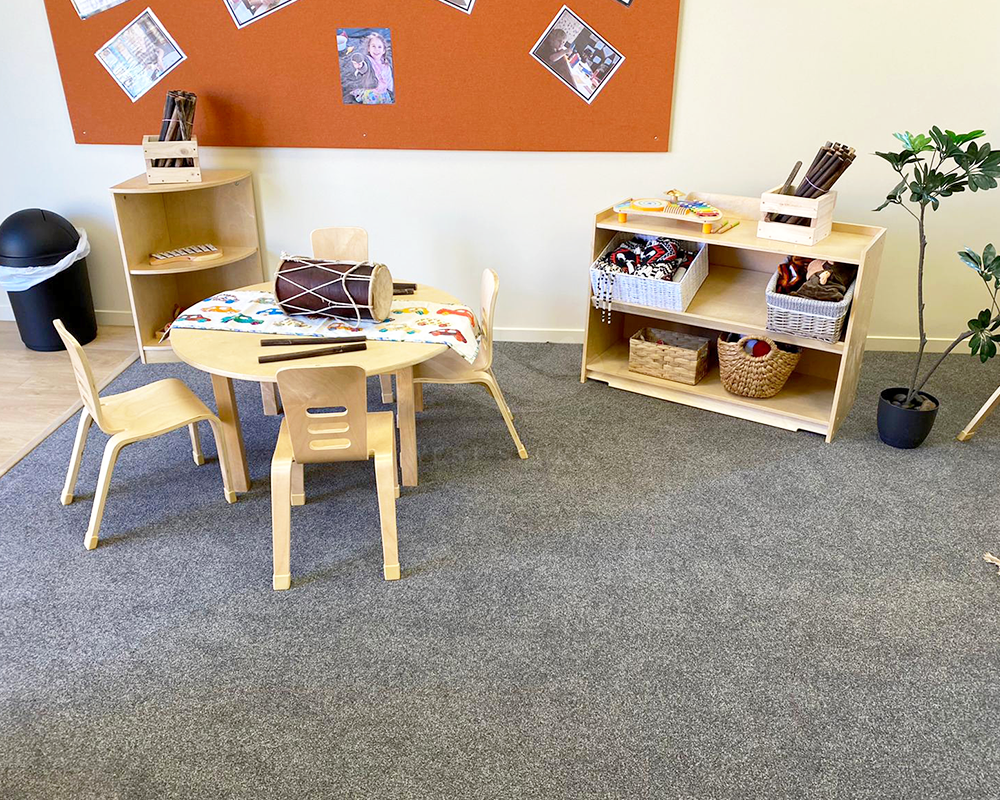
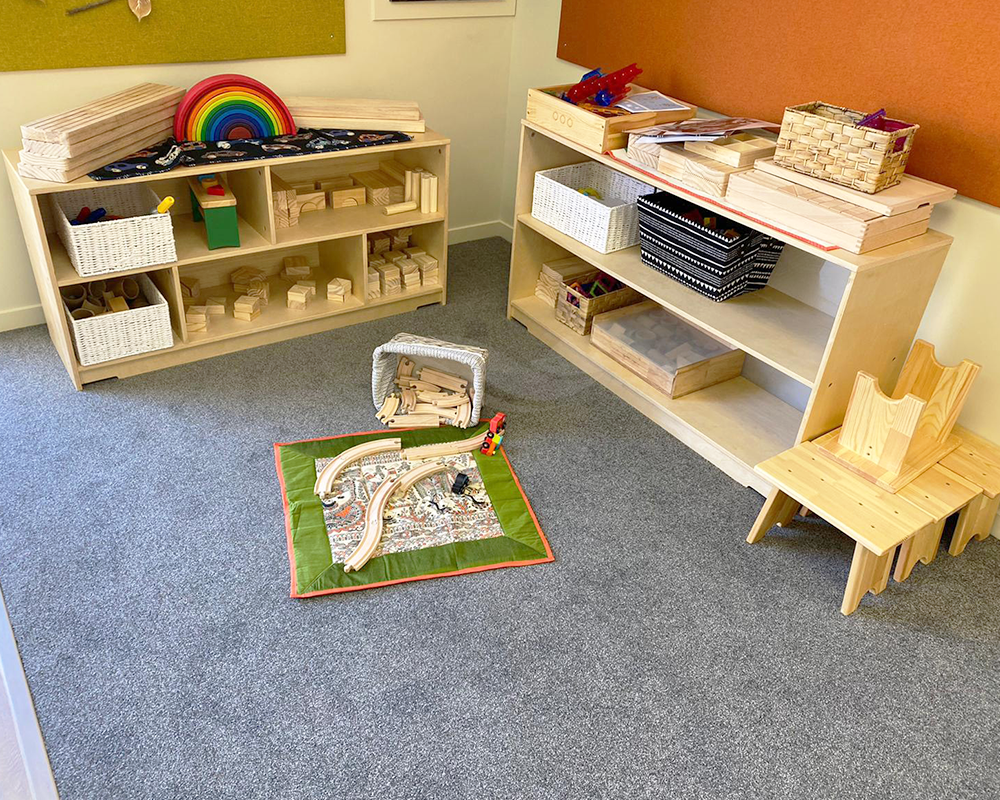
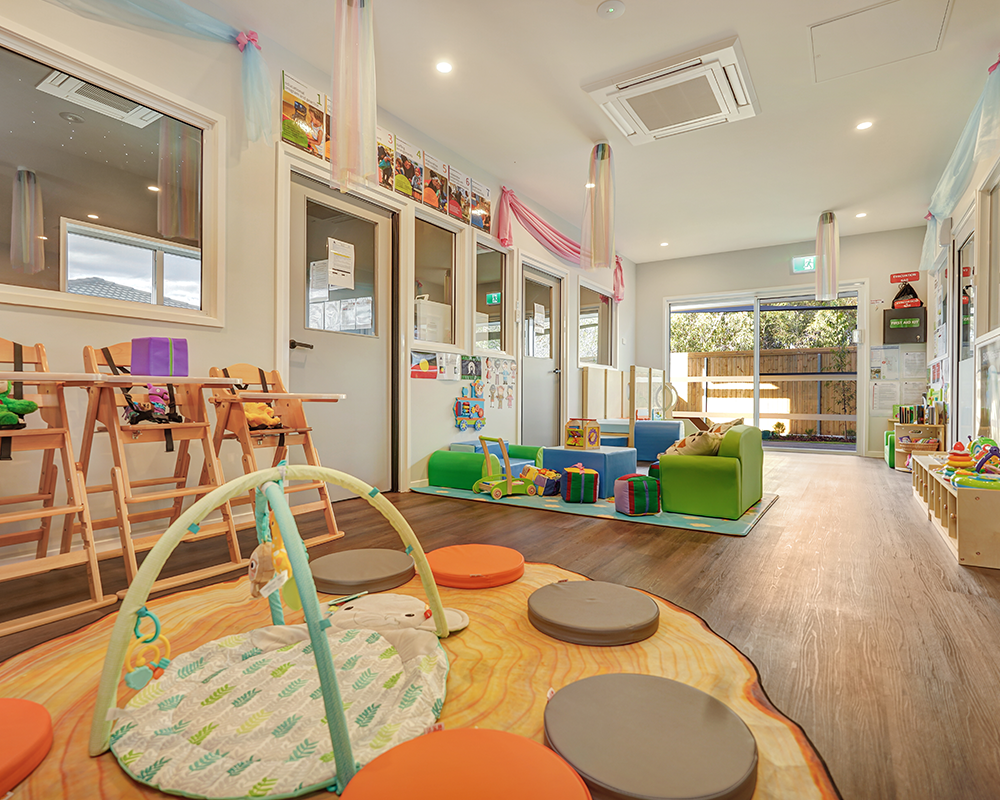
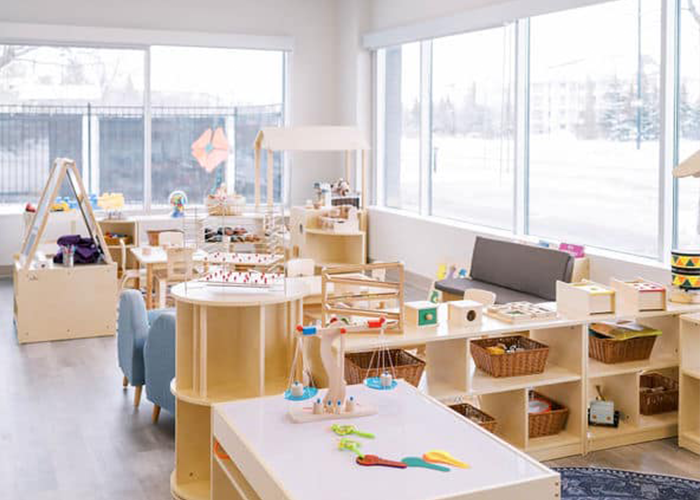
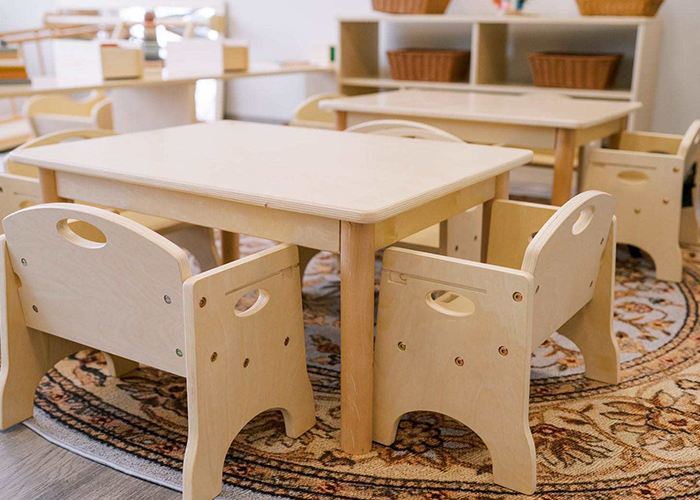
Use Furniture for the room’s infrastructure, such as shelving, book displays, cubbies, work tables, and teacher storage. Keep Learn materials—math, language, sensorial, and early-development activities—together as complete work sets near the relevant shelf or table. Give Play materials more floor-oriented storage: blocks, dramatic-play pieces, and open-ended loose parts are easier to use when children can see the main pieces without reaching into a deep mixed bin. Keep Art supplies beside the art work surface and cleanup point, while separating everyday tools from paint, glue, scissors, and small supplies that need closer adult control. Store Outdoor materials near the transition to the outside only when the area stays dry and you can check items back in. Finally, use By Age as an access filter: what works for a preschool shelf may not be the right open-access choice for infants, toddlers, or older children.
If your classroom needs more ideas for choosing shelves, bins, and cubbies, use the related guide to preschool storage solutions. Choose the layout that supports your actual routines rather than copying a classroom photo that has a different room size or enrollment.
3. Use Three Storage Levels
A practical preschool classroom usually needs three different storage levels. Treating every material as equally accessible is one of the easiest ways to create clutter or a safety problem.
Child-accessible open storage
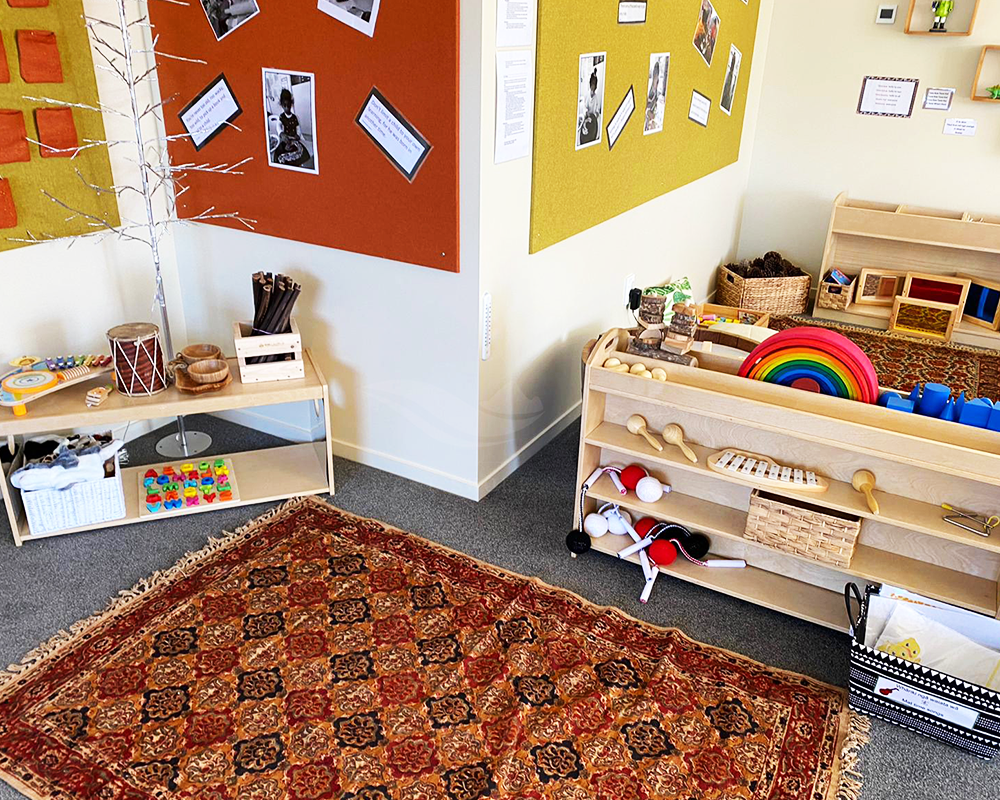
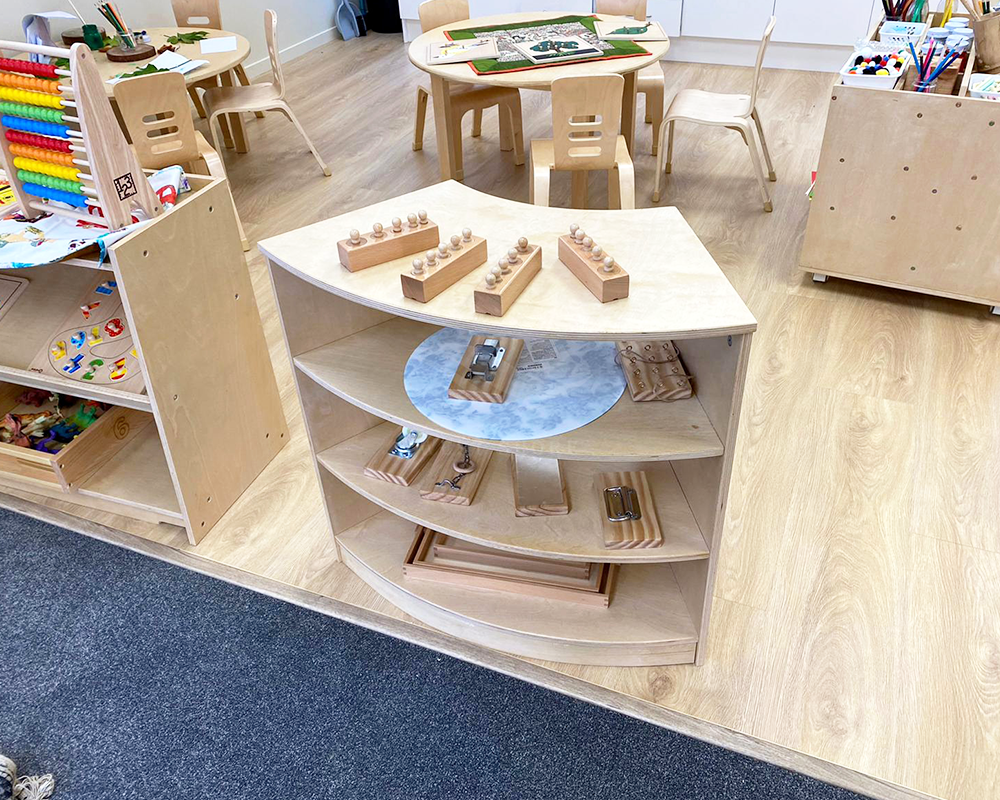
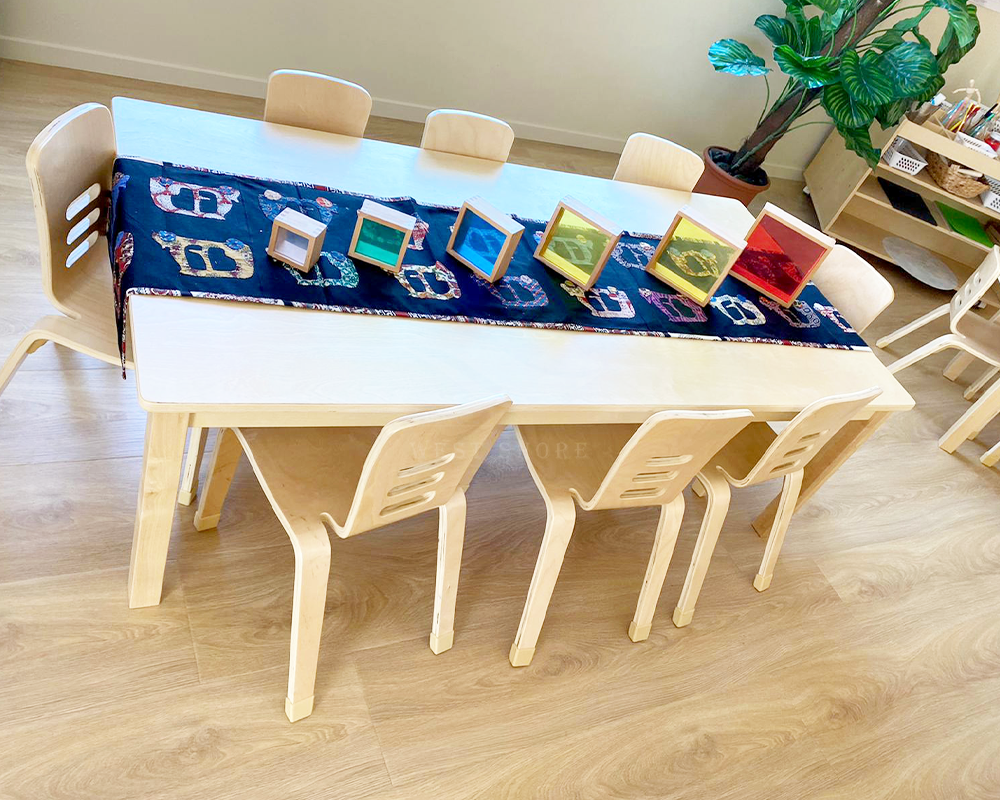
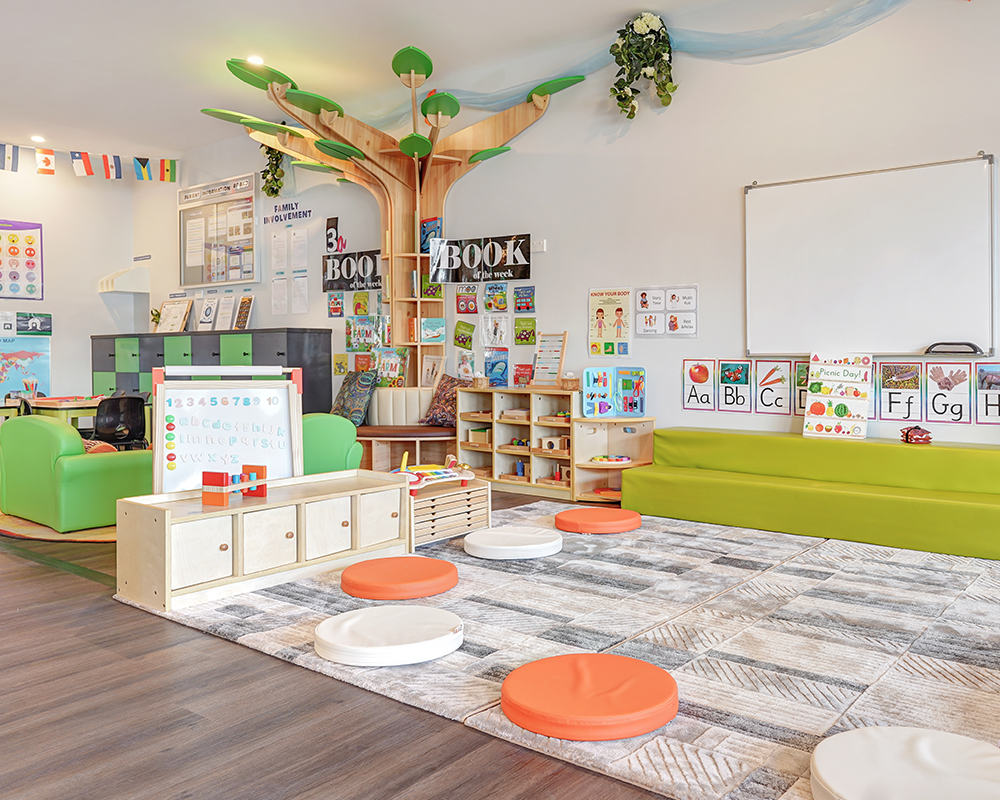
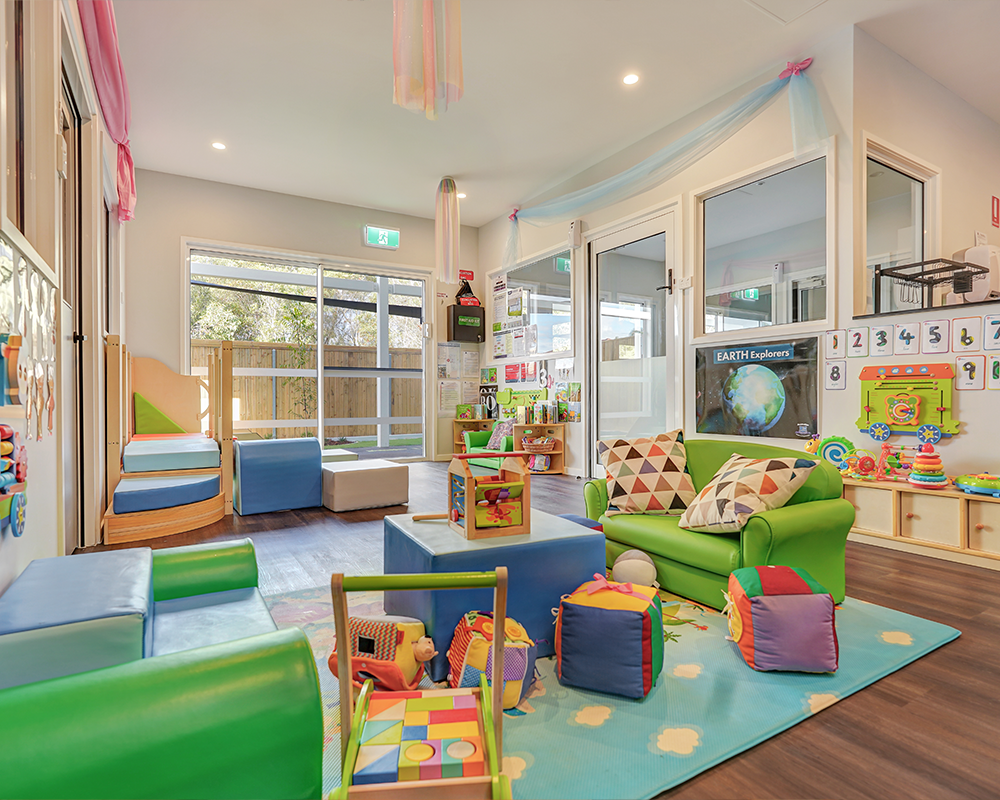
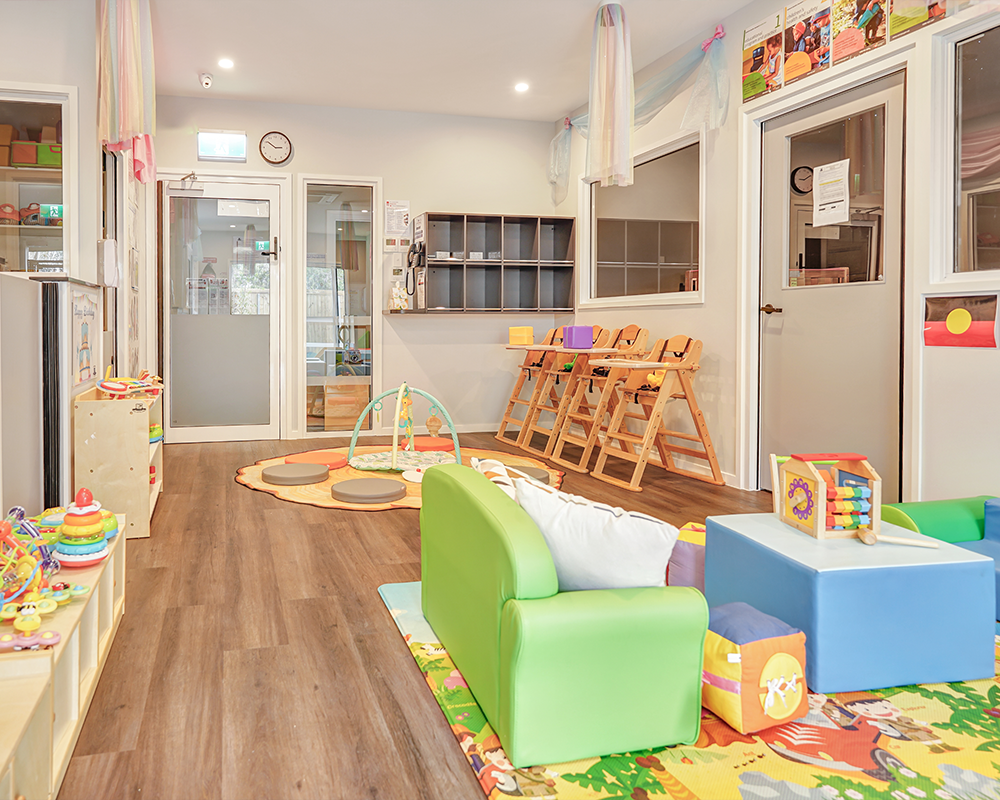
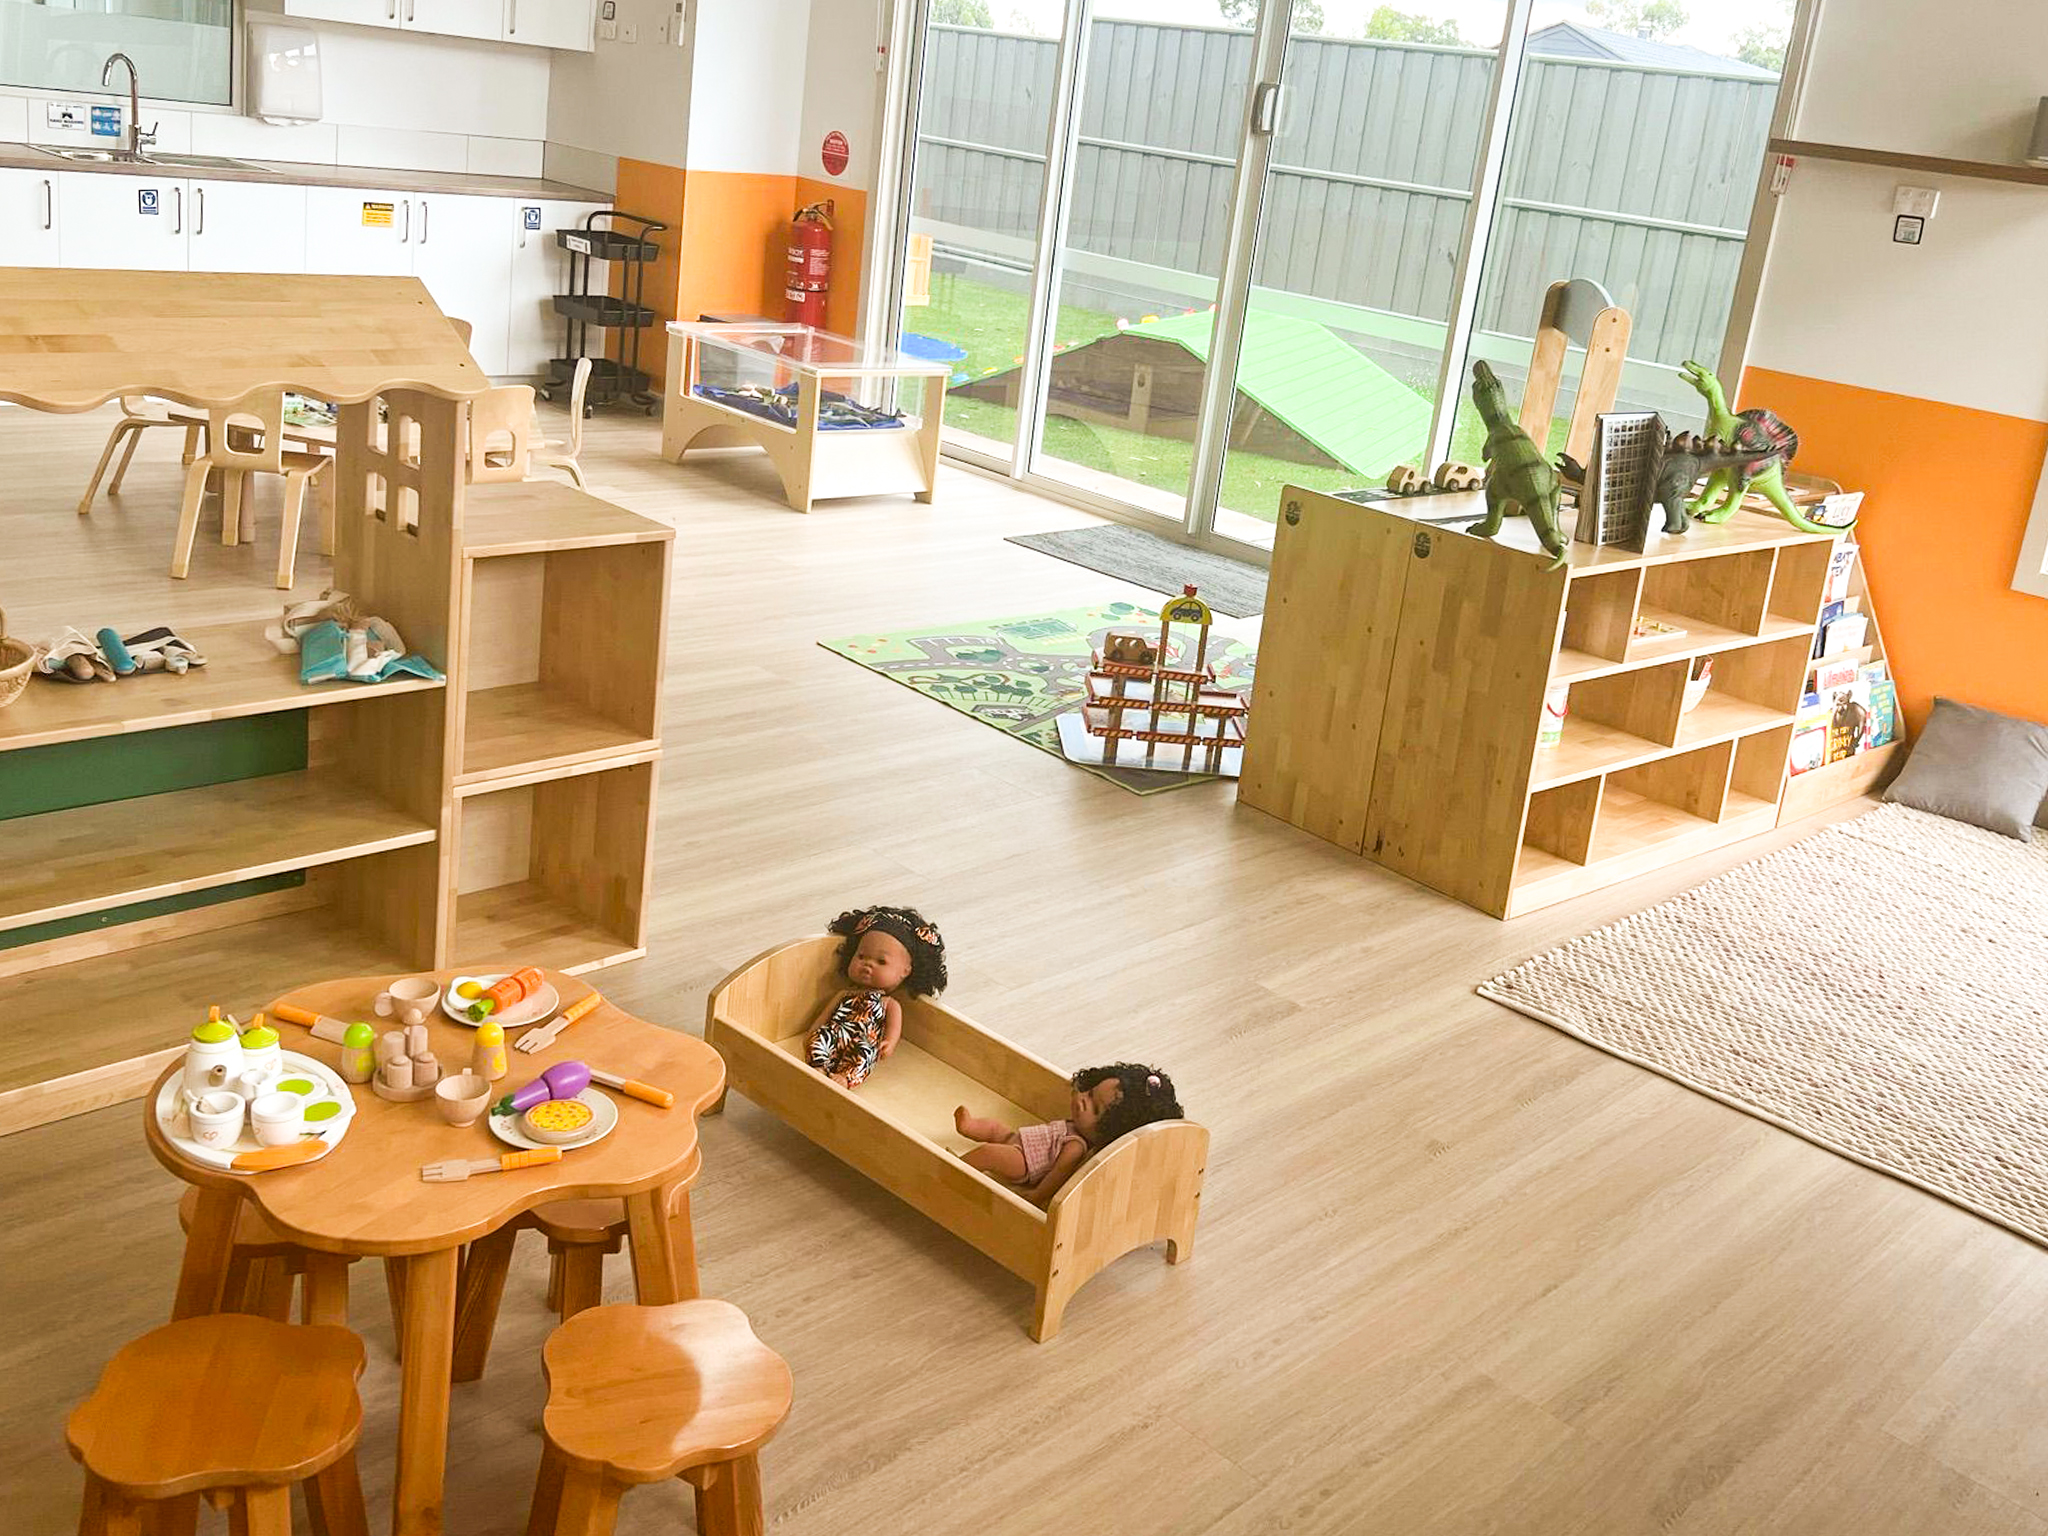
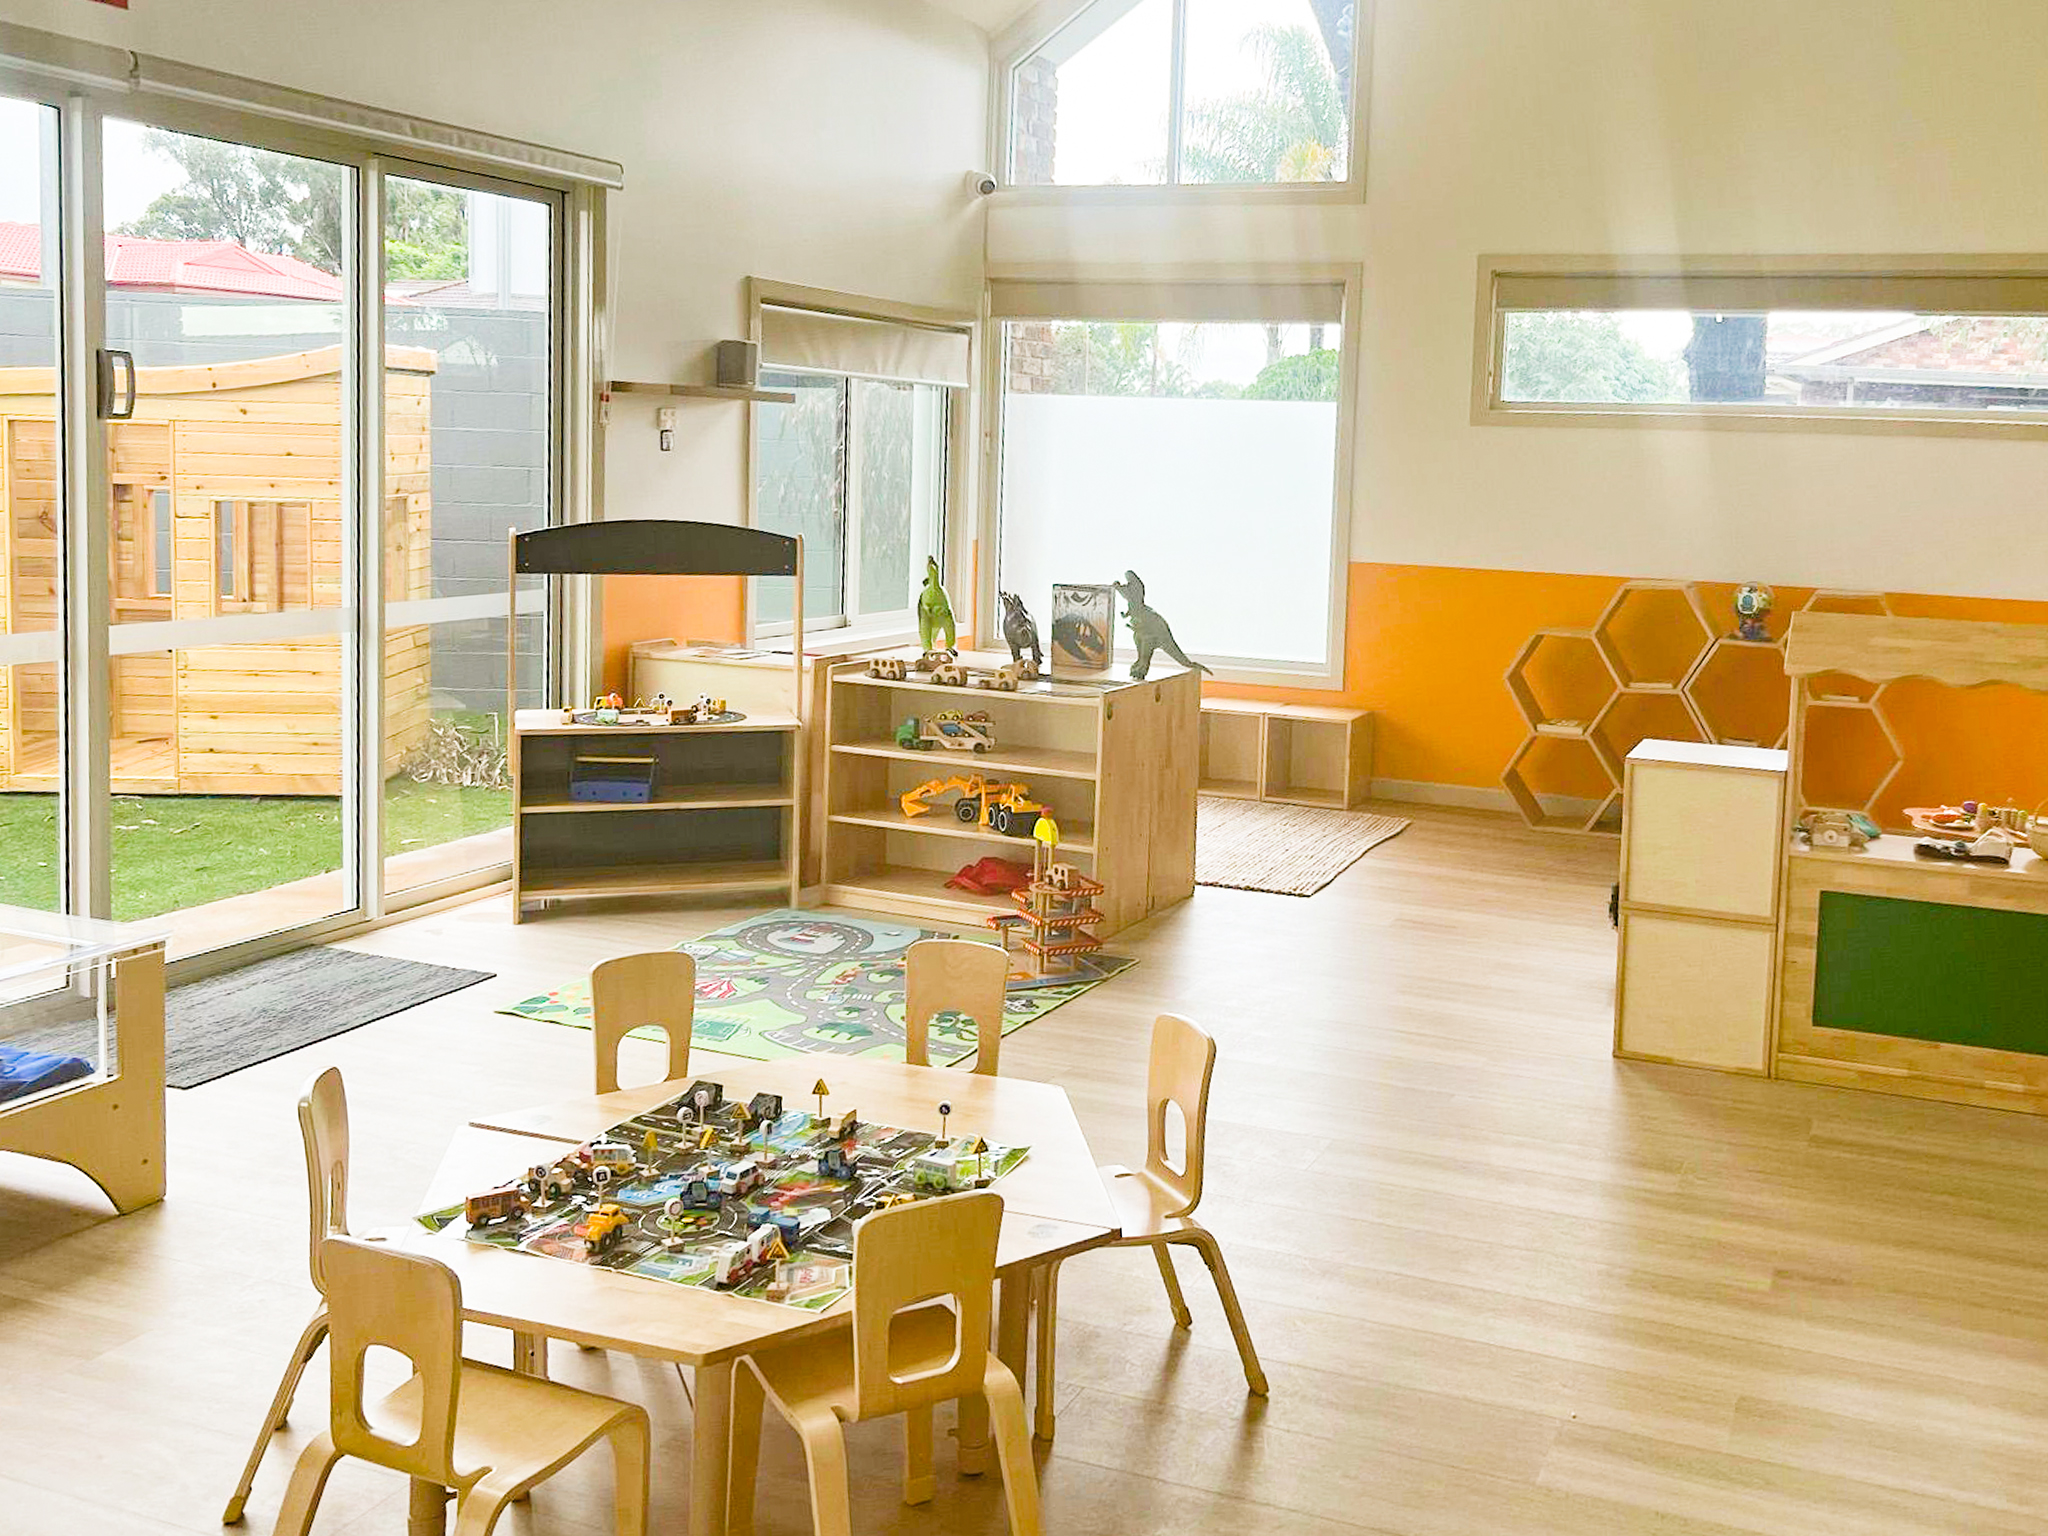
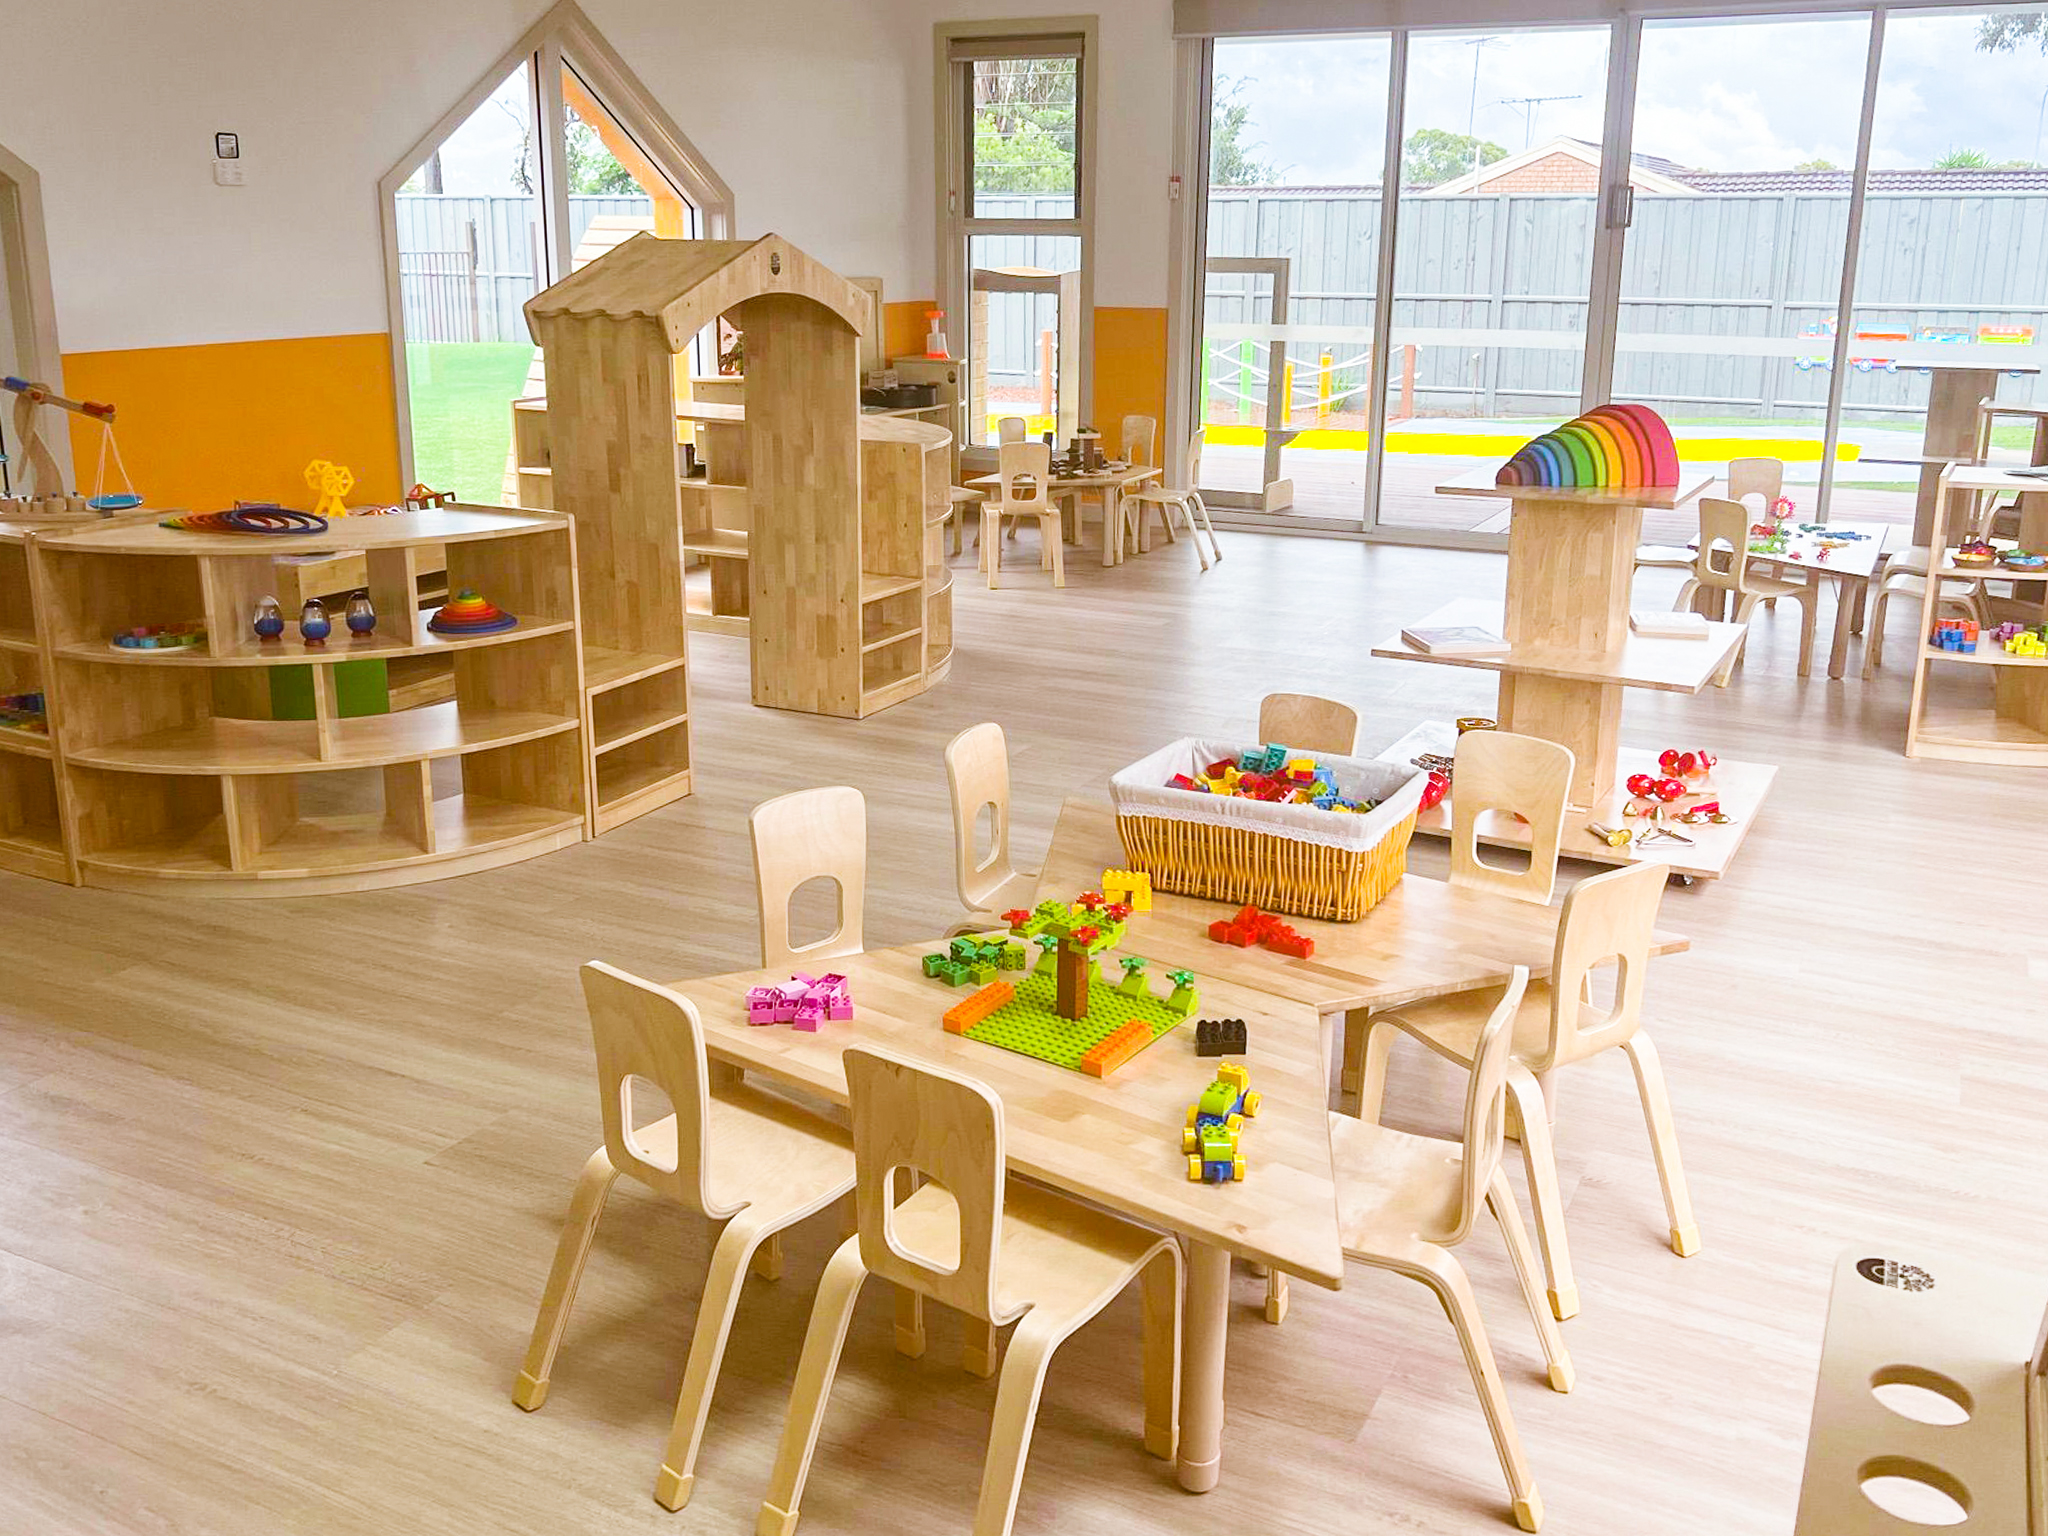
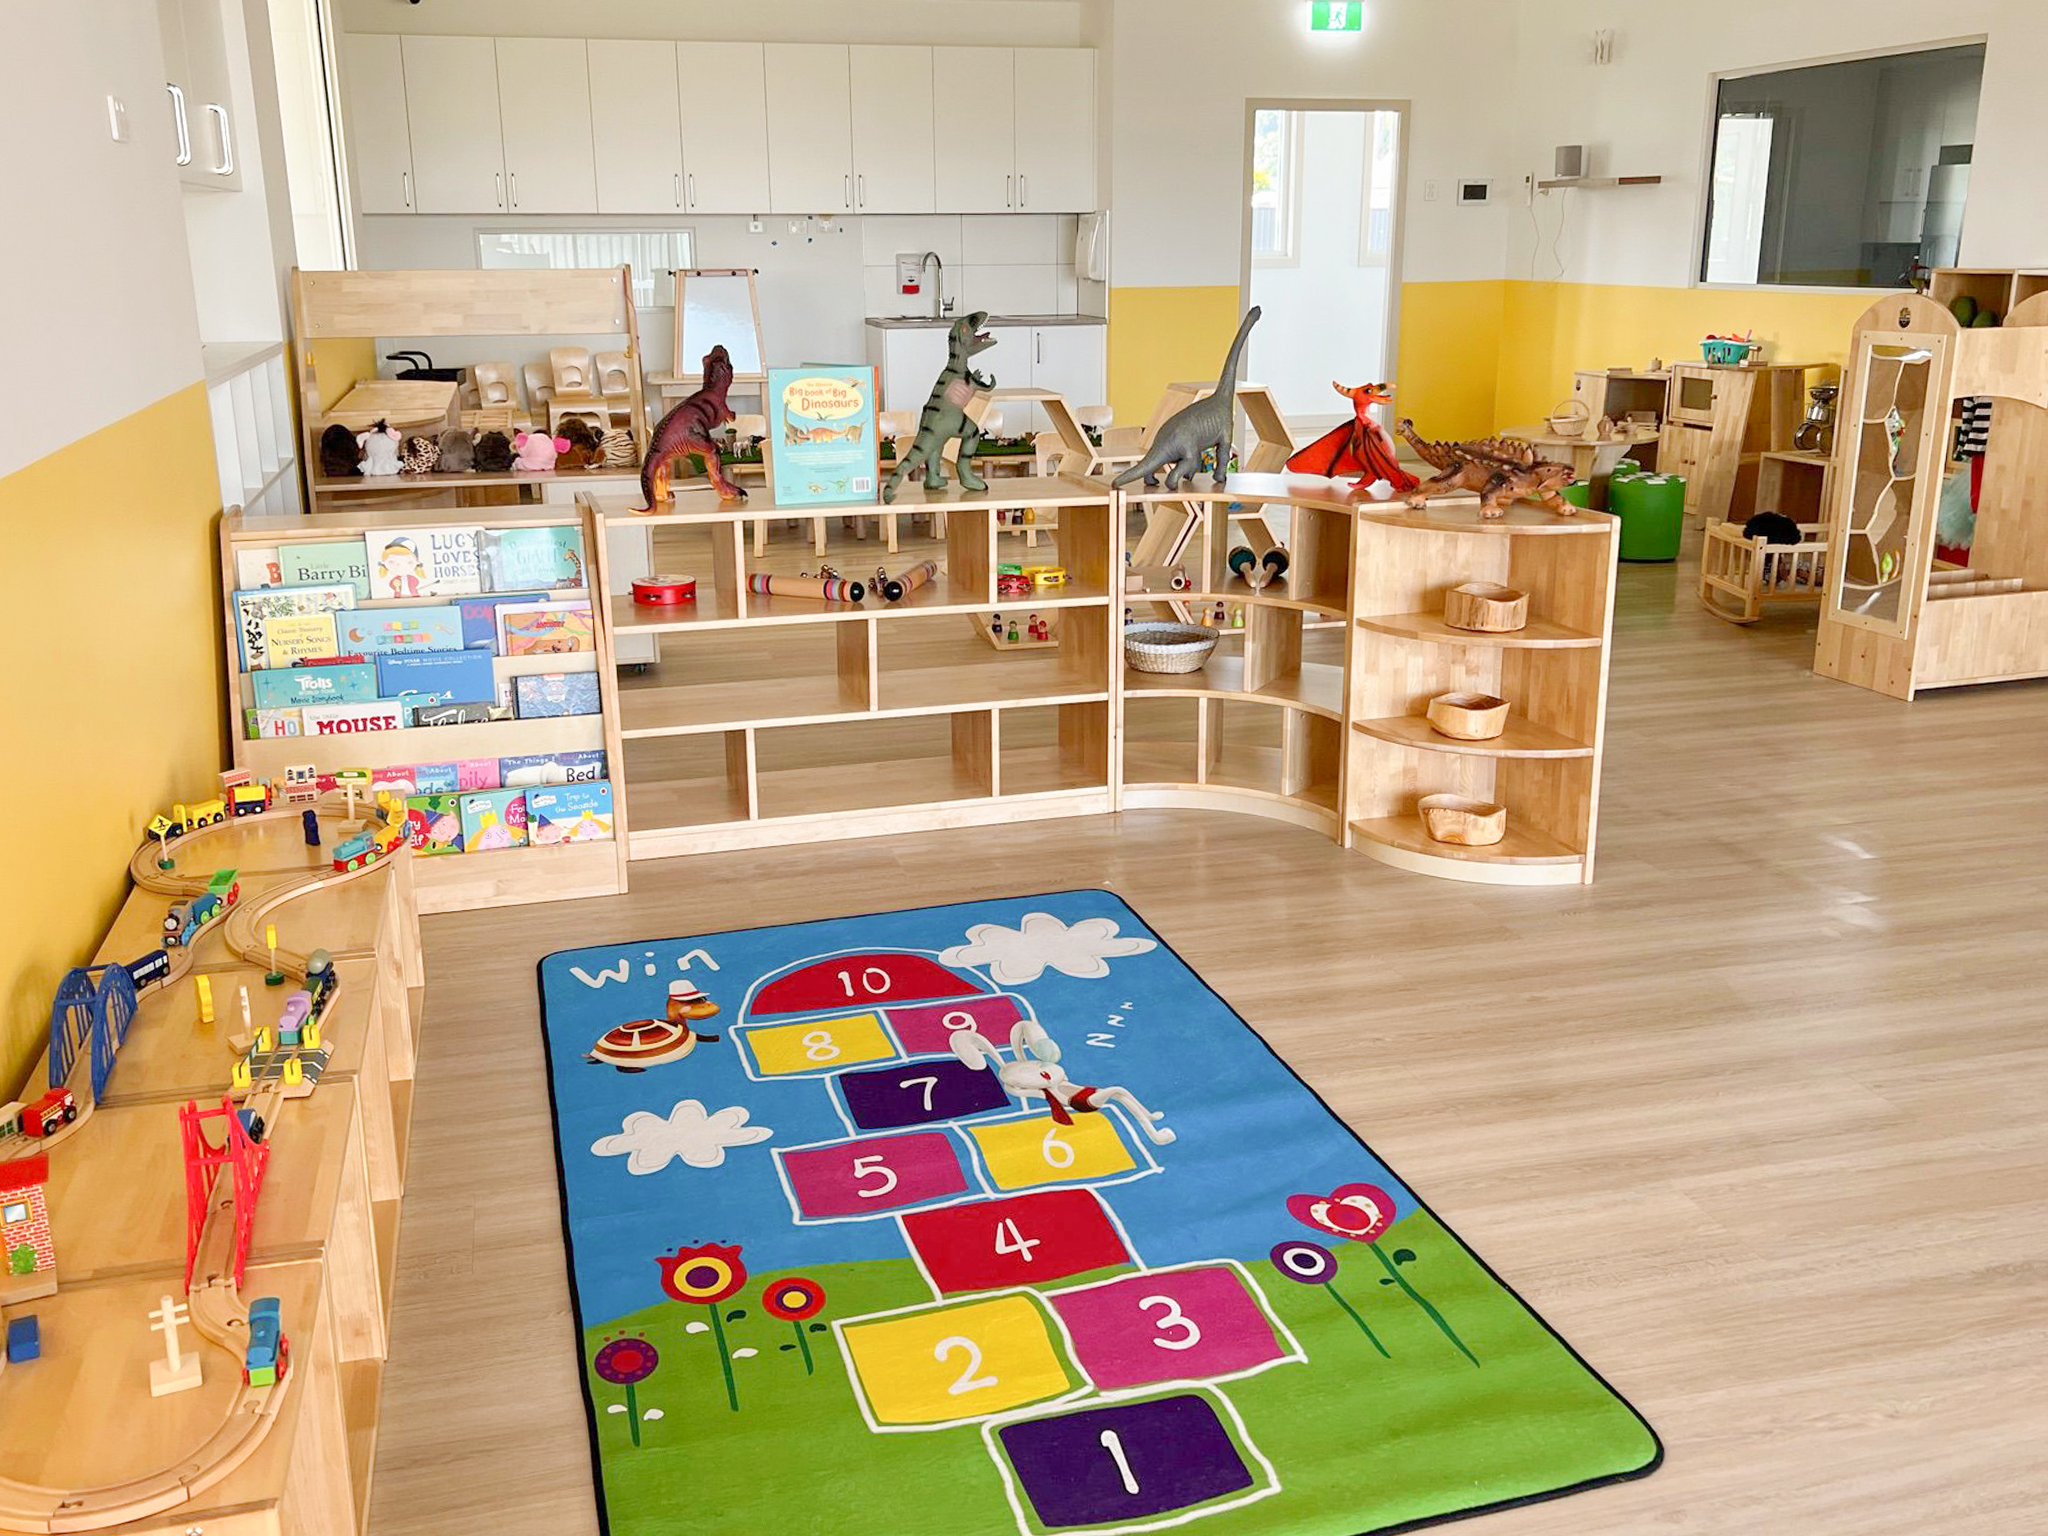
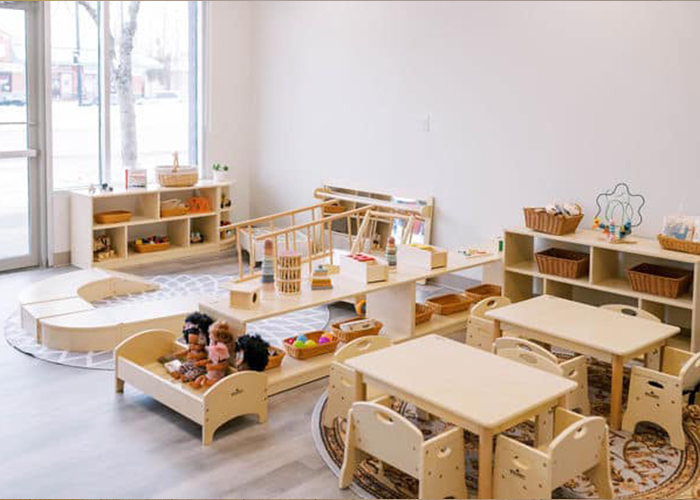
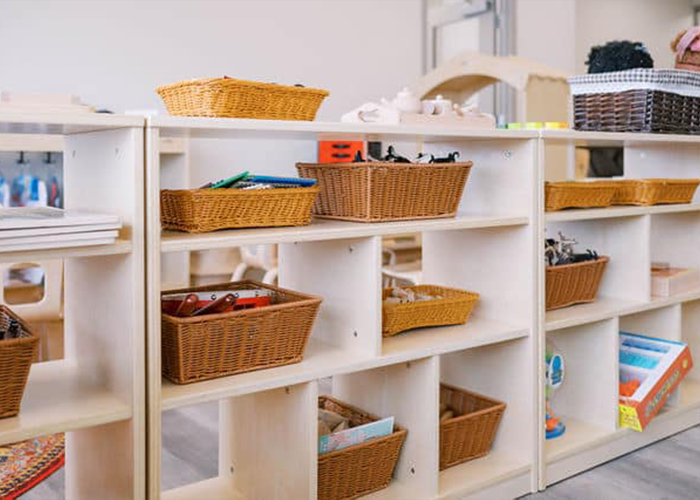
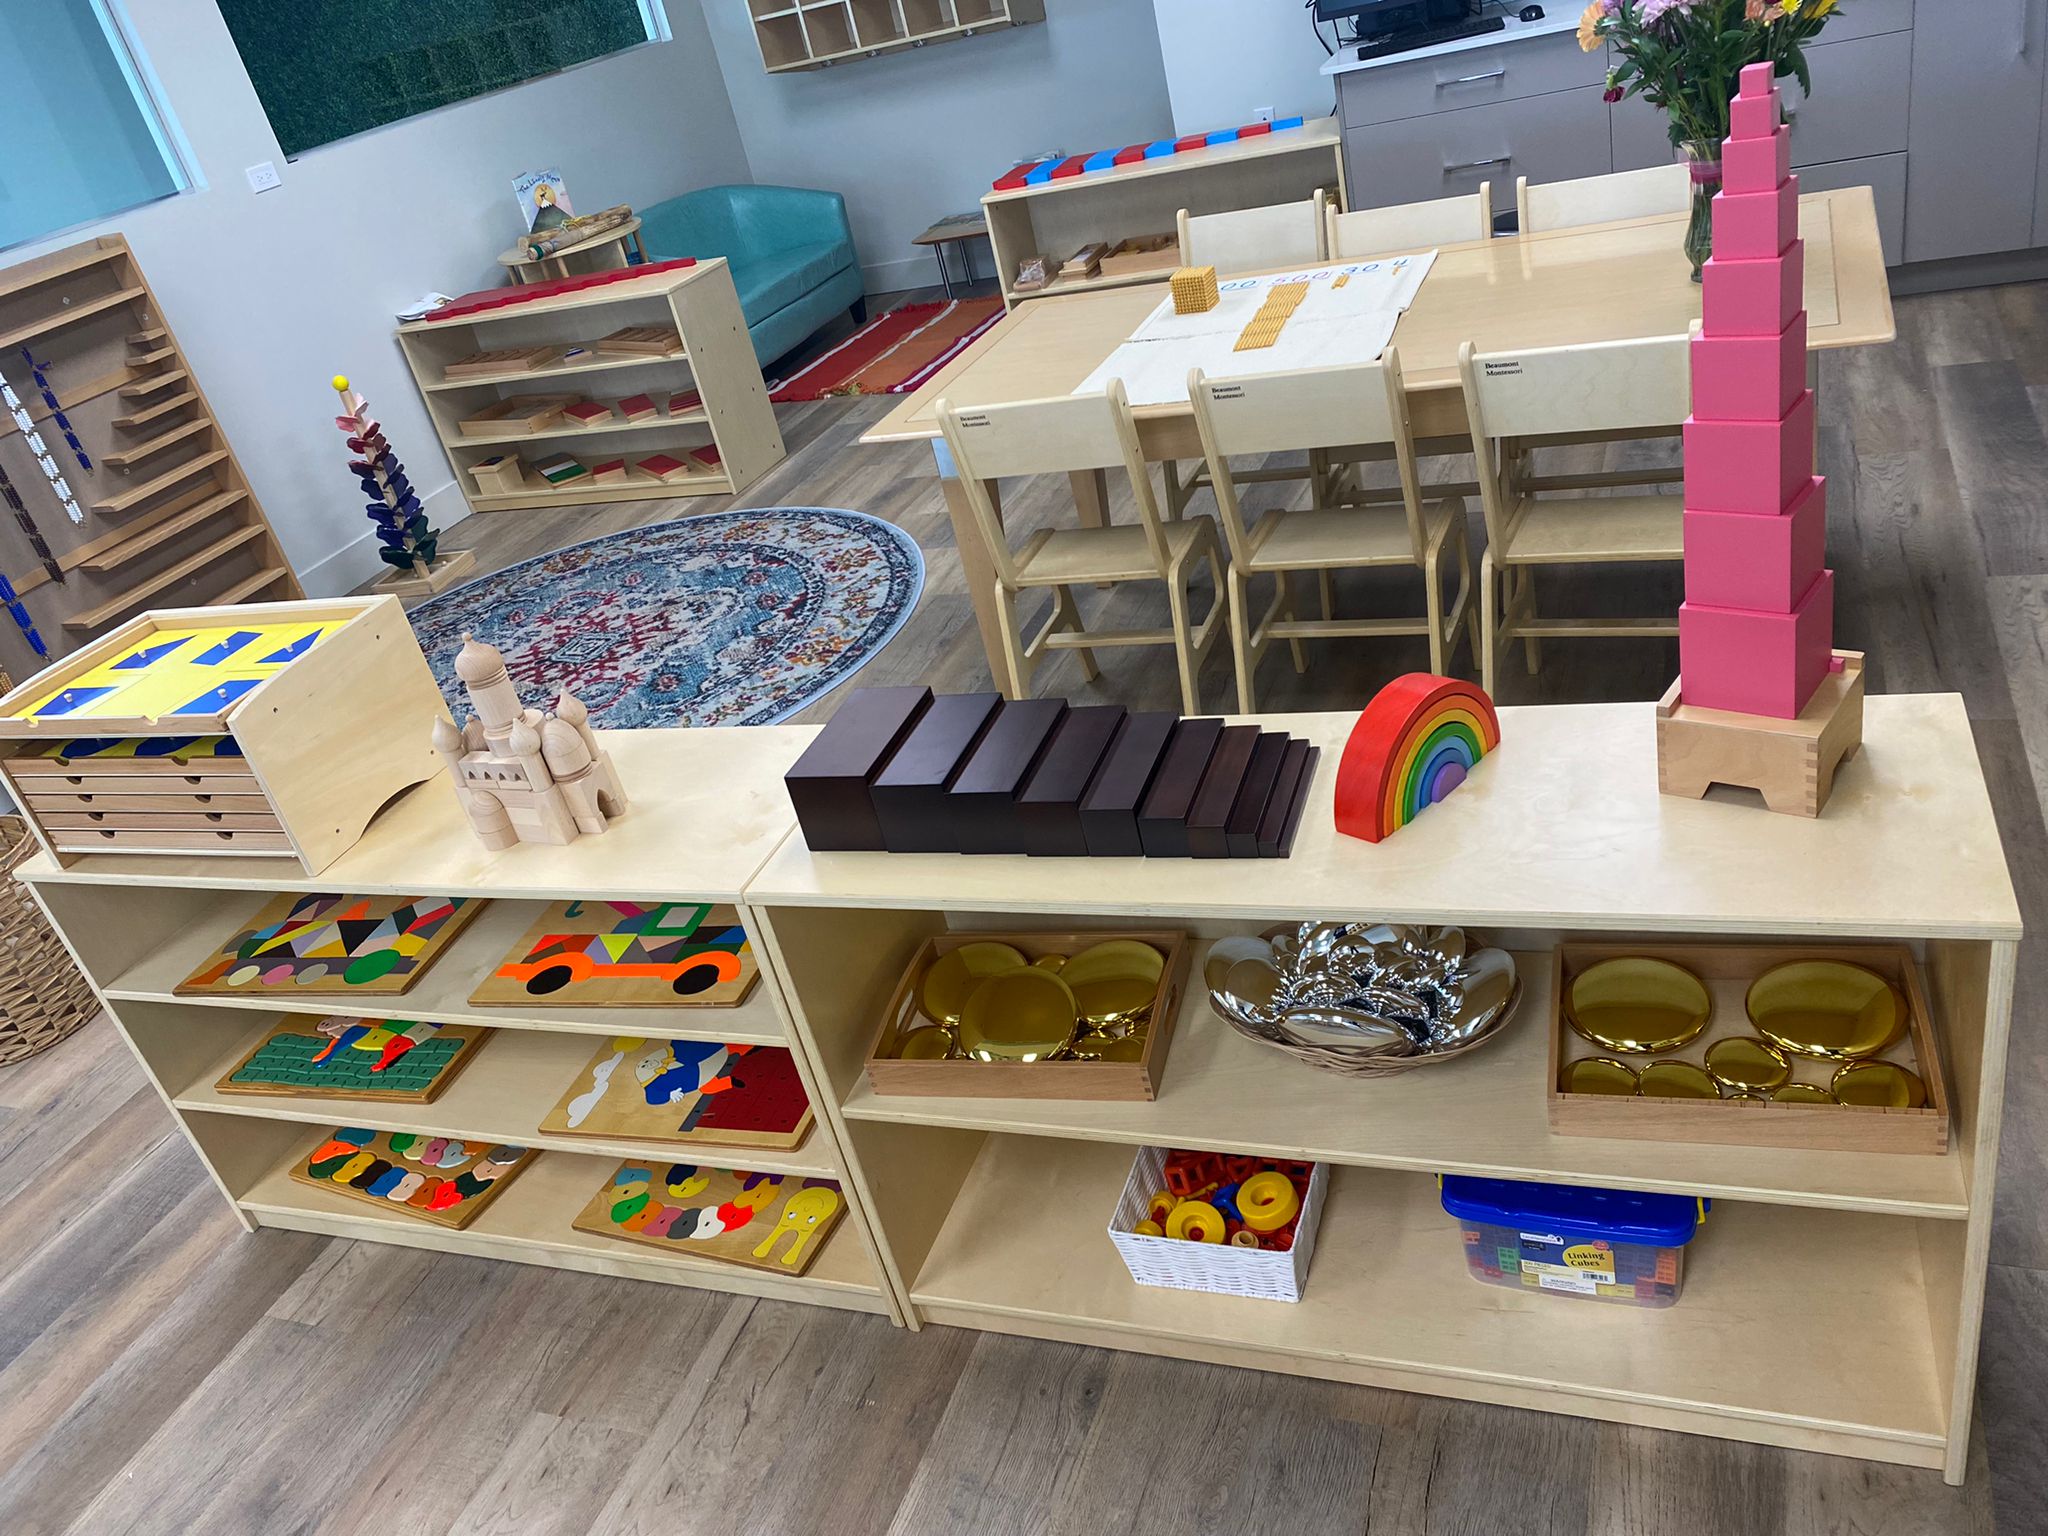
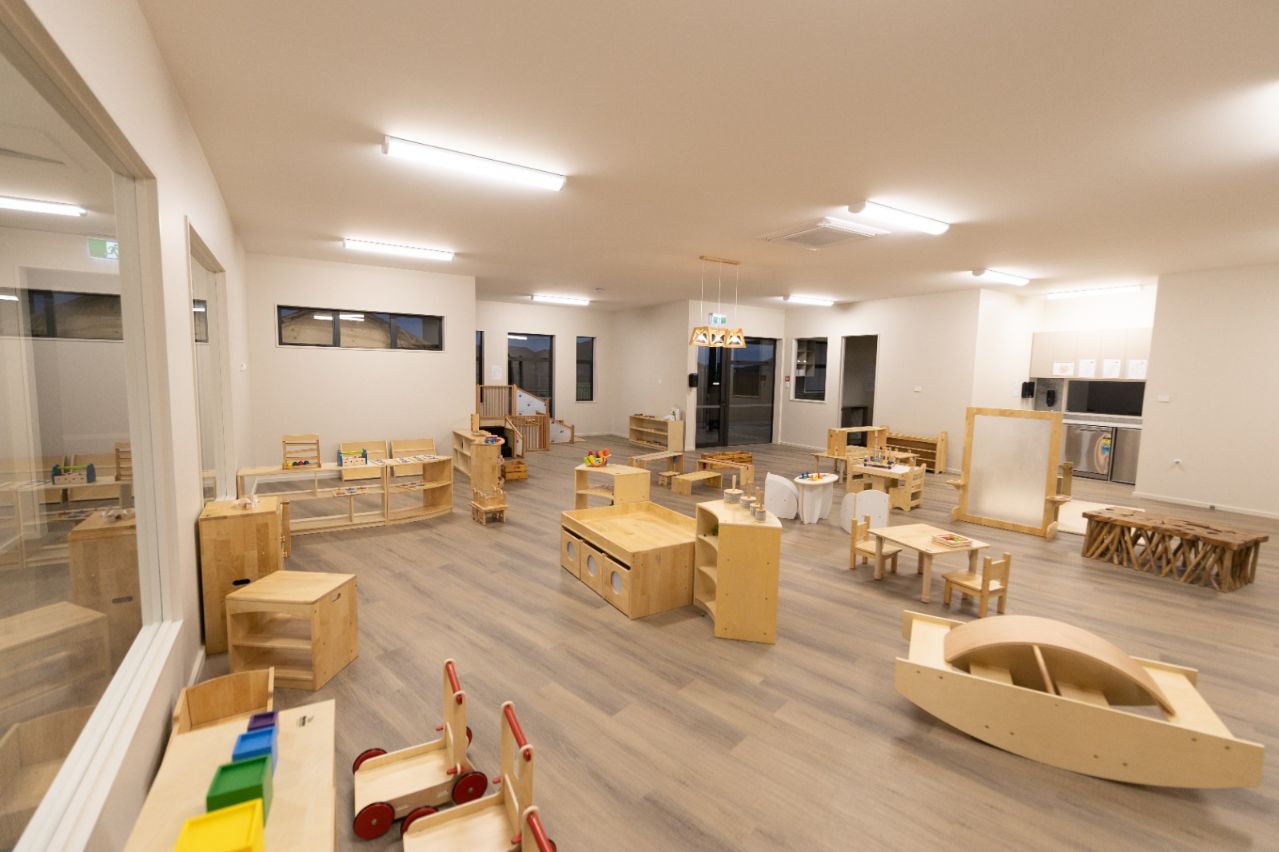
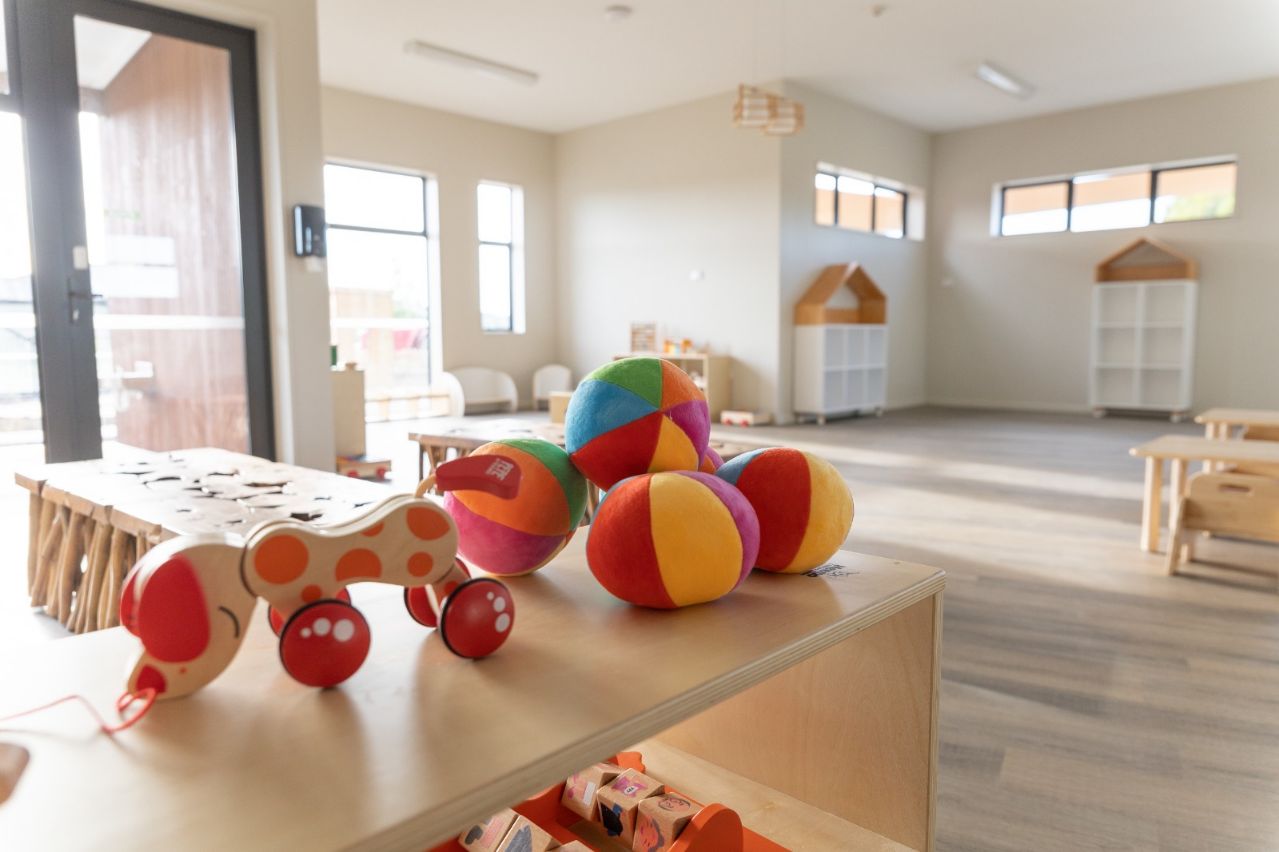
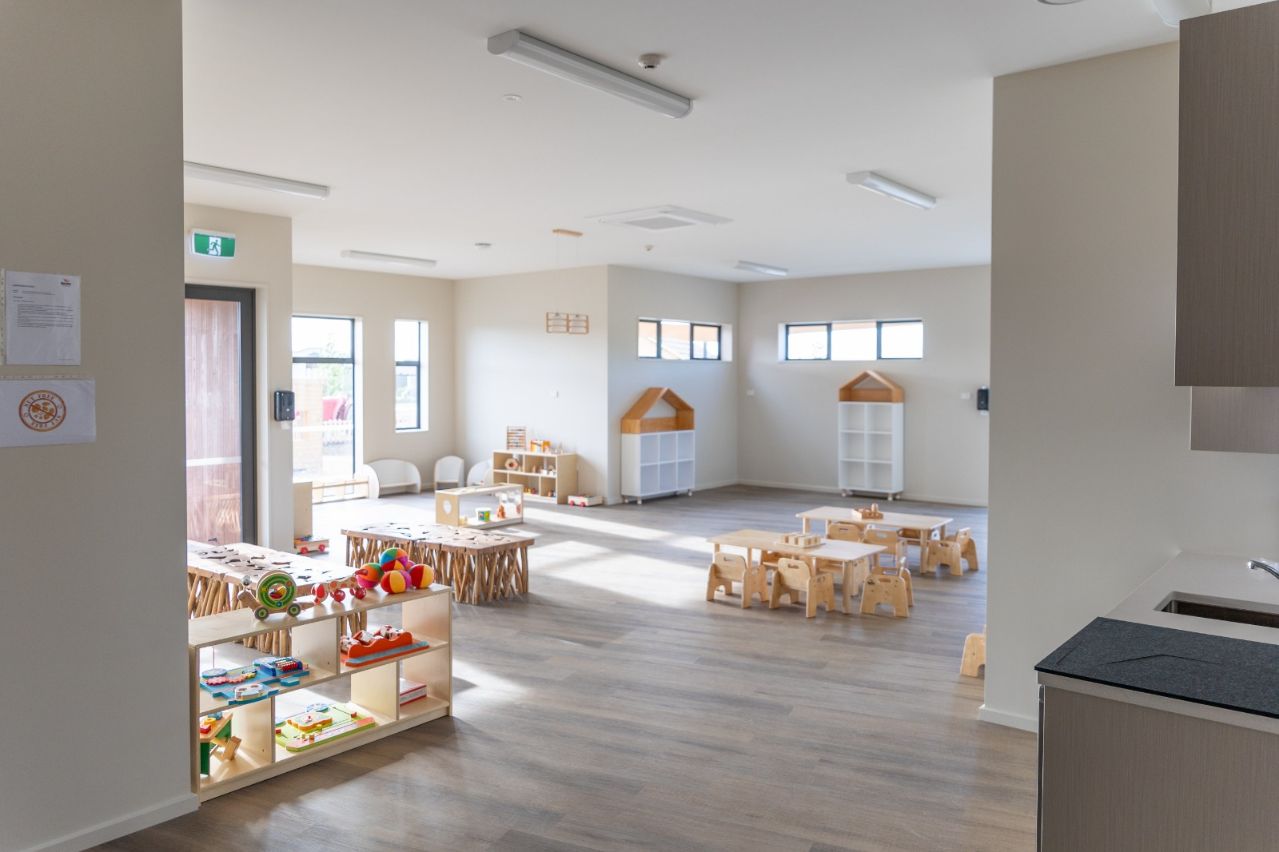
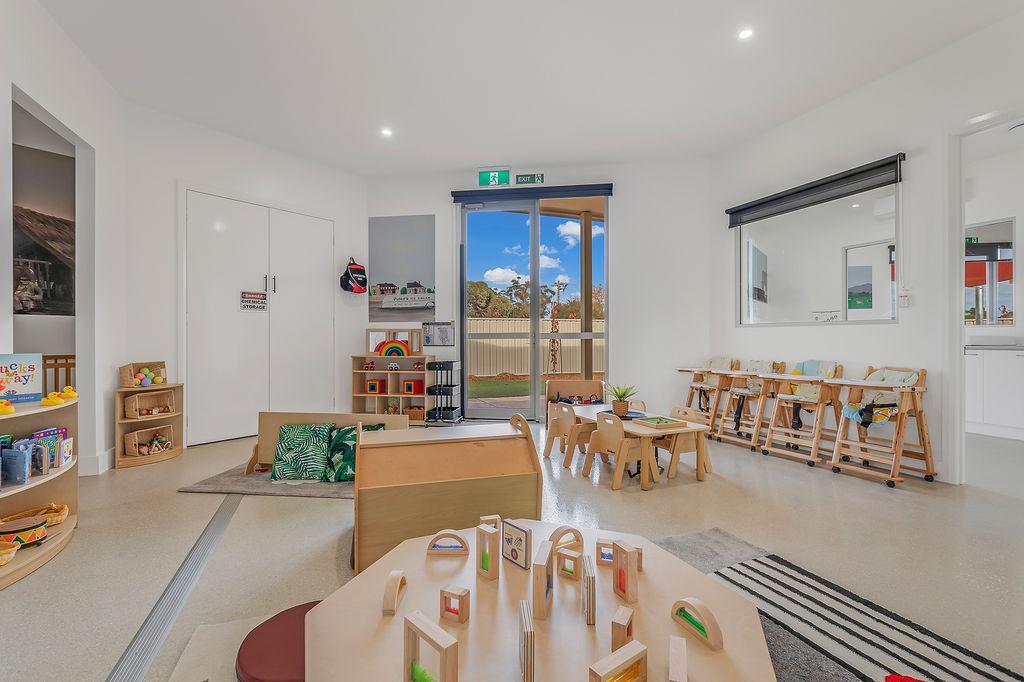
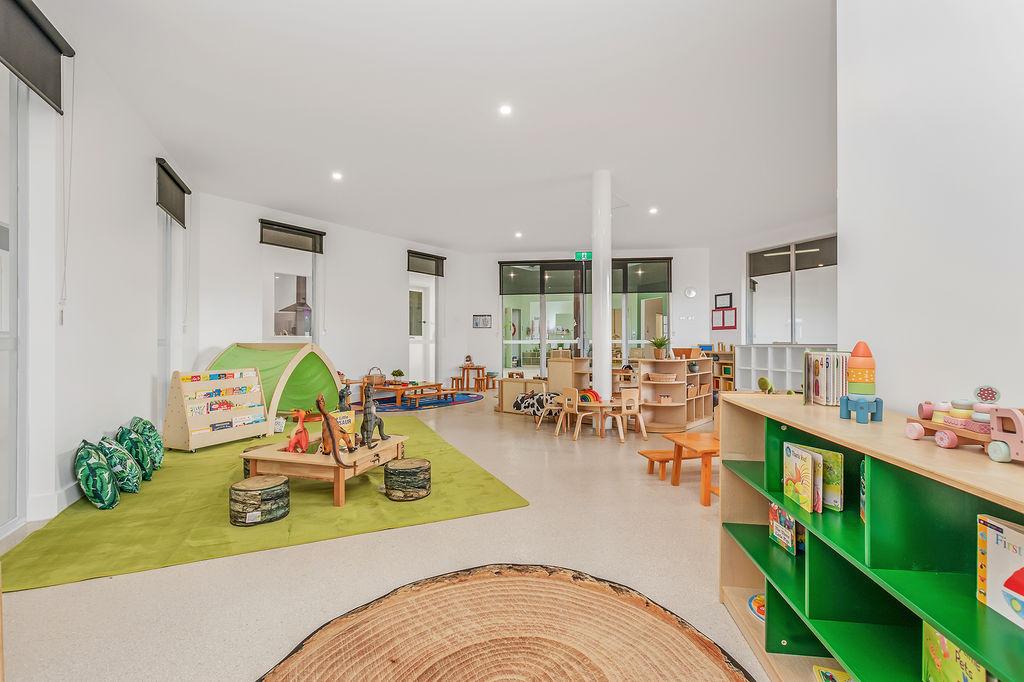
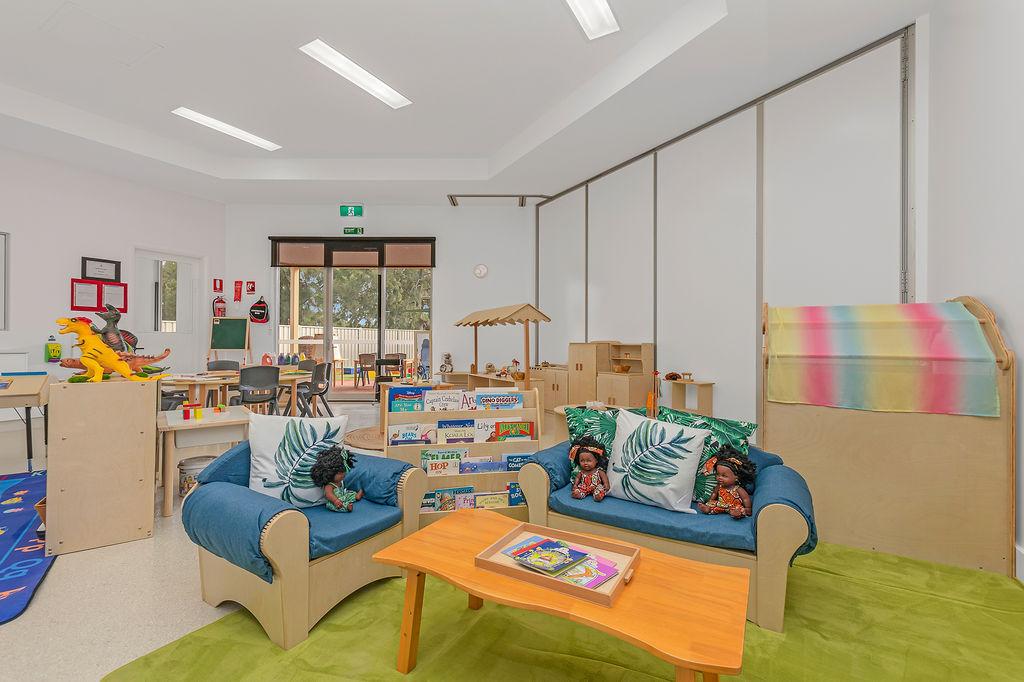
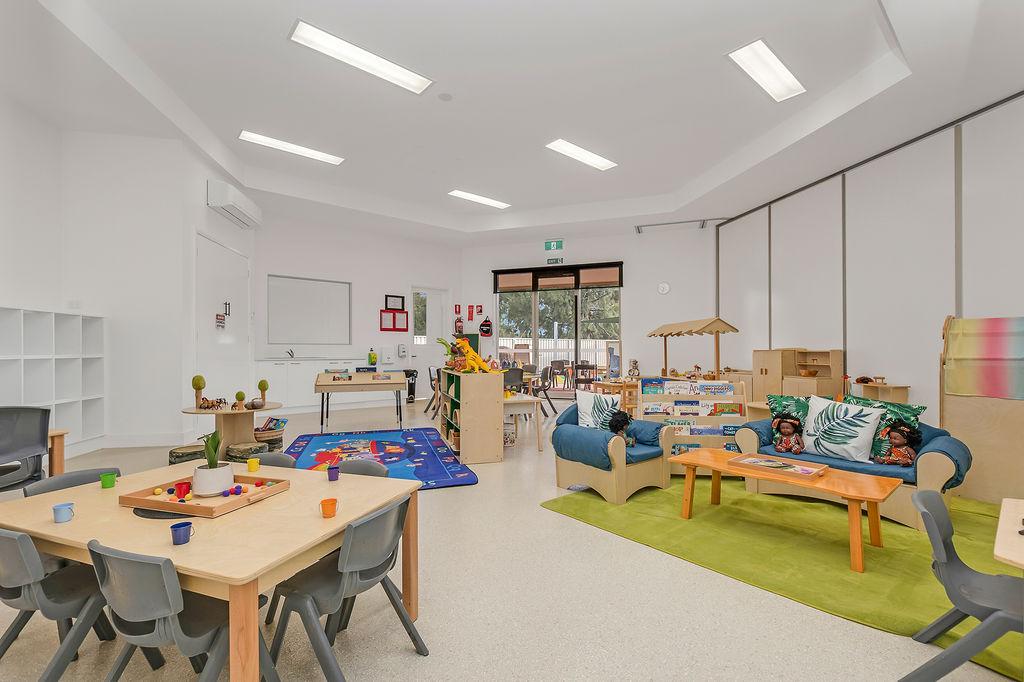
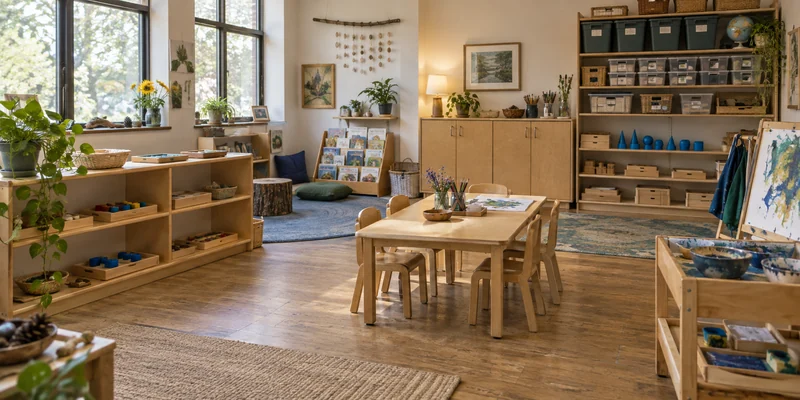
Use low, stable, open shelves for materials children are allowed to choose and return. Place complete activity sets in lightweight trays or open baskets. Leave enough room for a child to remove one set without pulling down the items beside it. Front-facing book displays work well for books because children can see the cover instead of searching through a deep stack; a dedicated preschool bookshelf can support this arrangement.
Teacher-controlled storage
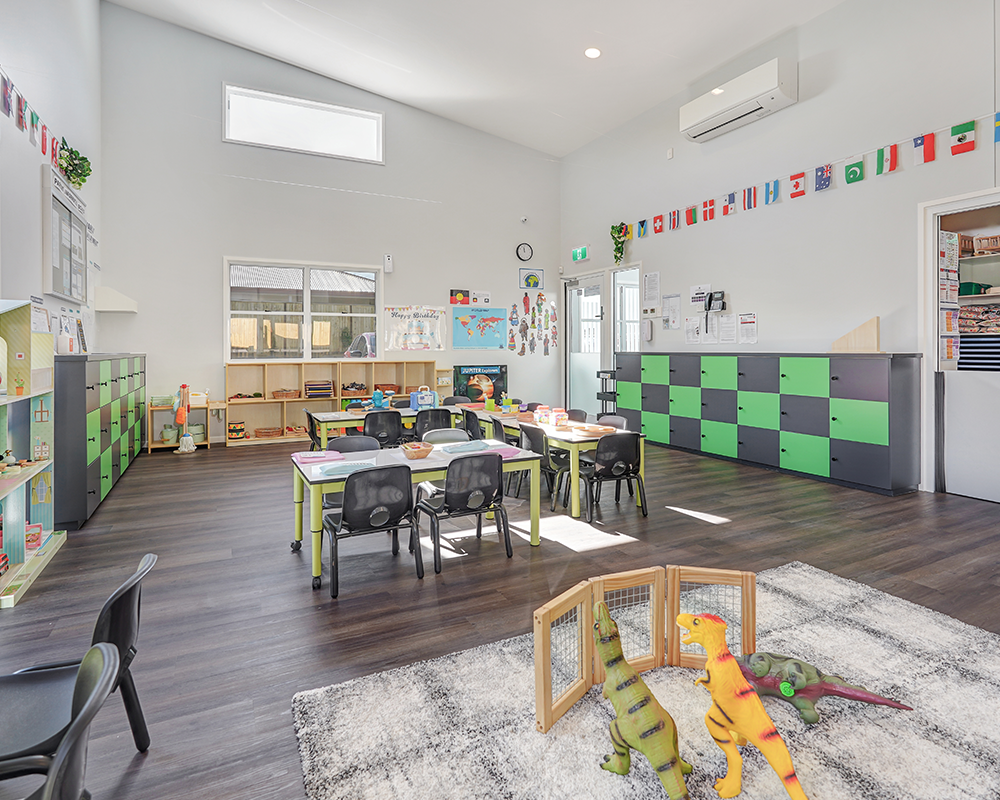
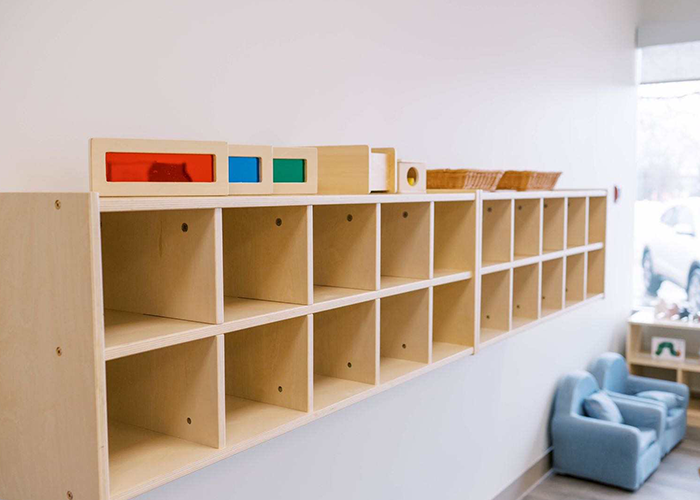
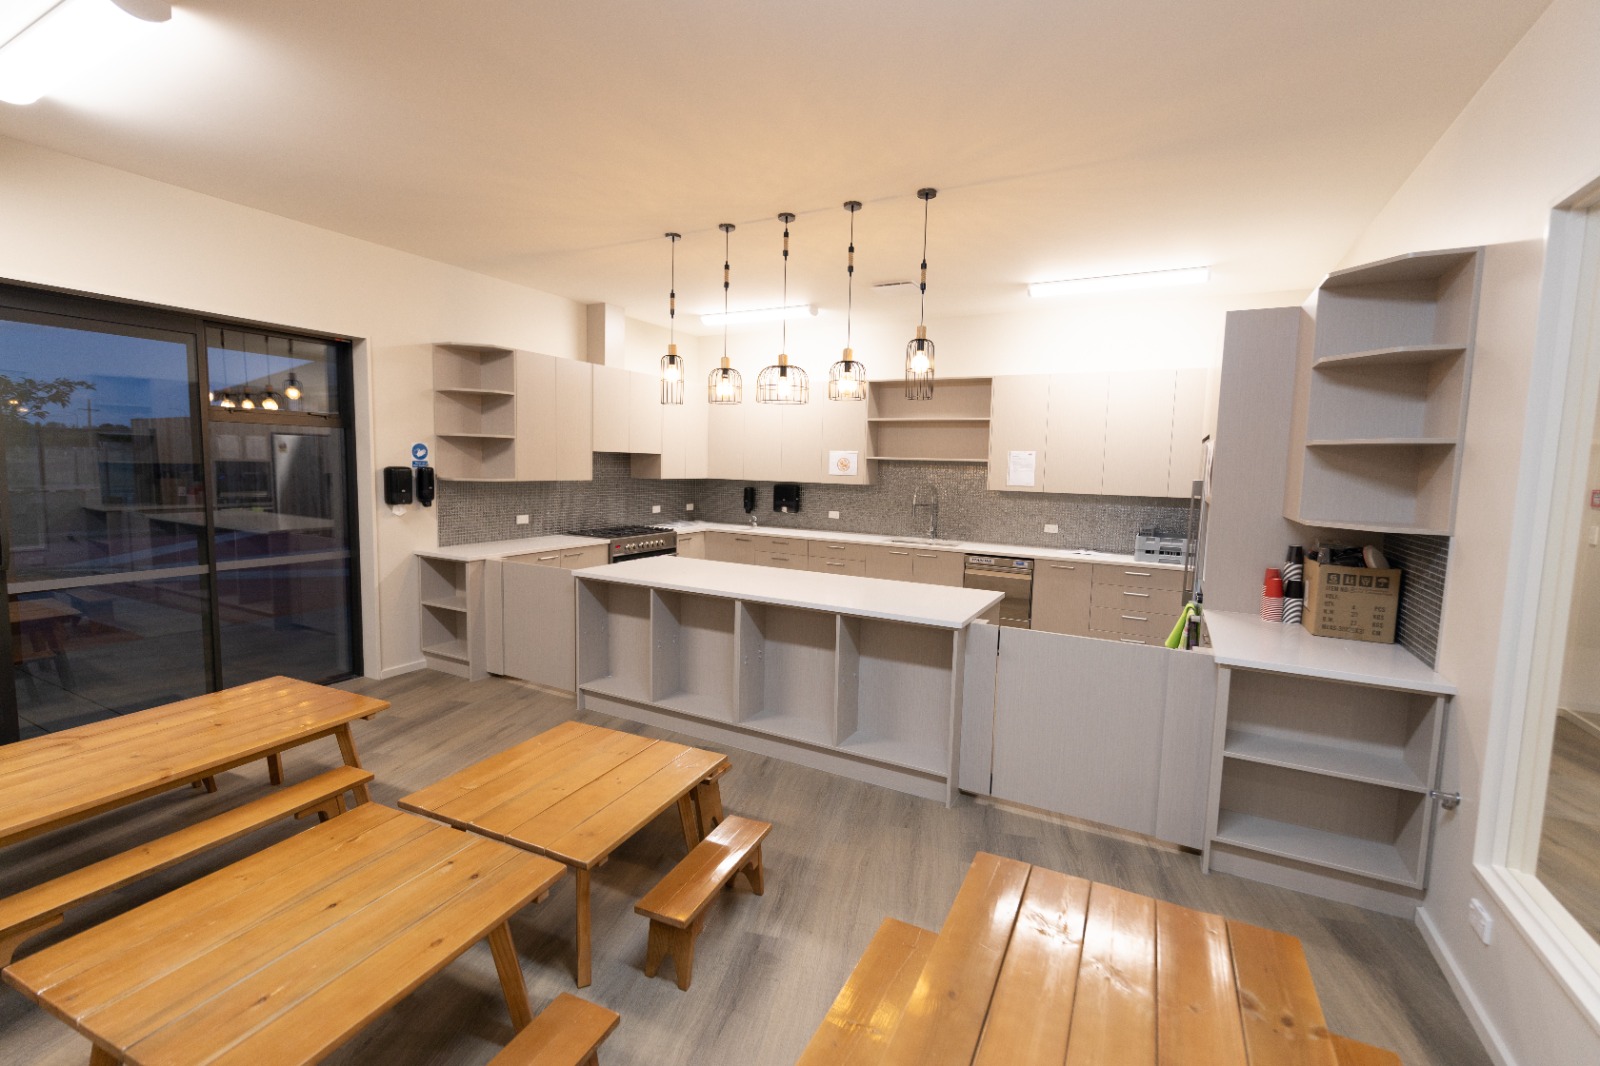
Keep cleaning products, extra stock, sharp tools, confidential paperwork, small parts, and materials that require adult preparation in closed or secured storage. The exact requirements depend on your state, local licensing authority, the children in your care, and the product itself. Requirements vary by jurisdiction. Always confirm current requirements with your local licensing or regulatory authority.
Rotation and backup storage
Store seasonal, duplicate, and not-currently-needed materials outside the active shelves. Label each container by its contents and intended use, such as “fall dramatic play” or “extra watercolor paper,” rather than using a vague label such as “miscellaneous.” Keep an inventory so you can check what you already own before placing a new order.
4. Label for Independent Cleanup
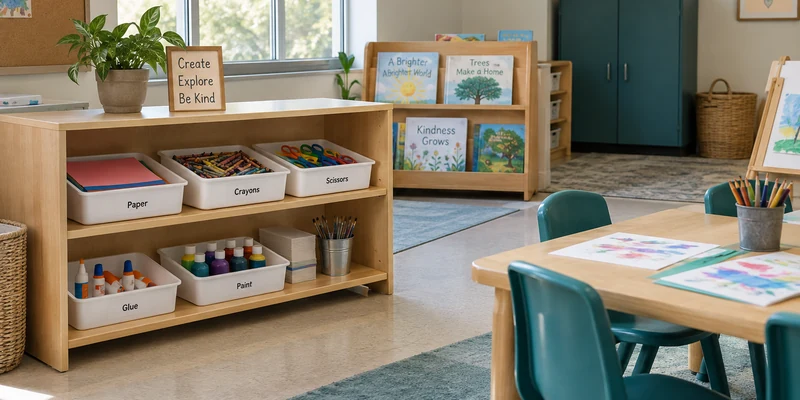
A label should help a child answer two questions: “What belongs here?” and “Where does it go when I am finished?” Use a short written word with a real photograph, drawing, or recognizable object image. Put the same label on the shelf and the tray when possible, and keep labels in a consistent position.
For younger children or children who are still developing language and literacy skills, a picture label may work better than text alone. You can invite children to help photograph, draw, or write the labels. Visual supports can also clarify how to use a material or complete a cleanup routine. See Head Start’s preschool learning goals for handling and caring for classroom materials for the connection between routines, material care, and growing independence.
Keep the labels simple. A shelf with twelve different tiny labels may be technically detailed but difficult to use. If two containers have nearly identical contents, combine them or give each one a clear purpose.
5. Match the Container to the Material
Choose storage by how the material is handled, not just by color or price. Open trays are useful for complete activities that children can carry to a table. Clear containers help you see small supplies, but they are not helpful if they are too deep, too heavy, or packed so tightly that children dump everything out to find one item.
Use these checks before you purchase:
- Can the intended user lift, carry, open, and return the container?
- Does the container fit the shelf without blocking the walkway or neighboring materials?
- Can you clean the surface easily after paint, glue, water, or sensory play?
- Will the material stay together when the tray is moved?
- Can you replace a missing bin or label without replacing the whole unit?
- Does the shelf remain stable when the lower bins are removed?
For a new room or a multi-classroom order, ask the supplier for exact external and internal dimensions, material and finish information, cleaning guidance, available accessories, packing details, and lead time. If the supplier cannot explain how the unit will work in your space, the product is not ready for a reliable purchasing decision.
6. Plan Storage With Your Classroom Layout
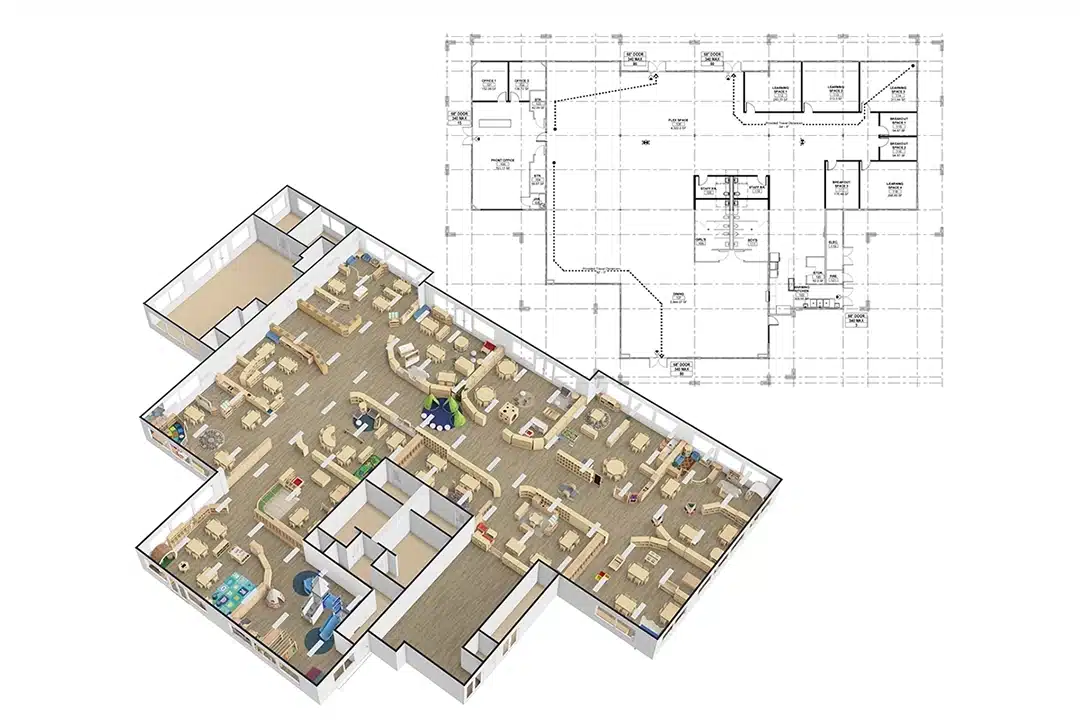
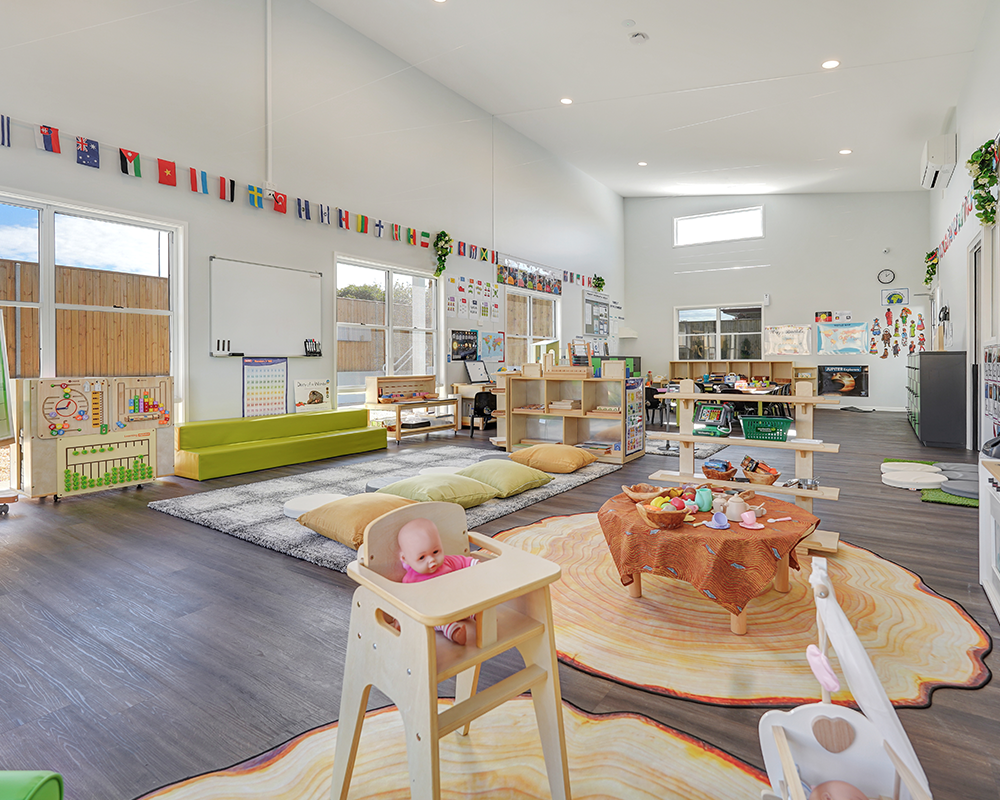
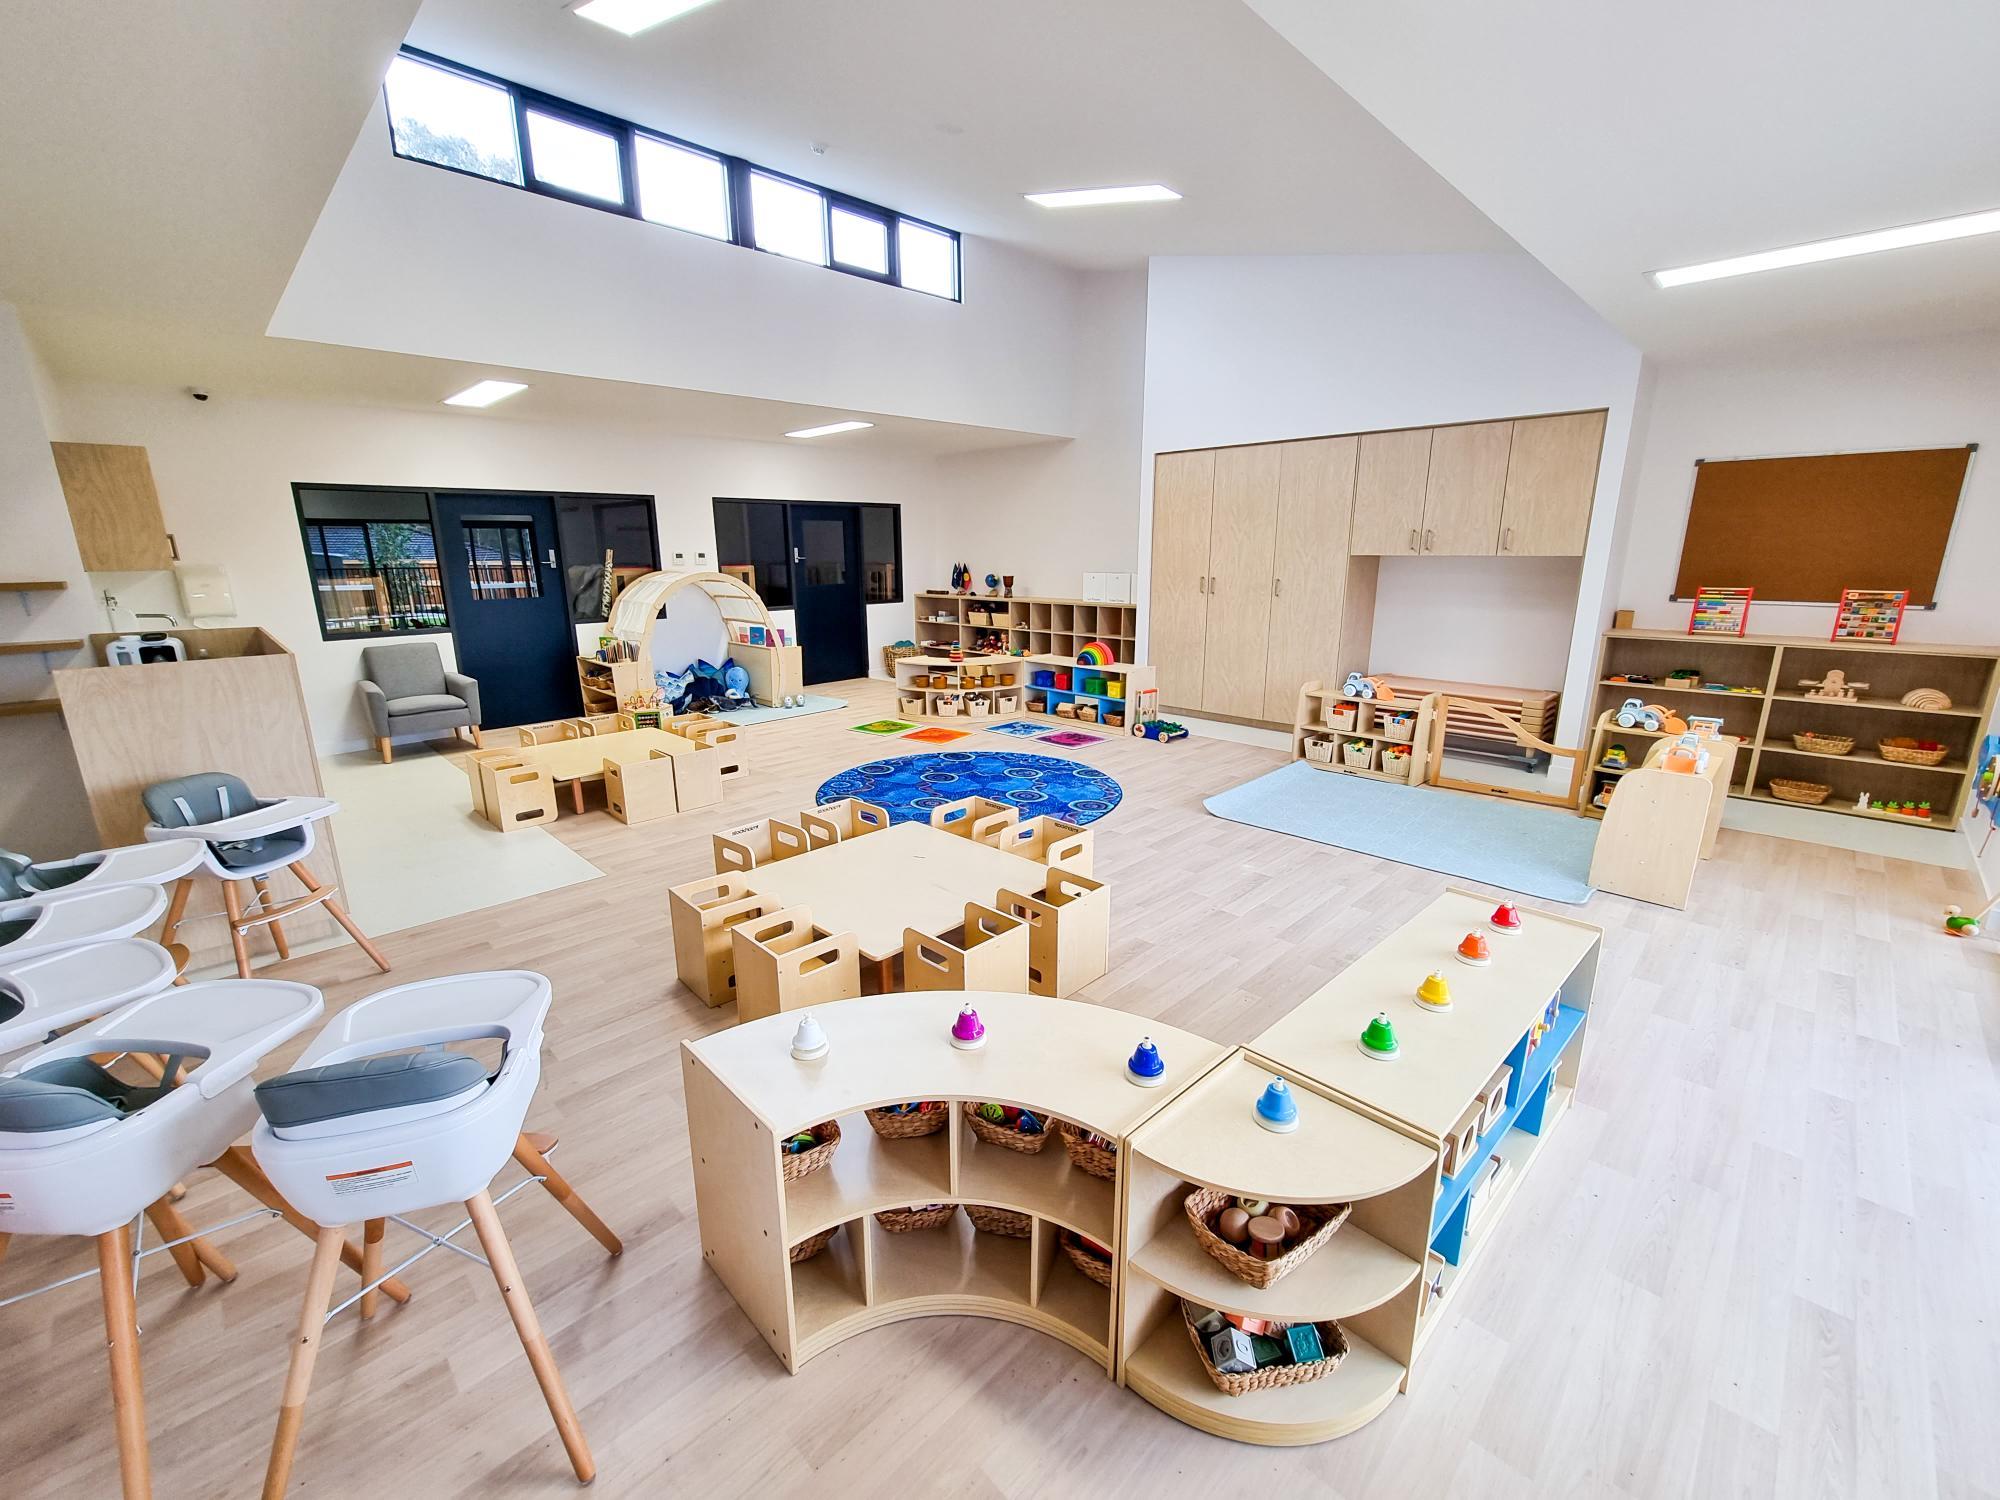
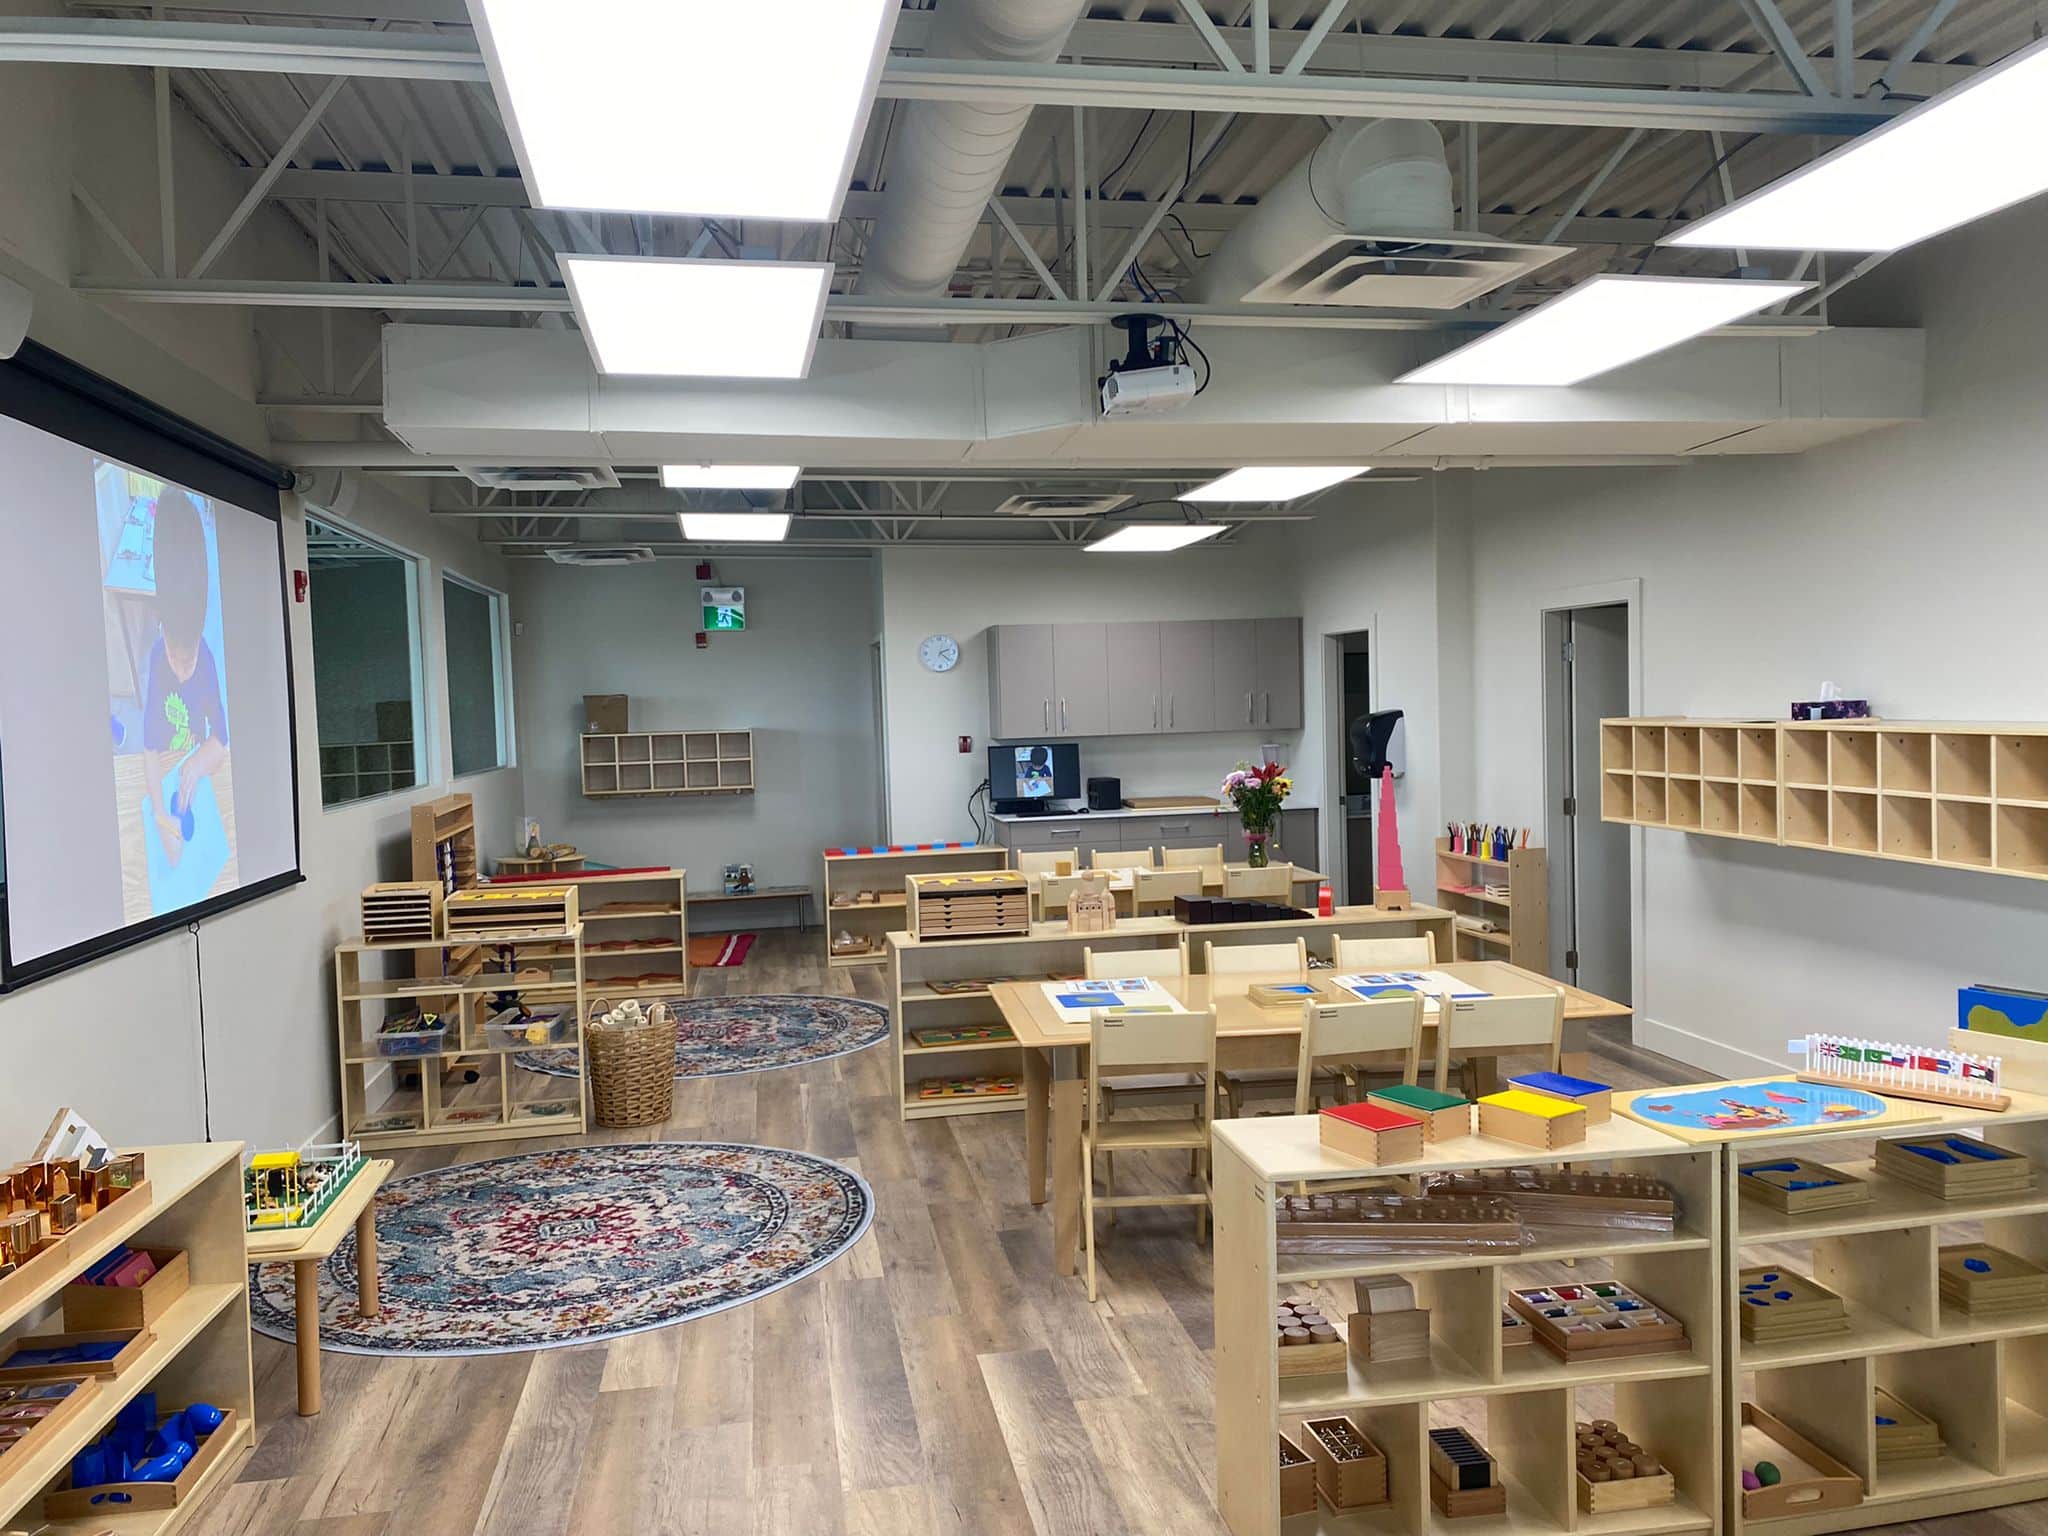
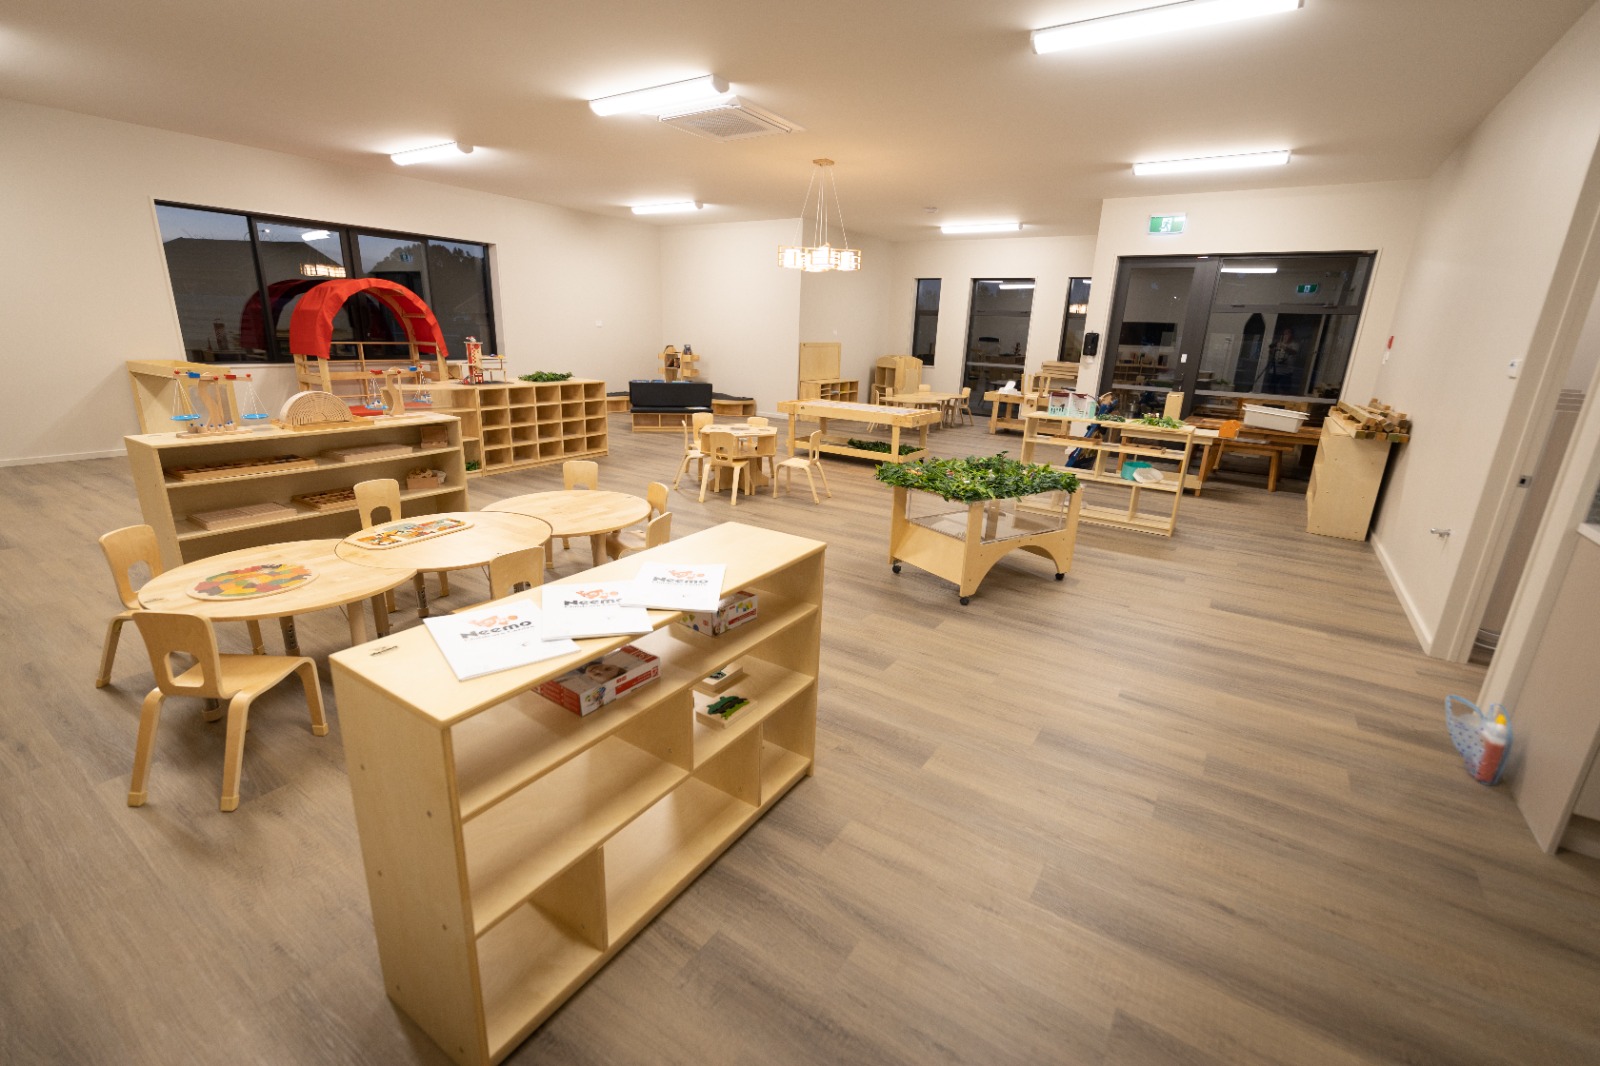
If you are setting up a new classroom or replacing storage across several rooms, draw the layout before you choose units. Mark doorways, sinks, fixed cabinets, windows, quiet zones, active zones, teacher sightlines, and the route used for outdoor transitions. Place the learning zones first; then give each zone the storage it can actually use.
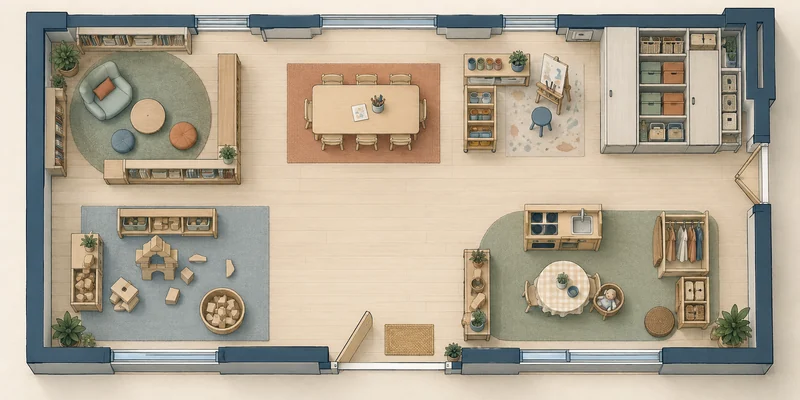
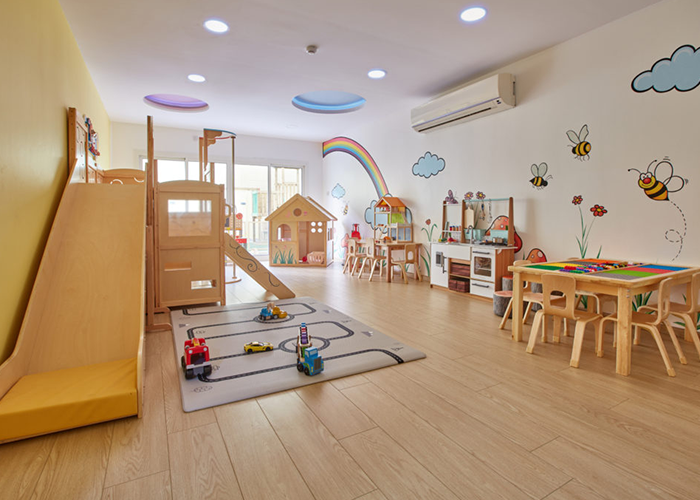
Keep reading and small-group work away from the busiest route. Put Art storage near the work surface and cleanup point. Keep block and dramatic-play storage close to the floor area, but do not let shelves create a blind corner. Stage Outdoor materials near the exit only if they can stay dry and separate from indoor stock. Put teacher-controlled and rotation storage where adults can restock without crossing active work. If you are comparing the whole room rather than one shelf, review the guide to preschool classroom setup alongside your own floor plan.
Before you approve a larger order, confirm the decisions that affect daily use: the unit’s exact external and internal dimensions, the materials and finishes, how surfaces should be cleaned, which trays or accessories are included, how the shipment will be packed and labeled, and who handles assembly or installation. For a new room or multi-classroom project, you can give West Shore the room dimensions, age group, enrollment, learning zones, and storage constraints and request Classroom Design / Layout & Planning and Product Selection input. Treat customization, lead time, and shipping assumptions as project-specific details to verify before approval.
7. Rotate Materials Based on Use, Not a Calendar
You do not need to remove a material simply because a month has changed. Keep core materials available when children use them productively, and rotate only when observation shows that the selection is no longer supporting engagement, the skill level has changed, or too many choices are competing for attention.
Before a rotation, check whether the replacement material connects to the current learning goal or children’s questions. Store the removed set as a complete kit, record what is missing, and clean it before putting it away. When materials return, you should not have to rebuild the activity from several unrelated boxes.
8. Build a Short Reset Routine
Organization lasts when the reset is part of the classroom routine. Teach children to carry one tray at a time, use a defined work space, check the picture label, and return the material before choosing another activity. At first, model the whole sequence and give specific reminders. Later, use a quick visual cue or ask children to identify what is missing.
At the end of the day, inspect the areas that create the most disruption rather than trying to reorganize every shelf. Check incomplete sets, damaged items, overflowing bins, blocked paths, and materials that children repeatedly leave in the wrong place. A short daily reset plus a deeper monthly or term-based review is usually more sustainable than a major clear-out every few months.
For cleaning and disinfection procedures, connect your storage routine with a current daycare cleaning checklist. Do not store wet or dirty materials back in a closed container simply because the shelf looks tidy.
9. Check Safety, Visibility, and Access
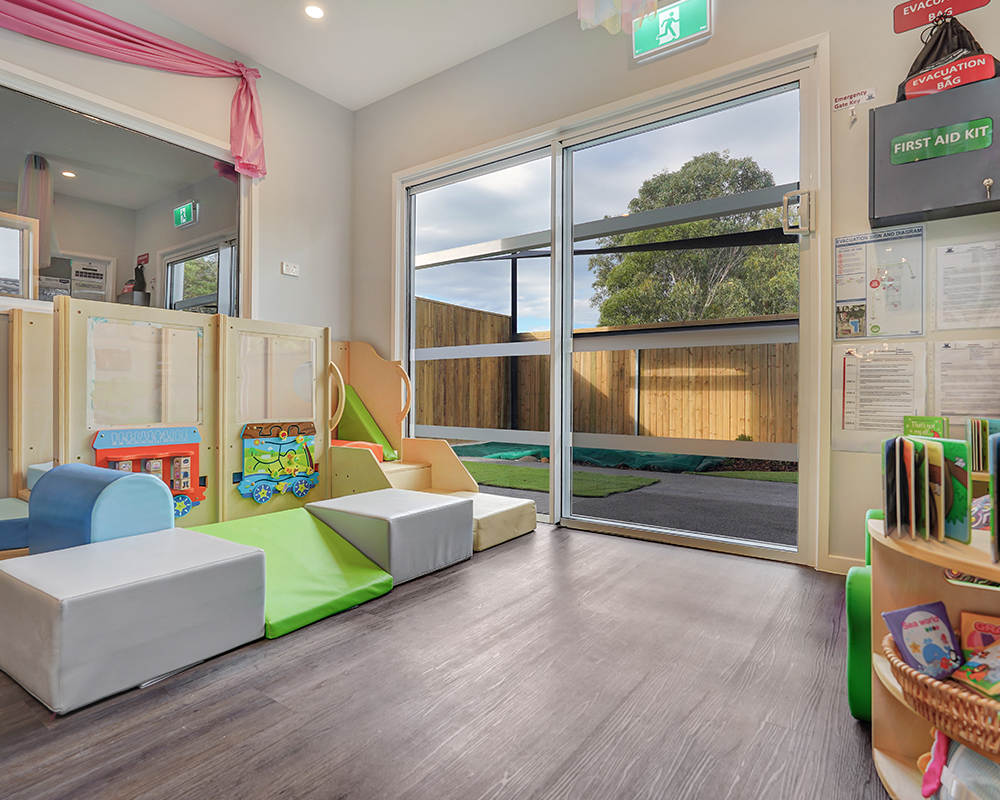
Look at the room from a child’s eye level and from the teacher’s supervision position. Children should be able to see the materials they are expected to use, and you should be able to see the areas where they are working. Keep pathways, exits, and adult access points clear.
Inspect tall or top-heavy units, especially after moving shelves or changing the load. Follow the manufacturer’s instructions for securing furniture. The U.S. Consumer Product Safety Commission’s Anchor It guidance explains why furniture should be secured and why tempting objects should not be placed where children may climb for them. Requirements vary by jurisdiction, so include your local licensing and safety review in the final decision.
Also check whether every child can participate. A container that is easy for one child to carry may be too heavy or difficult for another. Adjust the location, handle, tray size, visual label, or adult support when needed. An organized classroom is not successful if access is limited to the most confident children.
Common Preschool Material Organization Mistakes
- Buying containers first: you end up with attractive bins that do not fit the shelf or the material.
- Putting everything on display: too many choices can make it harder for children to focus and harder for staff to reset the room.
- Using one large mixed bin: children must empty the container to find one piece, and incomplete sets become difficult to notice.
- Storing materials far from their activity: adults and children create unnecessary traffic across the room.
- Labeling without teaching: a label cannot replace a modeled routine and regular observation.
- Keeping broken or duplicate materials: clutter returns because the system has no removal rule.
Frequently Asked Questions
How do you organize preschool materials in a small classroom?
Start with the materials children use every day and place them near the activity area. Move backup and seasonal supplies out of the classroom or into closed storage, use vertical space only when it does not reduce supervision or access, and avoid keeping several versions of the same low-value item.
Should preschool materials be stored in open or closed containers?
Use open, lightweight storage for materials children are allowed to choose independently. Use closed or secured storage for adult-only, messy, sharp, small, confidential, or backup materials. The correct choice depends on who uses the material and how often—not on whether open bins look more attractive.
How often should you rotate preschool materials?
Rotate when observation shows that a material is no longer being used, no longer matches the children’s current needs, or is creating too many choices. Keep dependable core materials available and rotate smaller sets as your curriculum, projects, and children’s interests change.
How do you help children return materials to the right place?
Give each material a clear home, label it with a word and picture, demonstrate the complete cleanup sequence, and practice it when the room is calm. If children repeatedly return an item to the wrong place, reconsider the shelf location, container size, label, or whether the set is too difficult to manage independently.
A Better Way to Organize Preschool Materials
Organize preschool materials around real classroom use: audit what you own, keep active sets near the work area, separate child-accessible materials from teacher storage, label for action, and review the system as children use it. If you are planning a new classroom or replacing storage across several rooms, compare the layout with your floor plan before you order. You can also request practical furniture and layout guidance for your space.