
Many educational institutions and daycare centers create maker spaces for children, but the results are often unsatisfactory. Some purchase large quantities of materials, while others create aesthetically pleasing spaces, but all lack clear planning, preventing the spaces from achieving their true purpose.
What’s truly important is to design a space that is both child-centered and aligned with educational objectives. This guide will explain how to plan, build, and set up a practical children’s maker space.

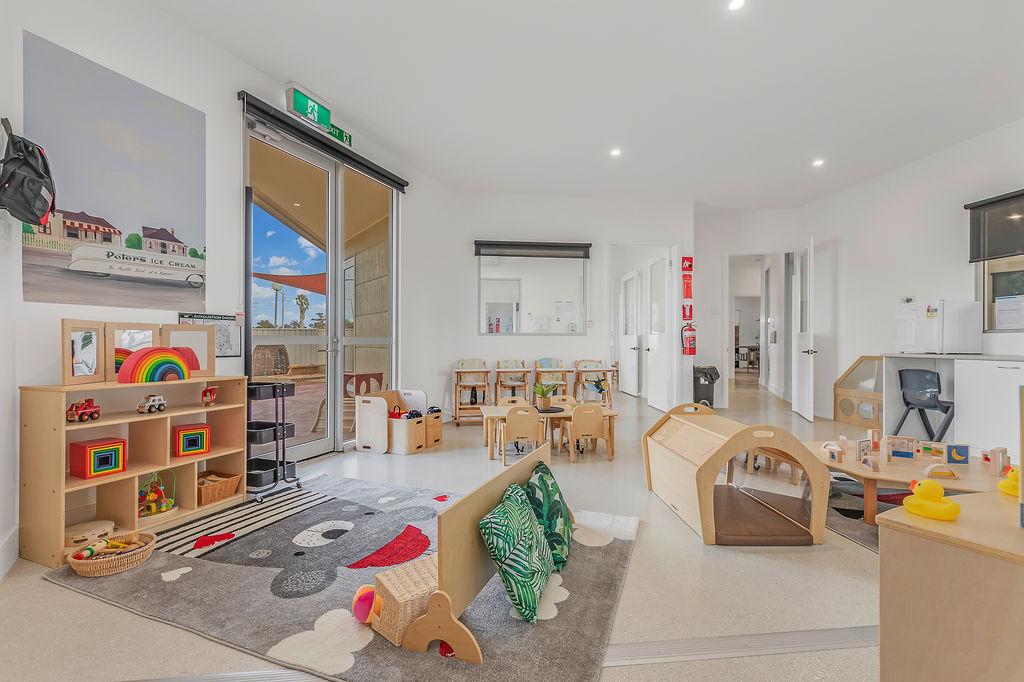
How to Set Up a Maker Space for Kids Step by Step
Most schools don’t lack ideas, but rather the specific creation process and considerations. Based on our experience serving clients, two common scenarios emerge. One is a simplistic approach: jumping straight into the purchasing phase to make the space appear comprehensive. The other is a reluctance to even attempt creating a maker space, worrying about budget, management, and the long-term impact.
In reality, the biggest pitfall in creating a maker space is a lack of logical thinking. Below are practical methods to address this issue step-by-step.
Step 1: Set a Clear Goal
Many projects lack clear goals and jump straight into setting up maker spaces, focusing only on the need for such a space without considering the underlying reasons.
Before planning a maker space, the first step is to define the goals.
For example:
- Do you need an open learning environment or a guided one?
- What is the focus of your learning center?
- How old are the children?
- Is this space frequently used?
- Do you want it to be a highlight for enrollment?
How you want to build your makerspace depends primarily on your set goals. There are no two identical spaces, nor is there a single, seemingly “right” space; the first step in any layout is establishing a clear objective.

Step 2: Assess Available Space
This is a very practical question. Many people think that a maker space needs to be huge to be established, but the real question should be: what type of maker space is best suited to your existing space?
What truly affects usability isn’t just size, but also the following:
- How large is the area, and how many children can use it at the same time?
- Is the space regular in shape? Is the flow of movement smooth?
- Is the lighting and visibility sufficient? Is it suitable for children to stay and work for extended periods?
- Is it a shared corner of the classroom or a separate room?
- Is it easy to clean and tidy?
Most importantly, consider the location. Avoid setting up the creation area in high-traffic areas. Children need to concentrate on creating, and having people constantly passing by and needing to move will disrupt their activities.
Not every school has the same conditions and space; a reasonable layout is needed based on your available space. Here are some common layout ideas:
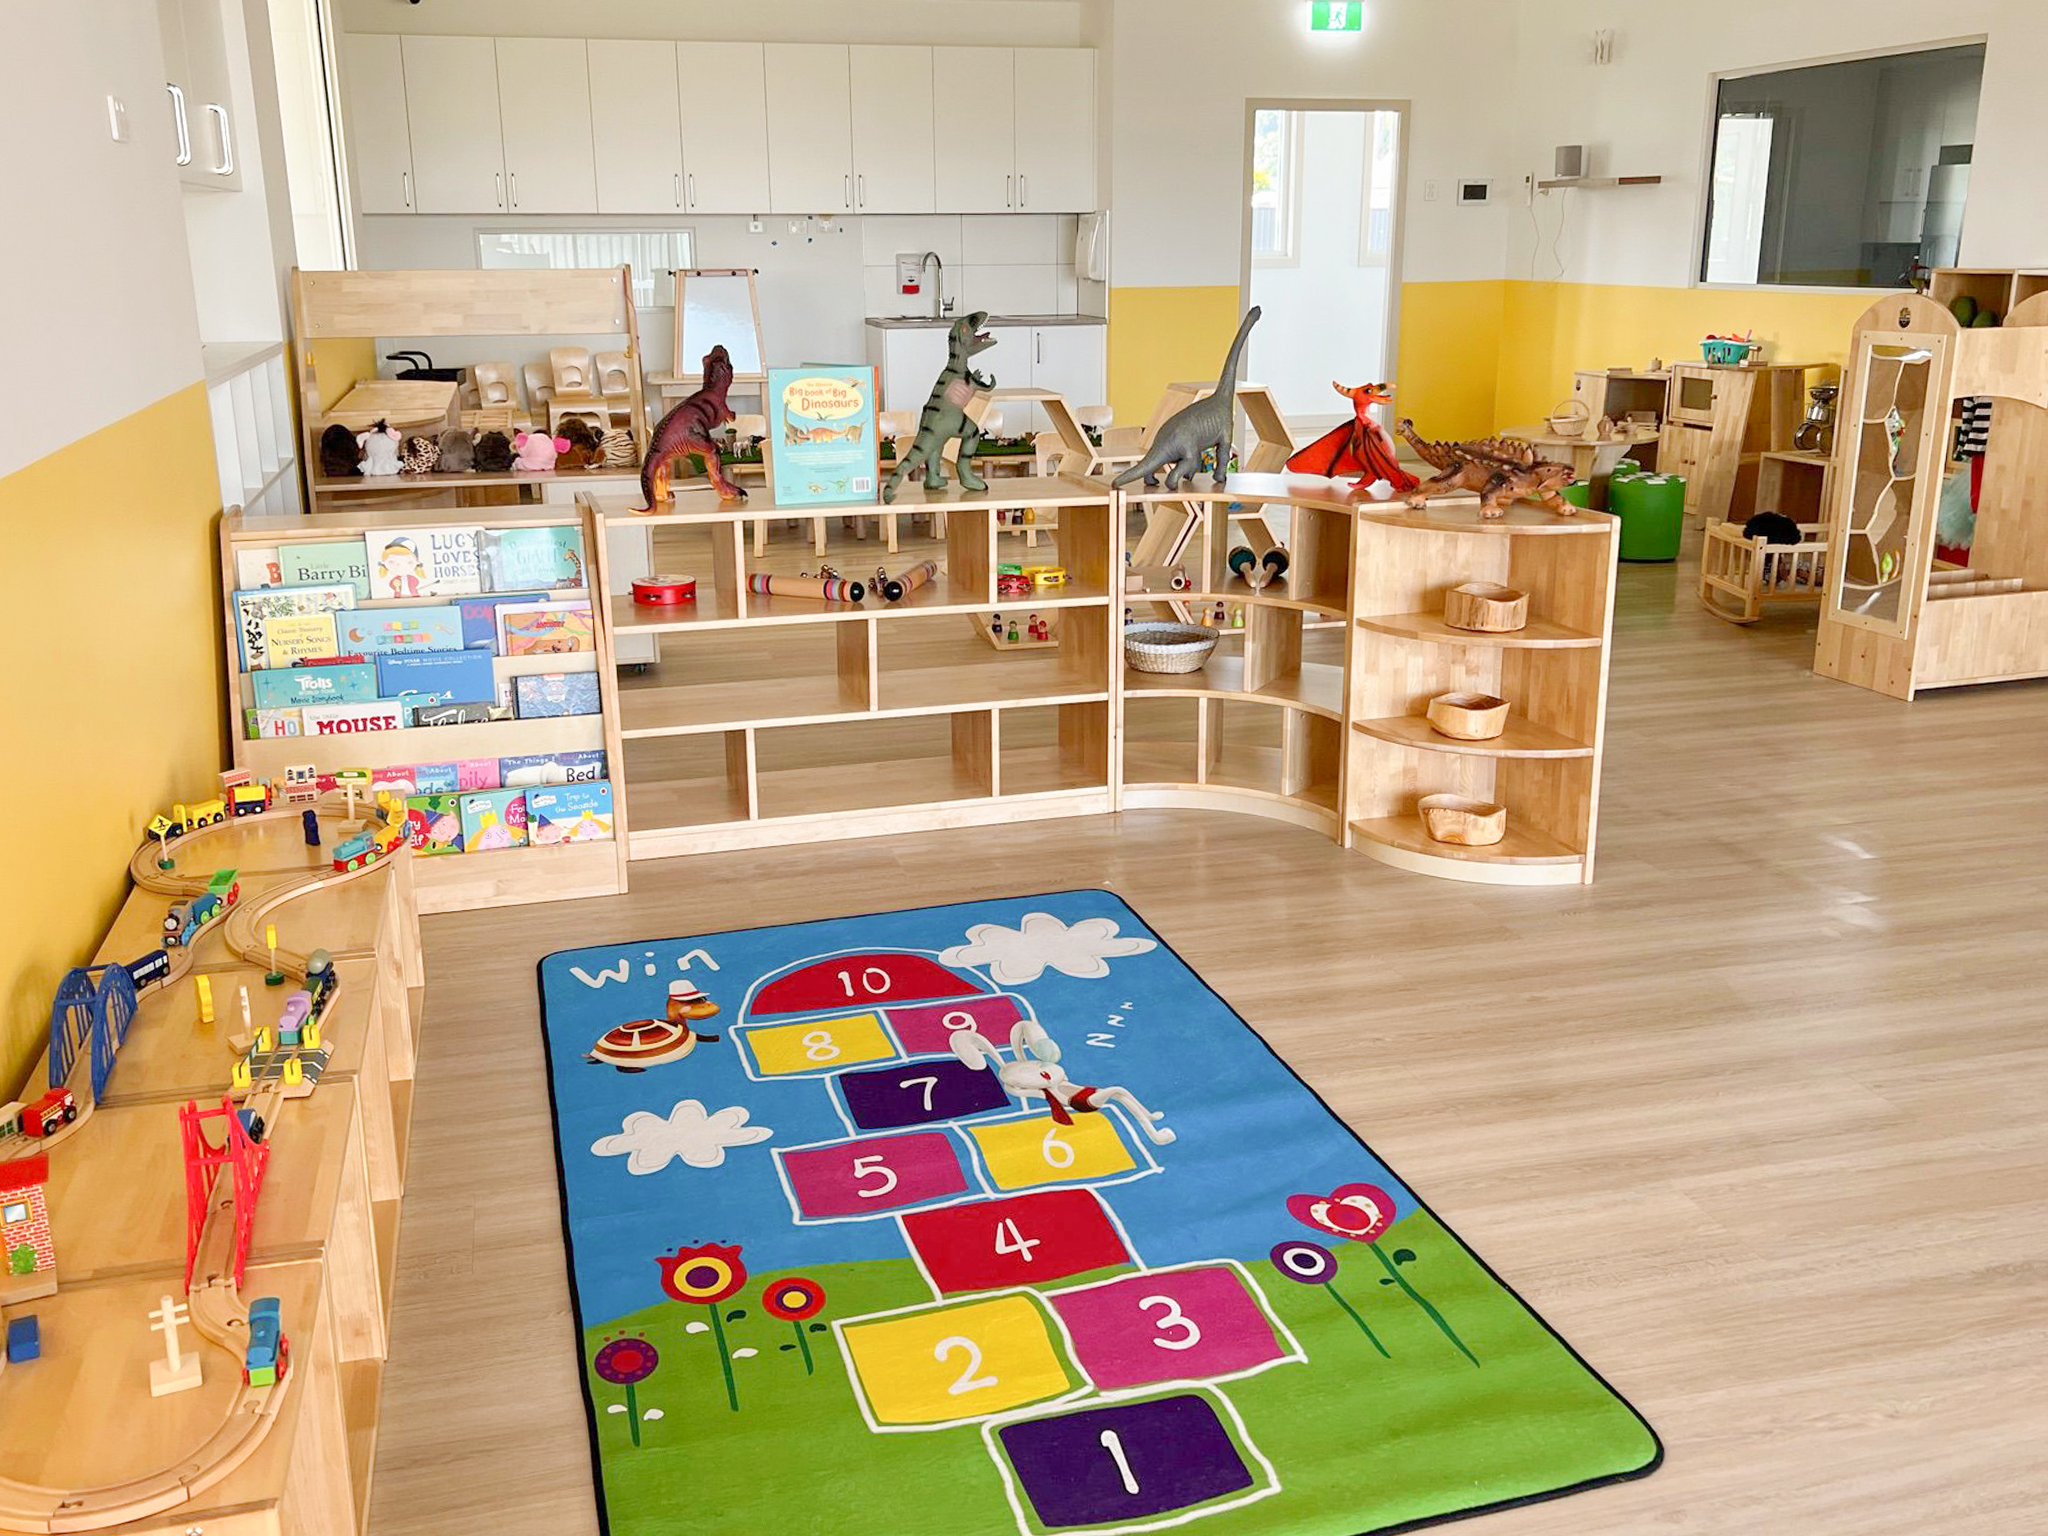
Small Maker Space Ideas for Limited Classrooms

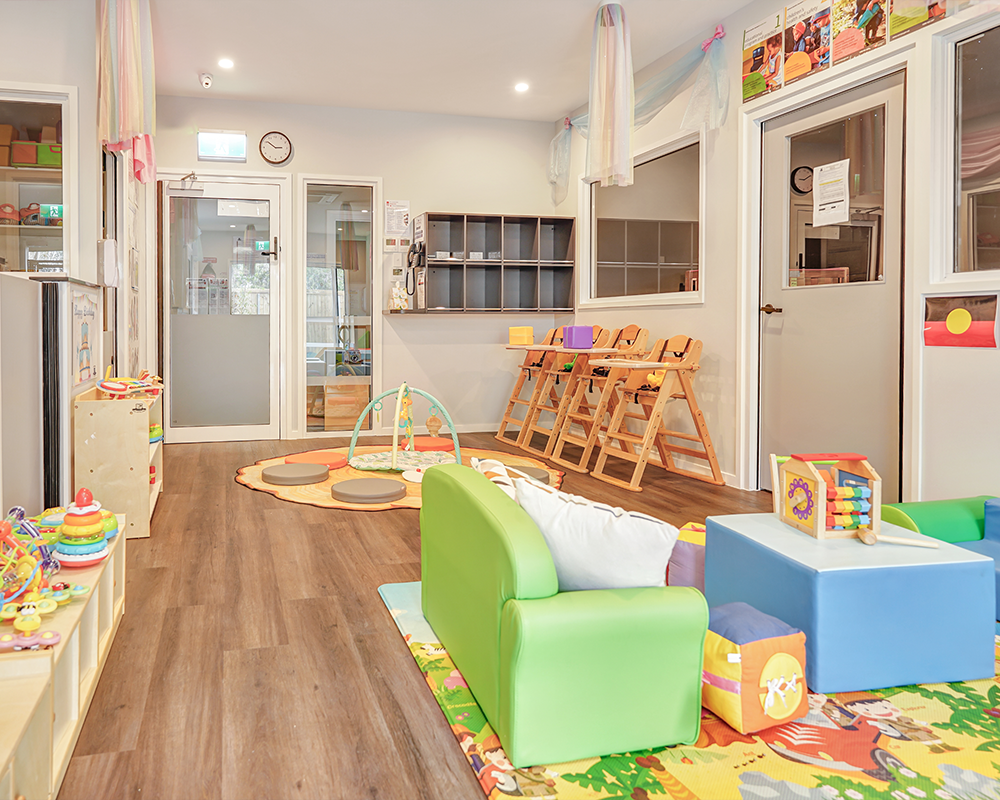
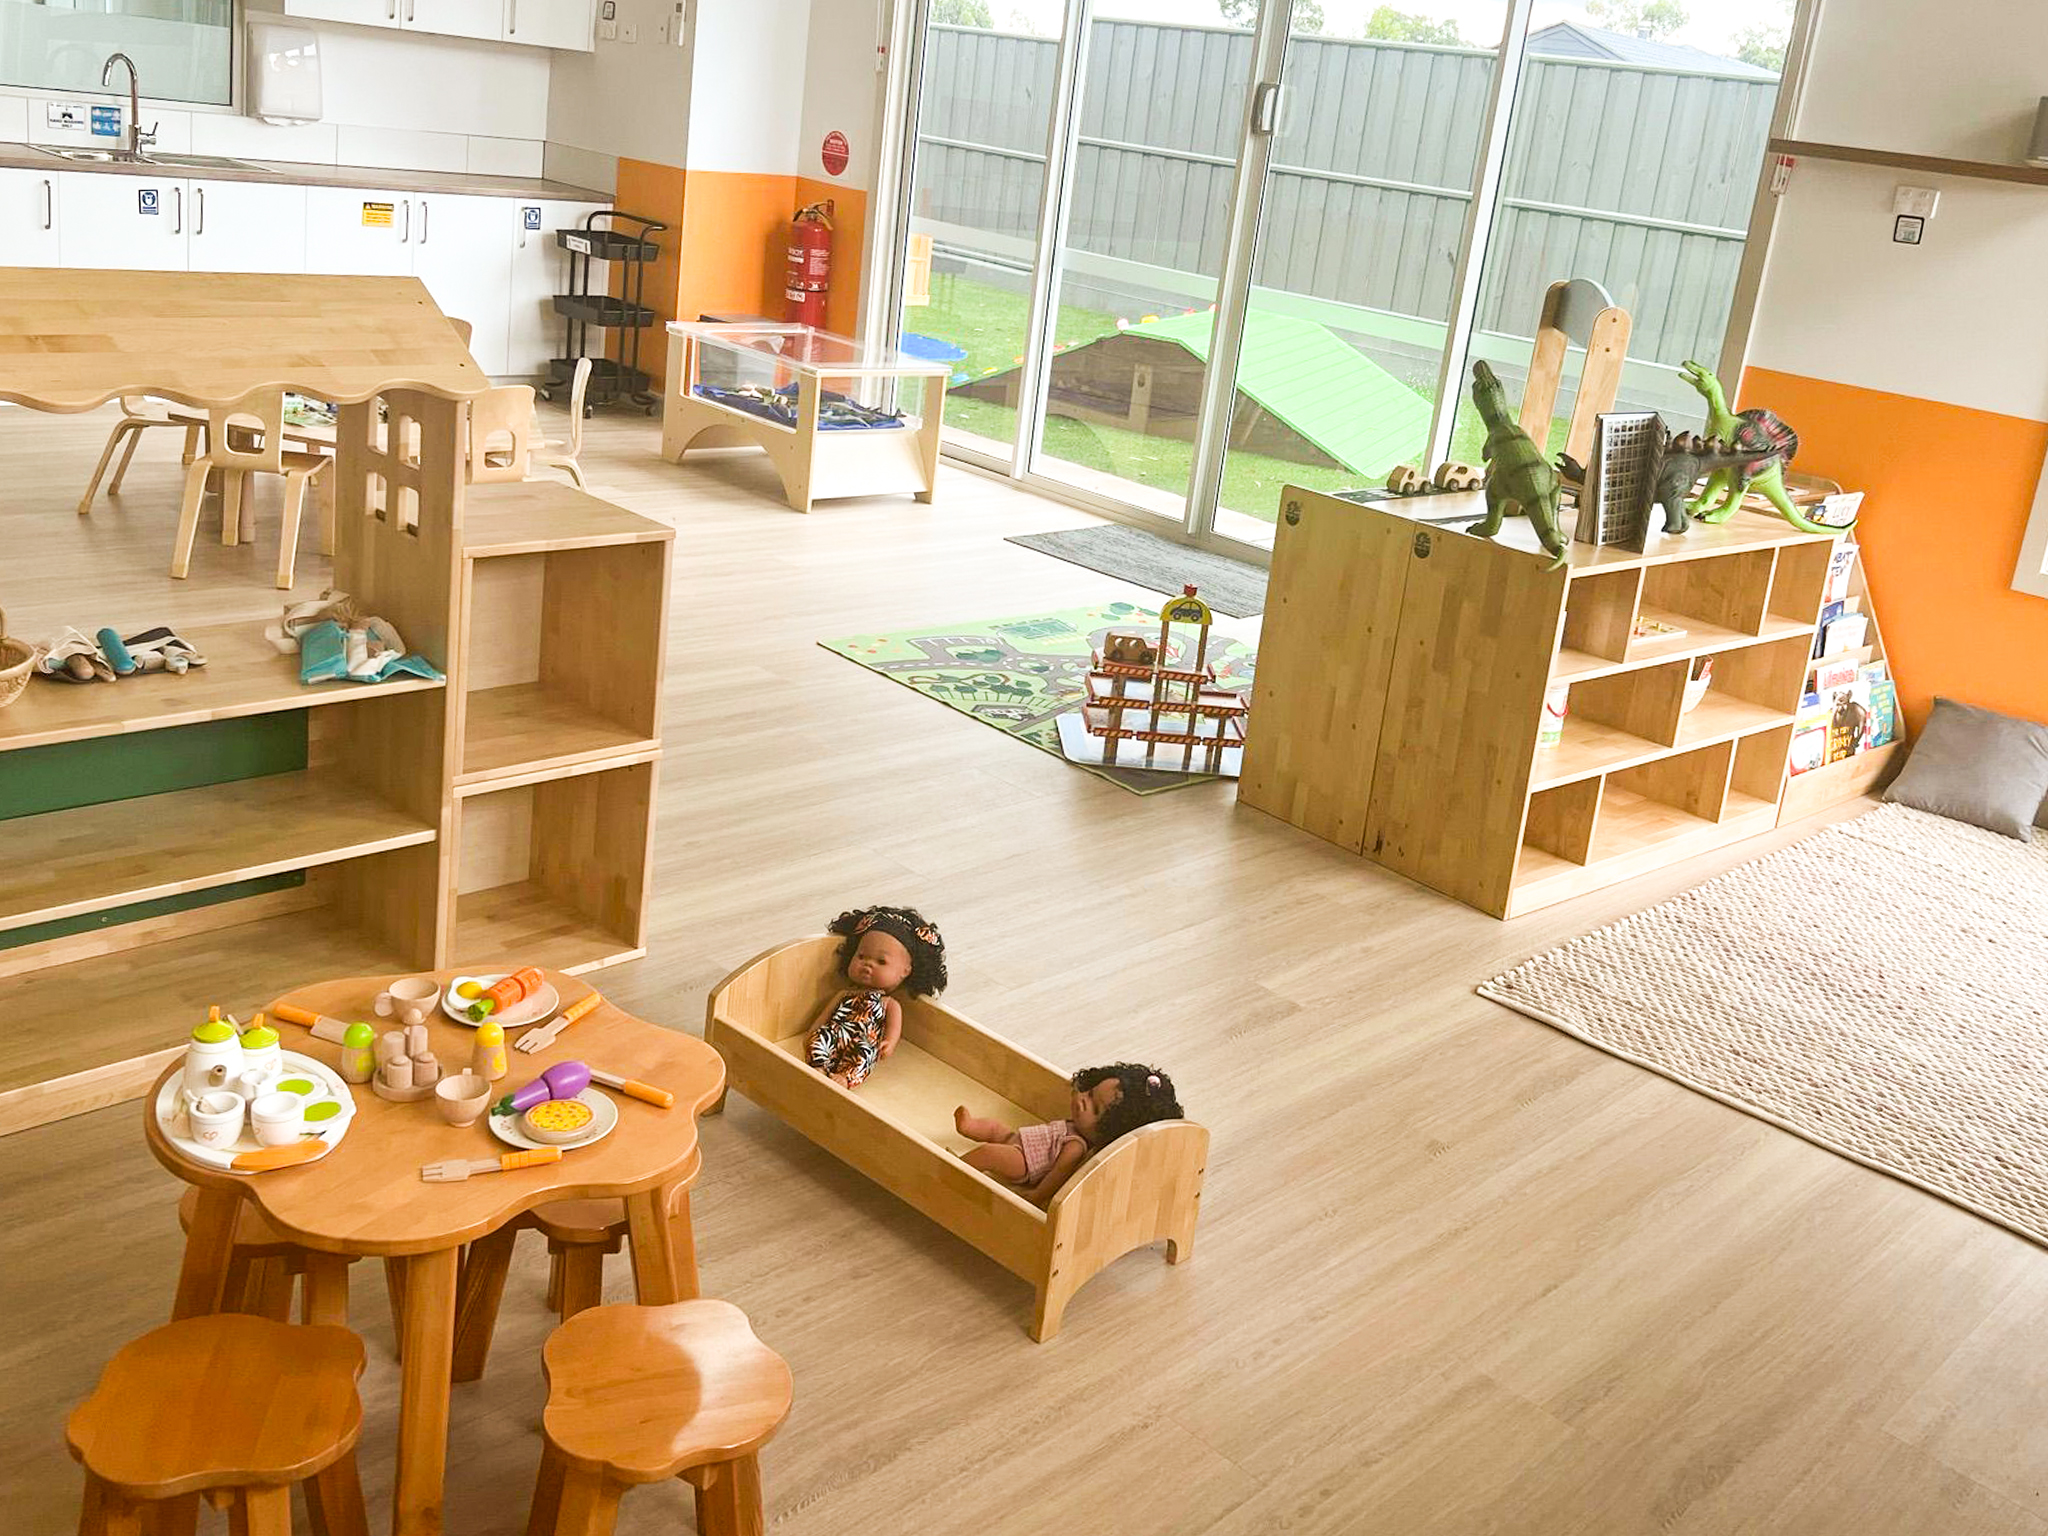
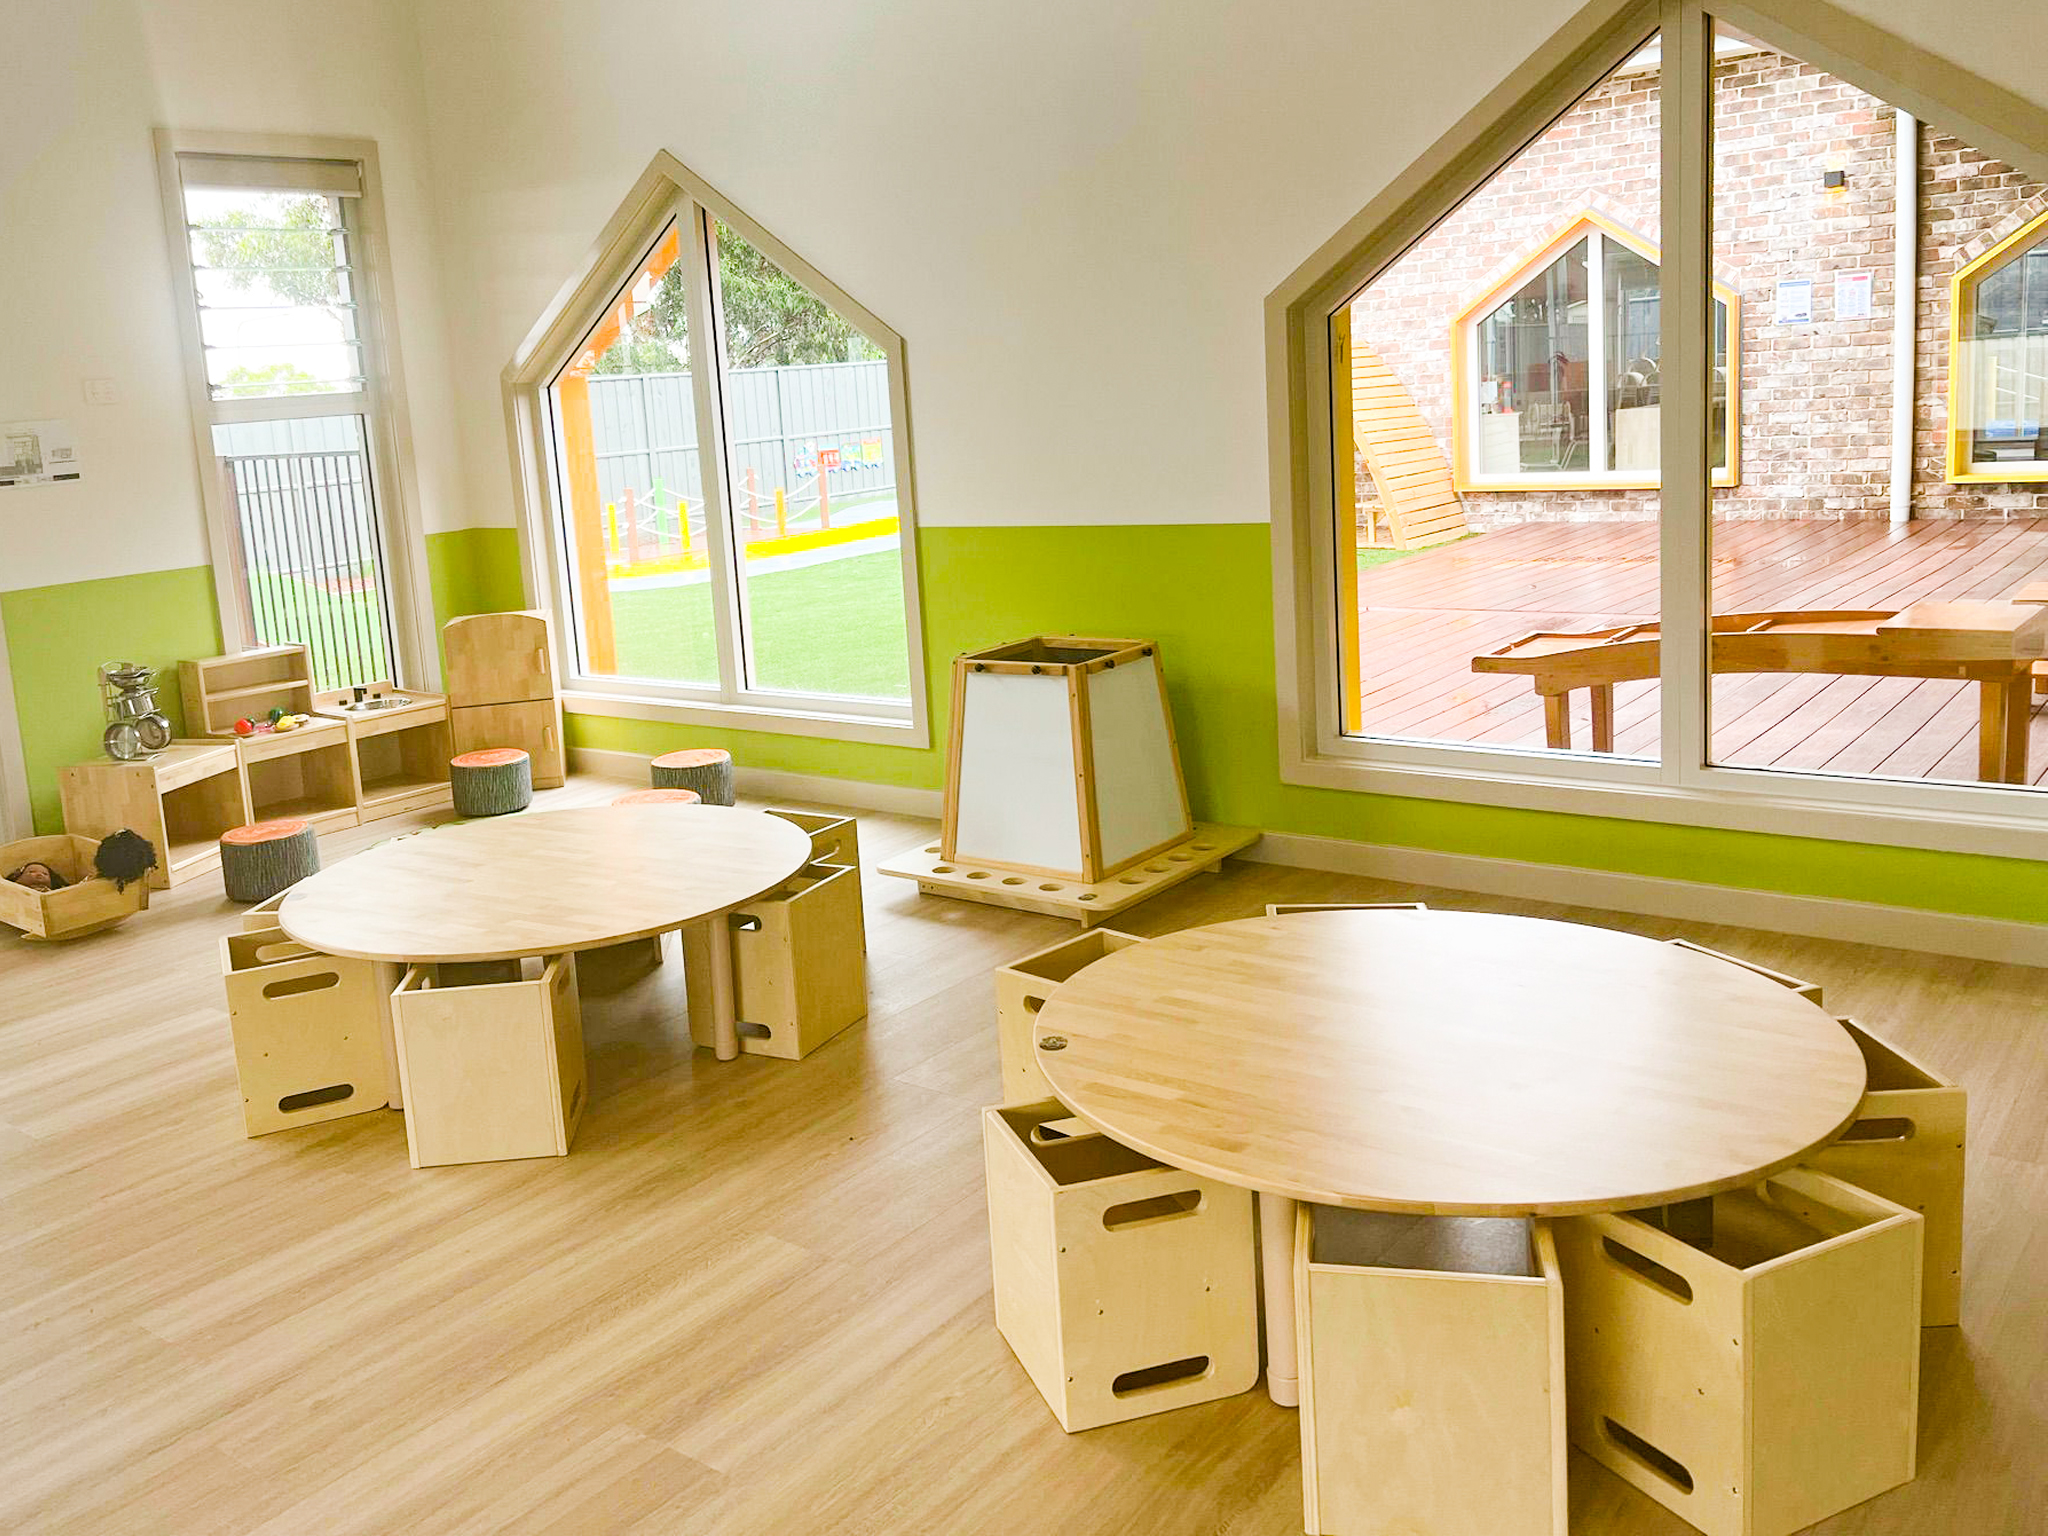
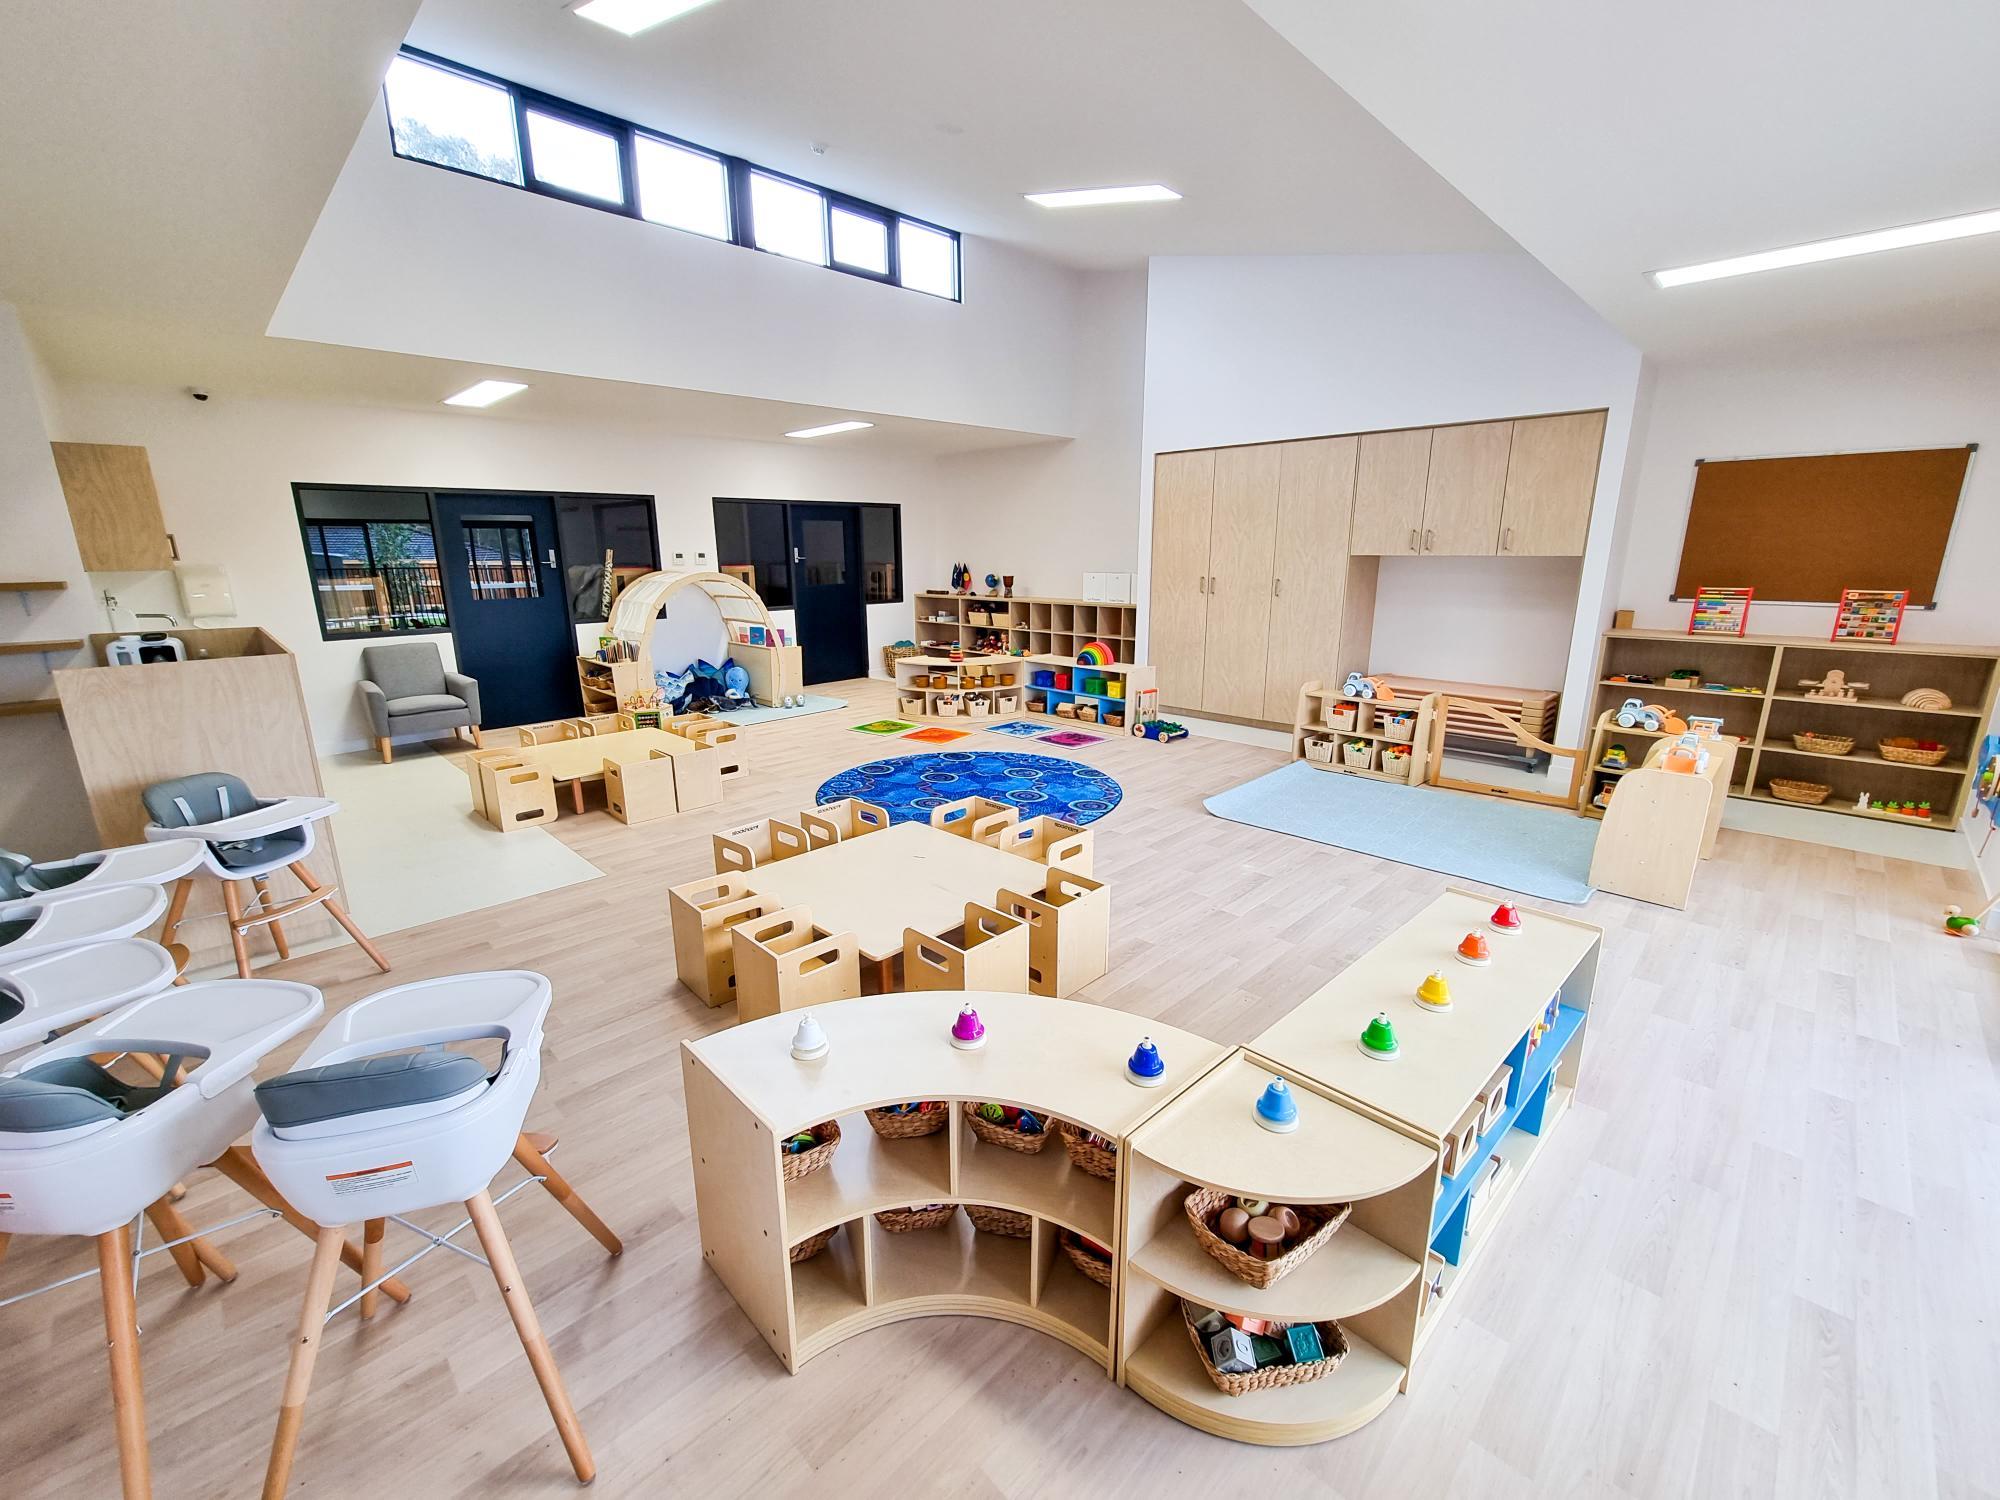
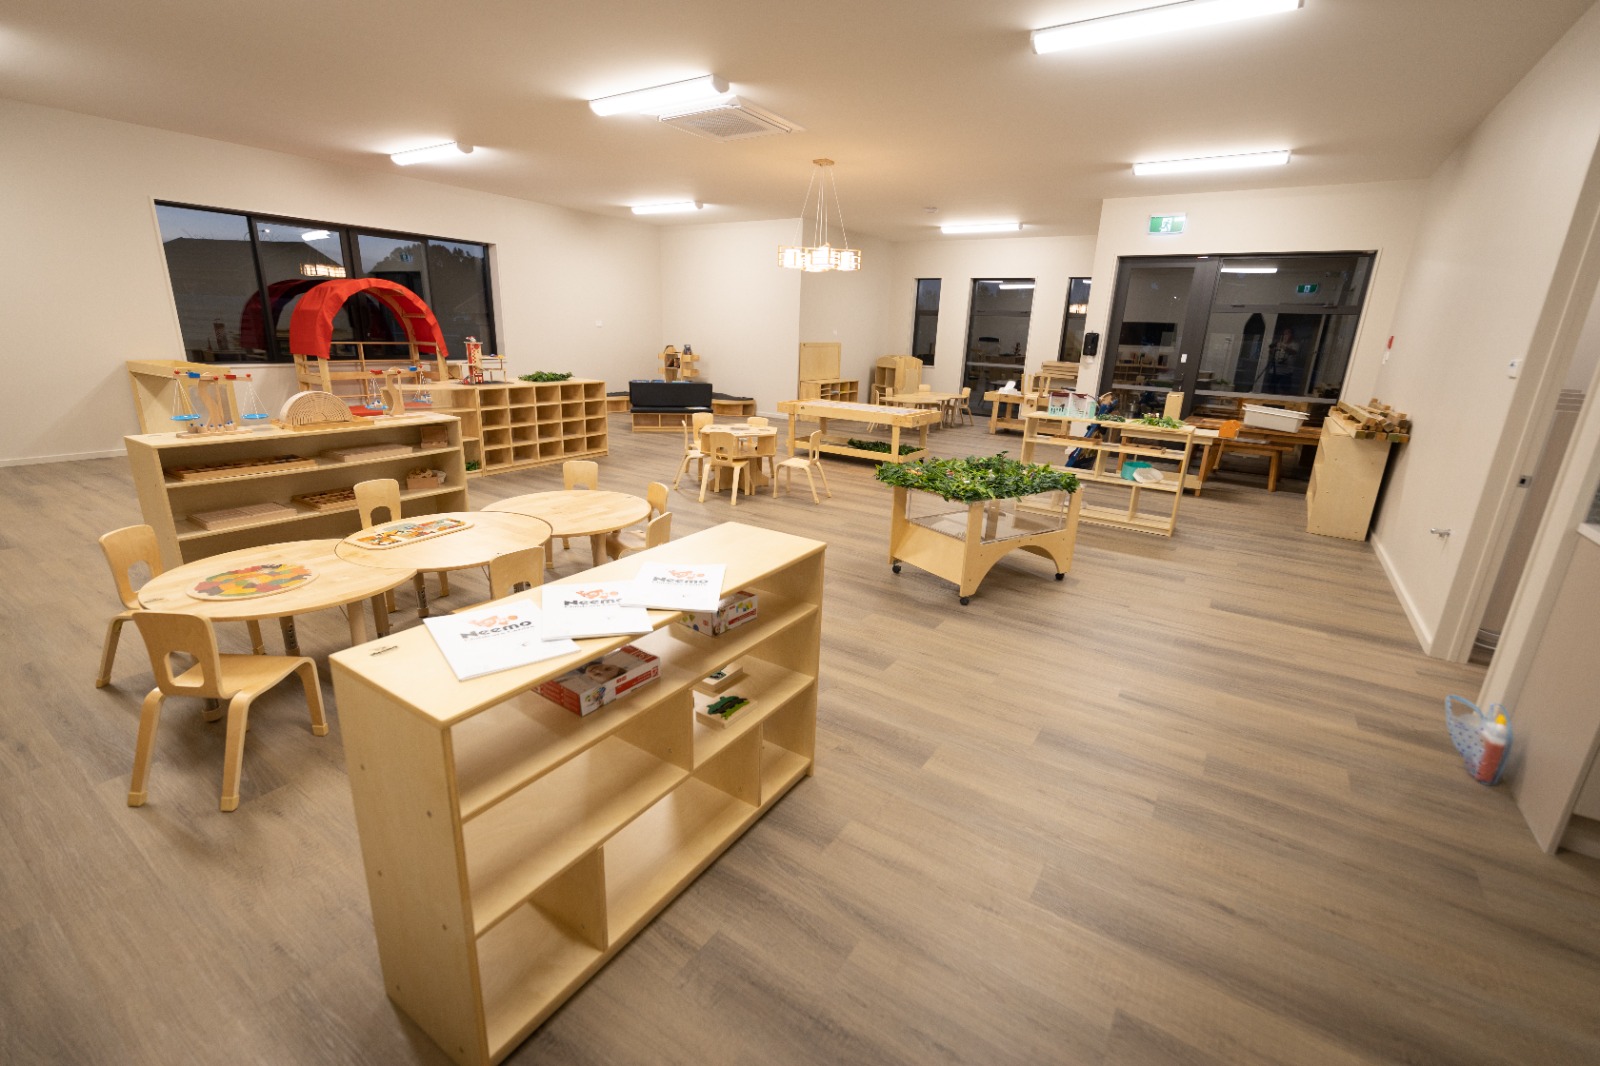
The main challenge of small maker spaces is the limited space, which can easily lead to overcrowding. Furniture and storage need to be arranged more systematically. Therefore, it’s essential to first identify and fully arrange the core activities before making brief arrangements for other activity areas. Most importantly, it’s crucial to ensure there is a stable workspace and a storage area for activities.
Maker Corner in Shared Classrooms

The biggest problem with shared spaces is that maker spaces don’t exist in isolation; they need to balance the educational, play, and activity functions of a classroom. Creating a corner is easy, but it needs to be easily accessible within the classroom, ensuring other teaching activities can continue smoothly. This space shouldn’t be too cluttered; ideally, it should be a place where you’re less likely to be disturbed, such as a quiet corner or near storage areas. Use furniture to naturally define boundaries. You don’t need too many materials; some basic furniture and equipment will suffice. Movable furniture and storage carts are ideal choices. As long as these points hold true, even a small corner can have a clear maker identity.
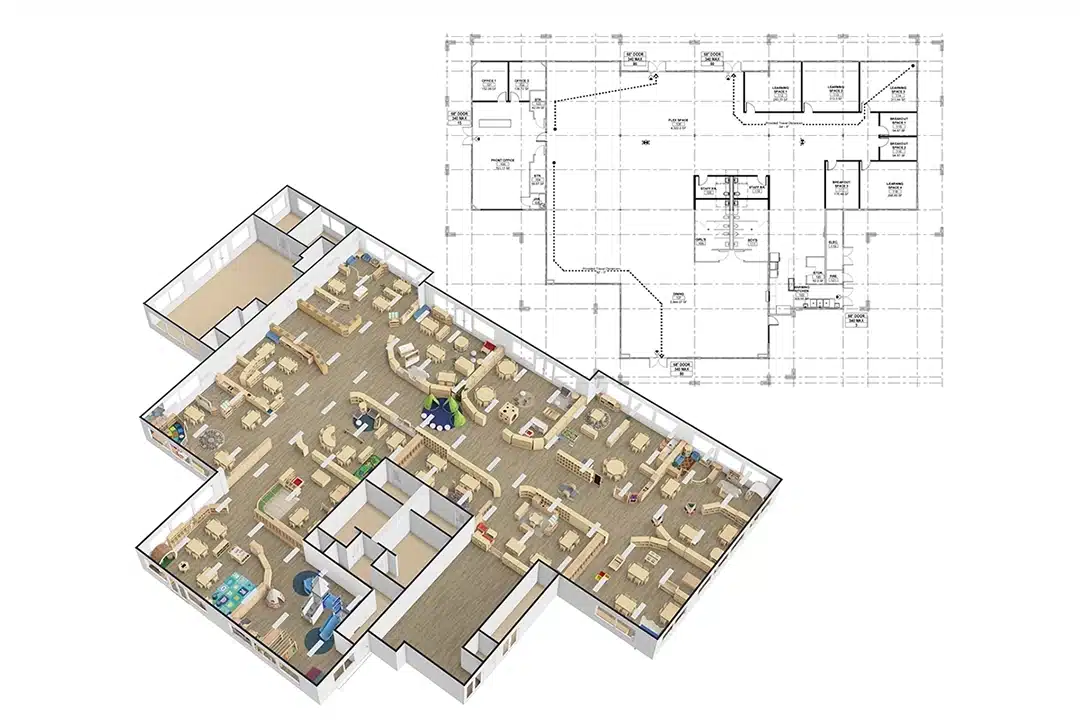
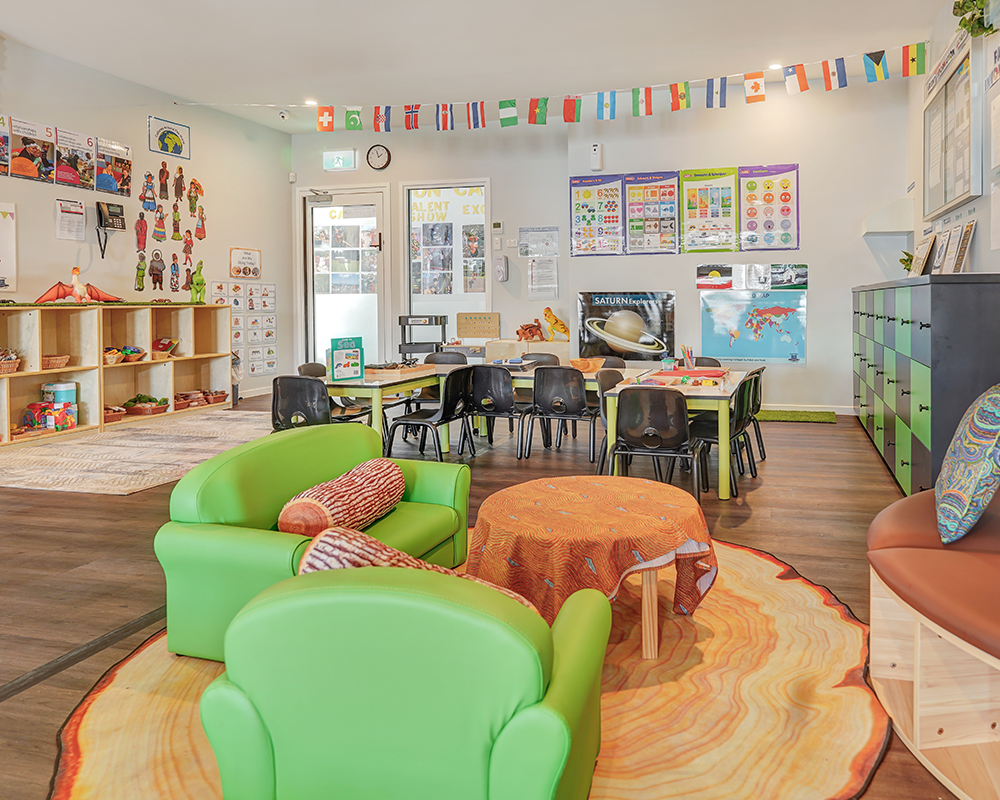
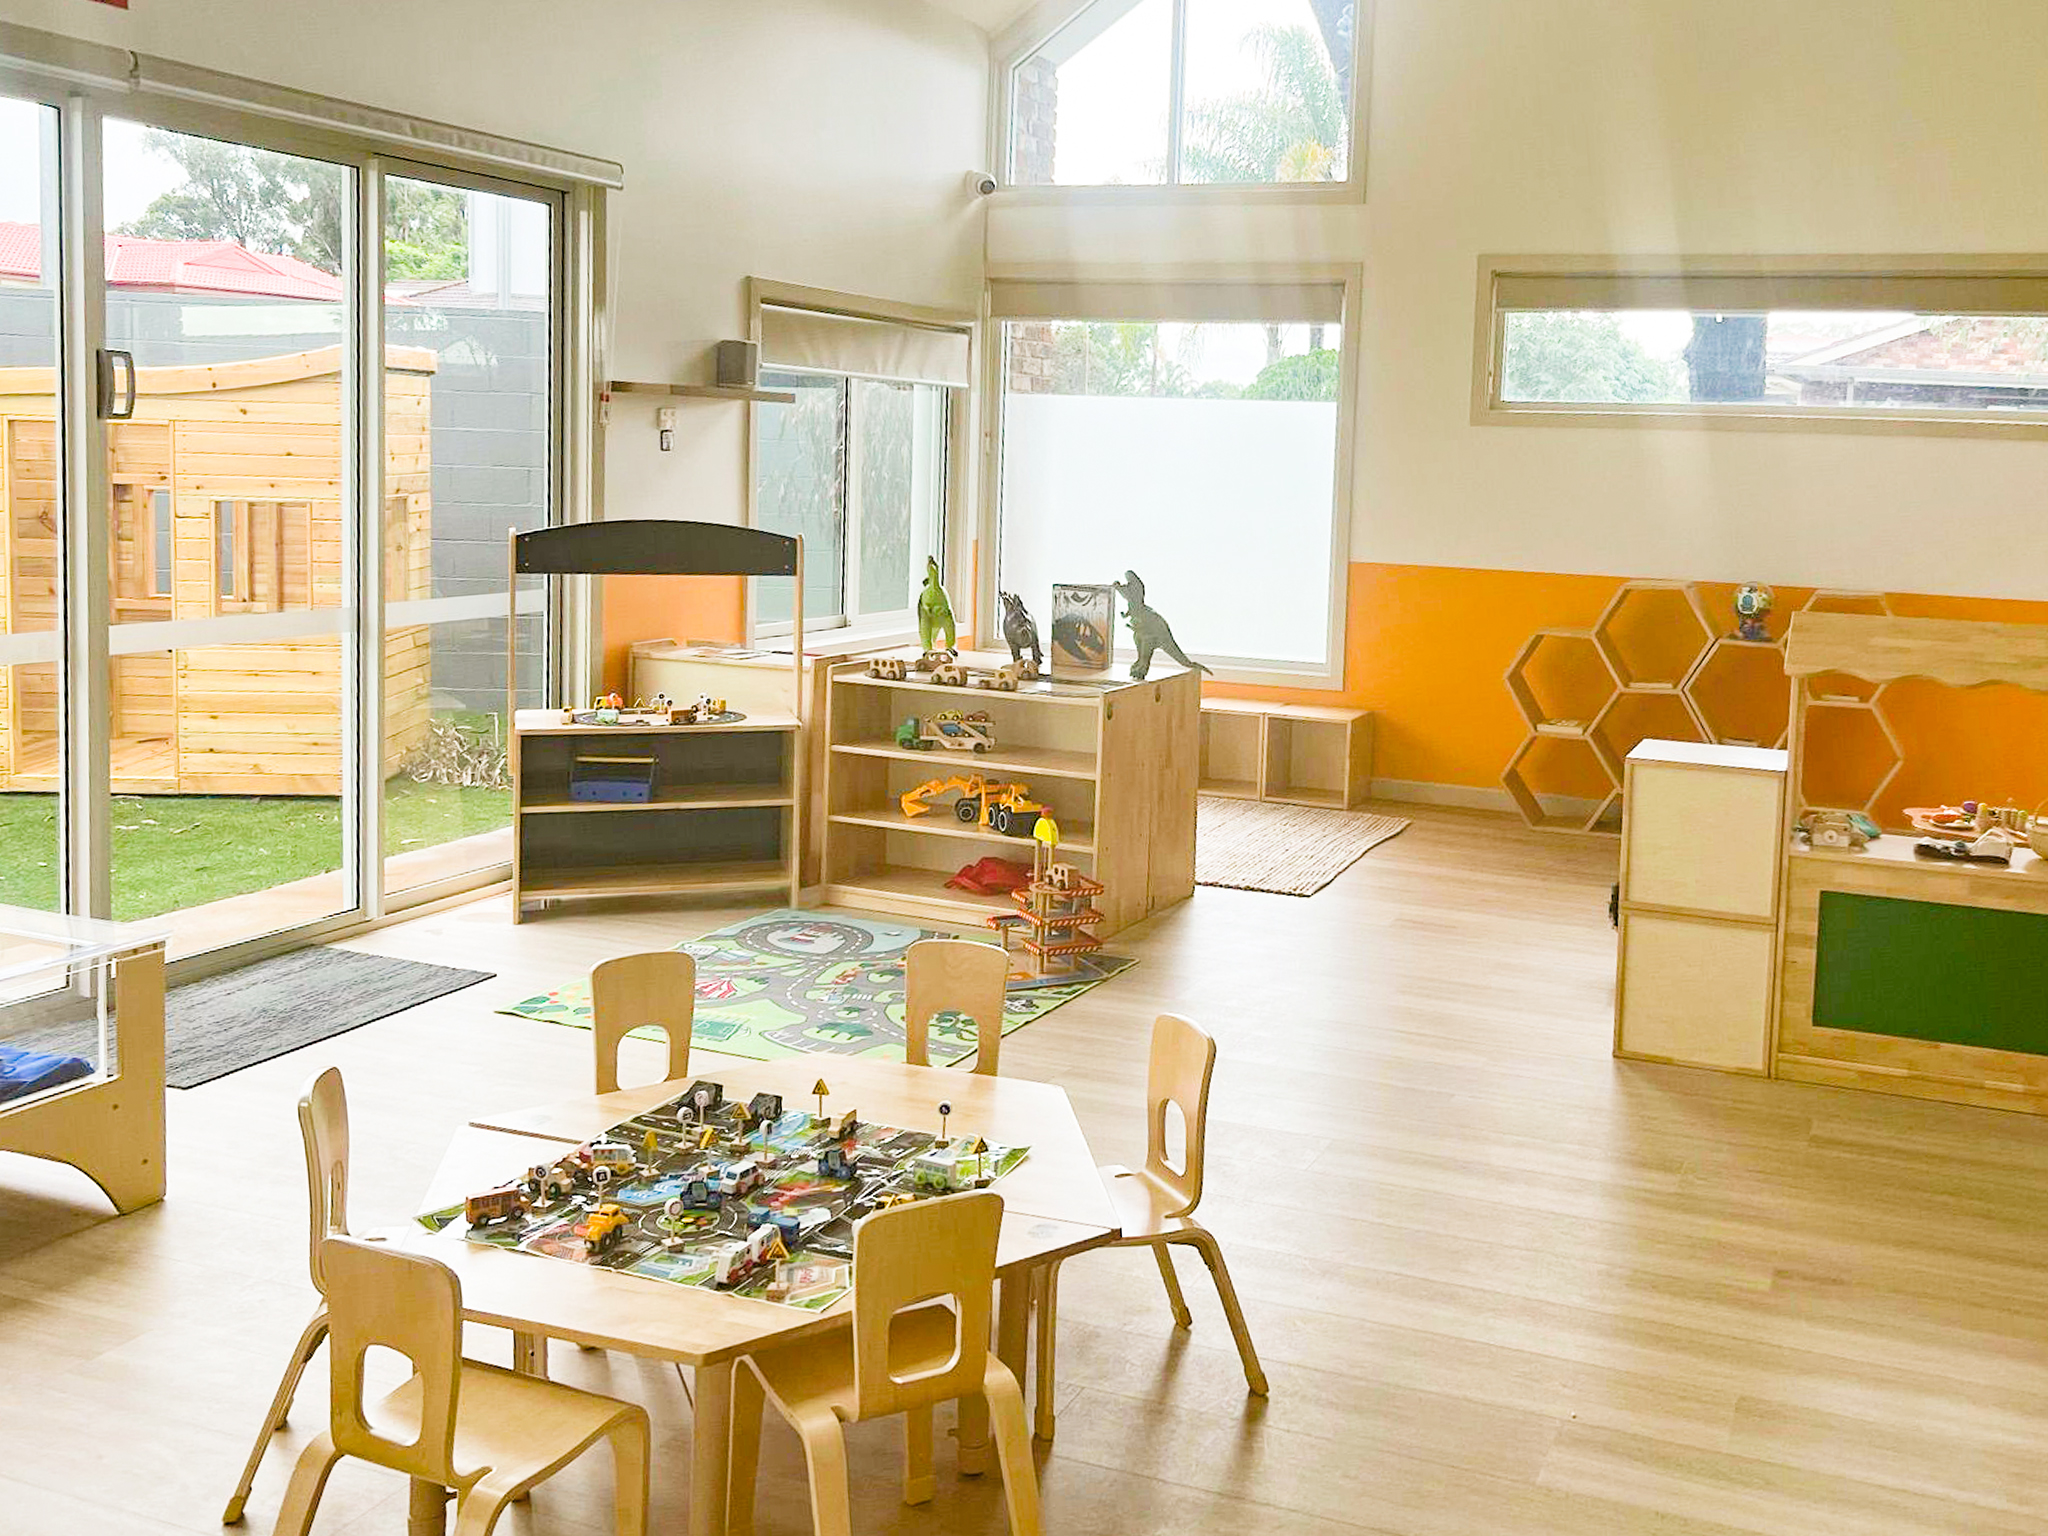
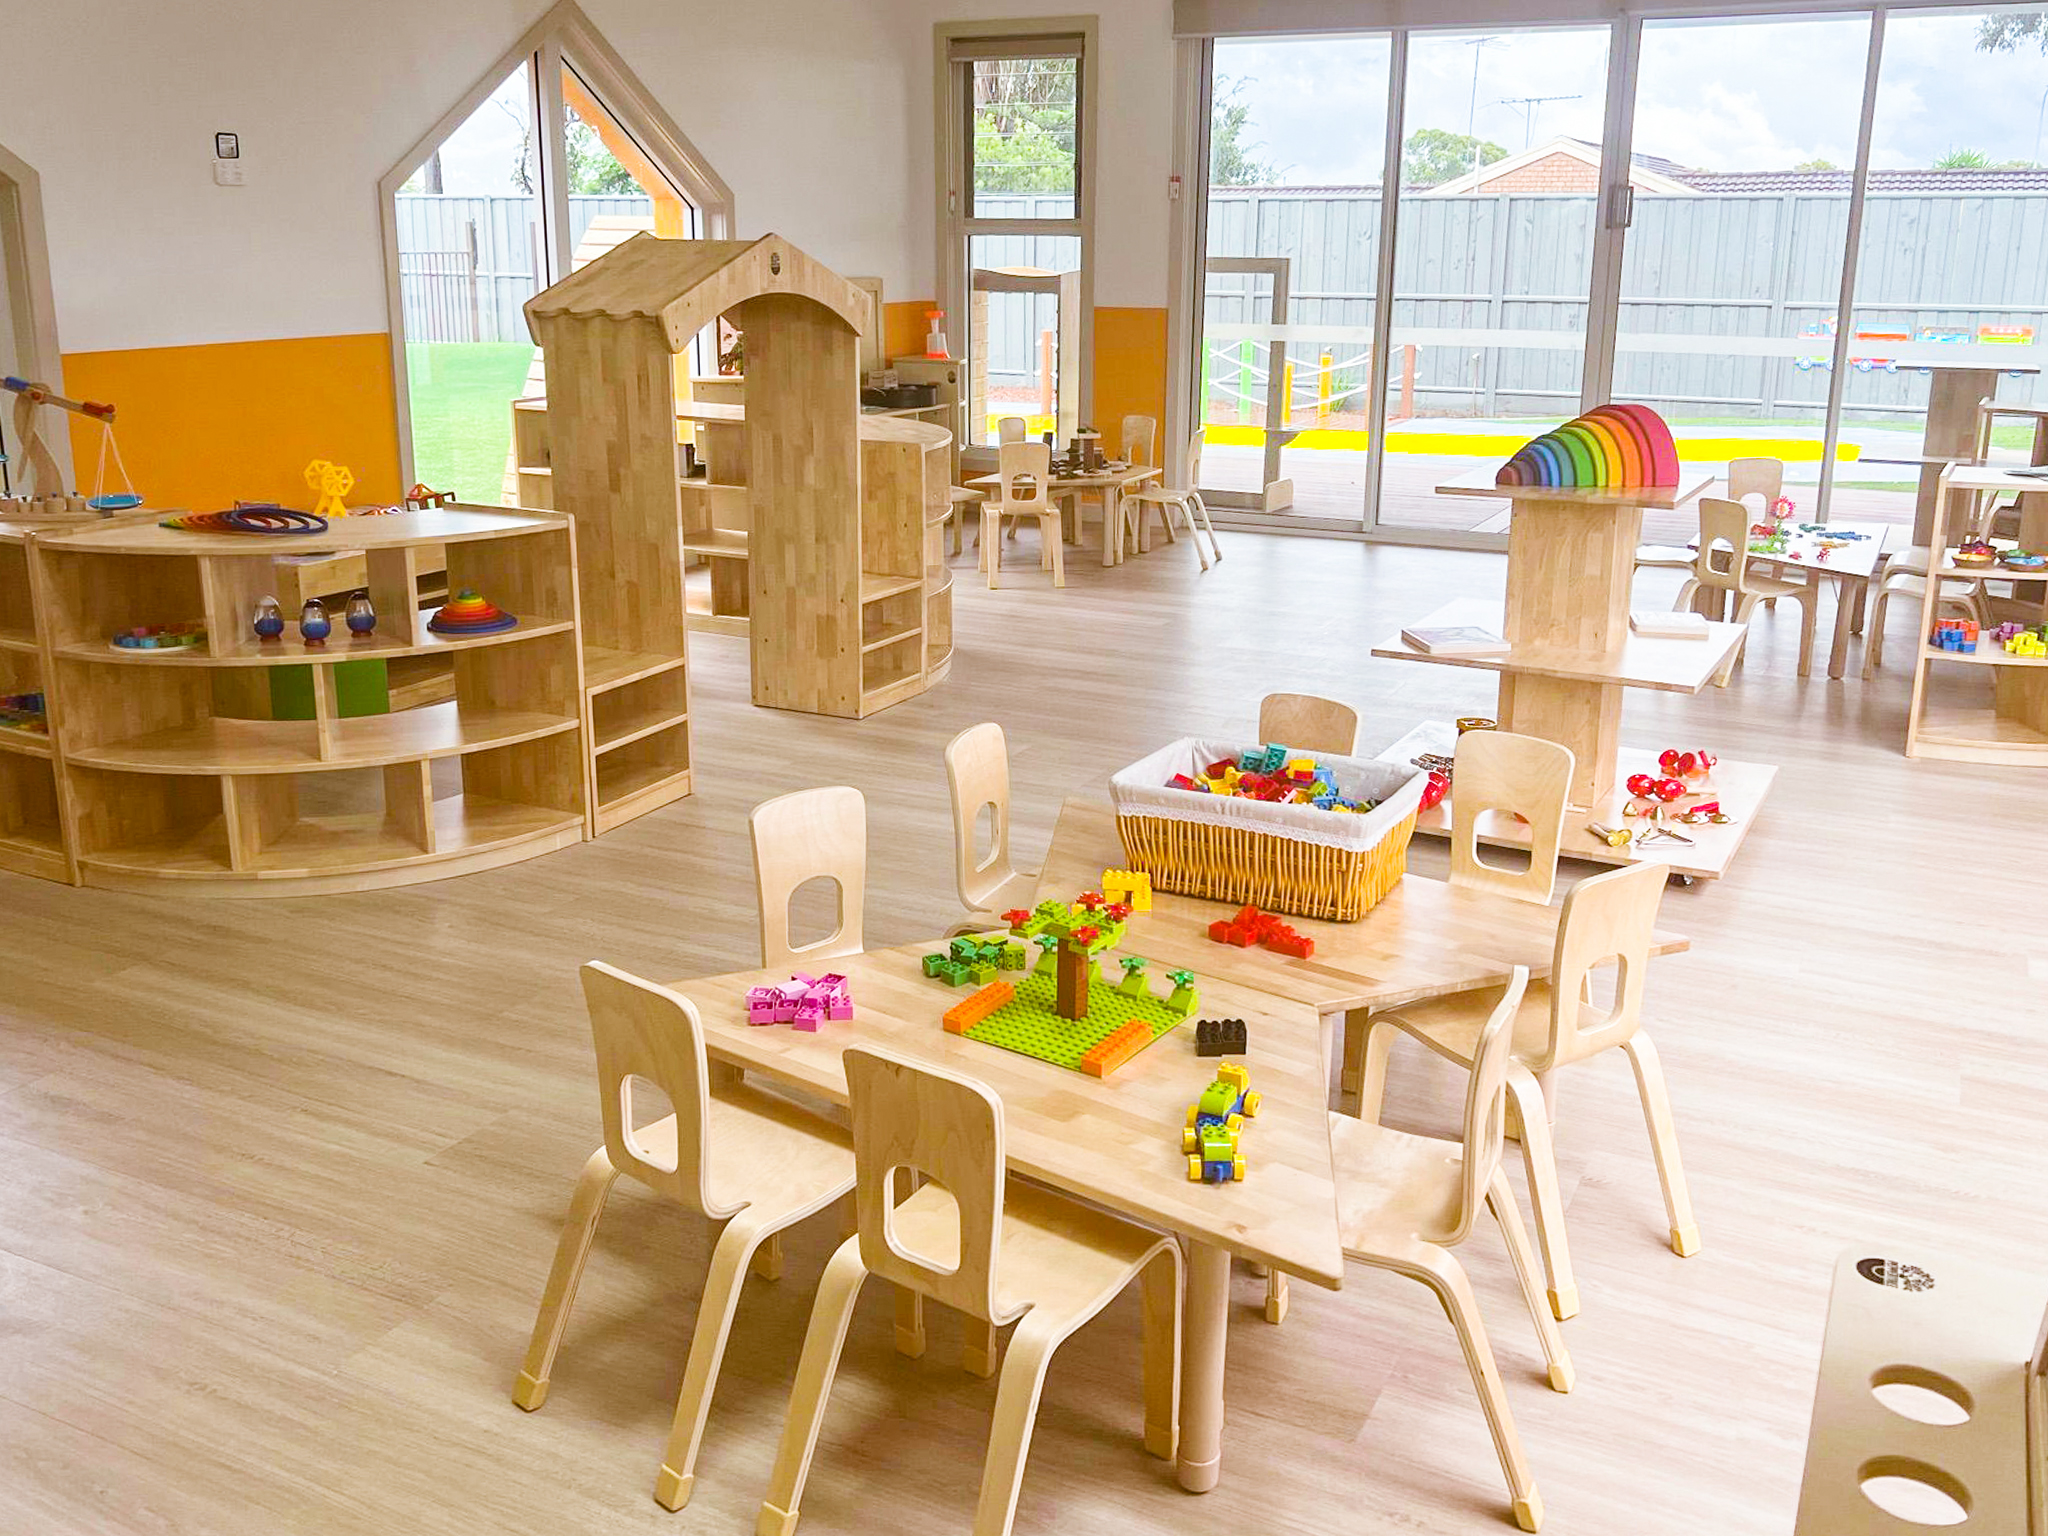
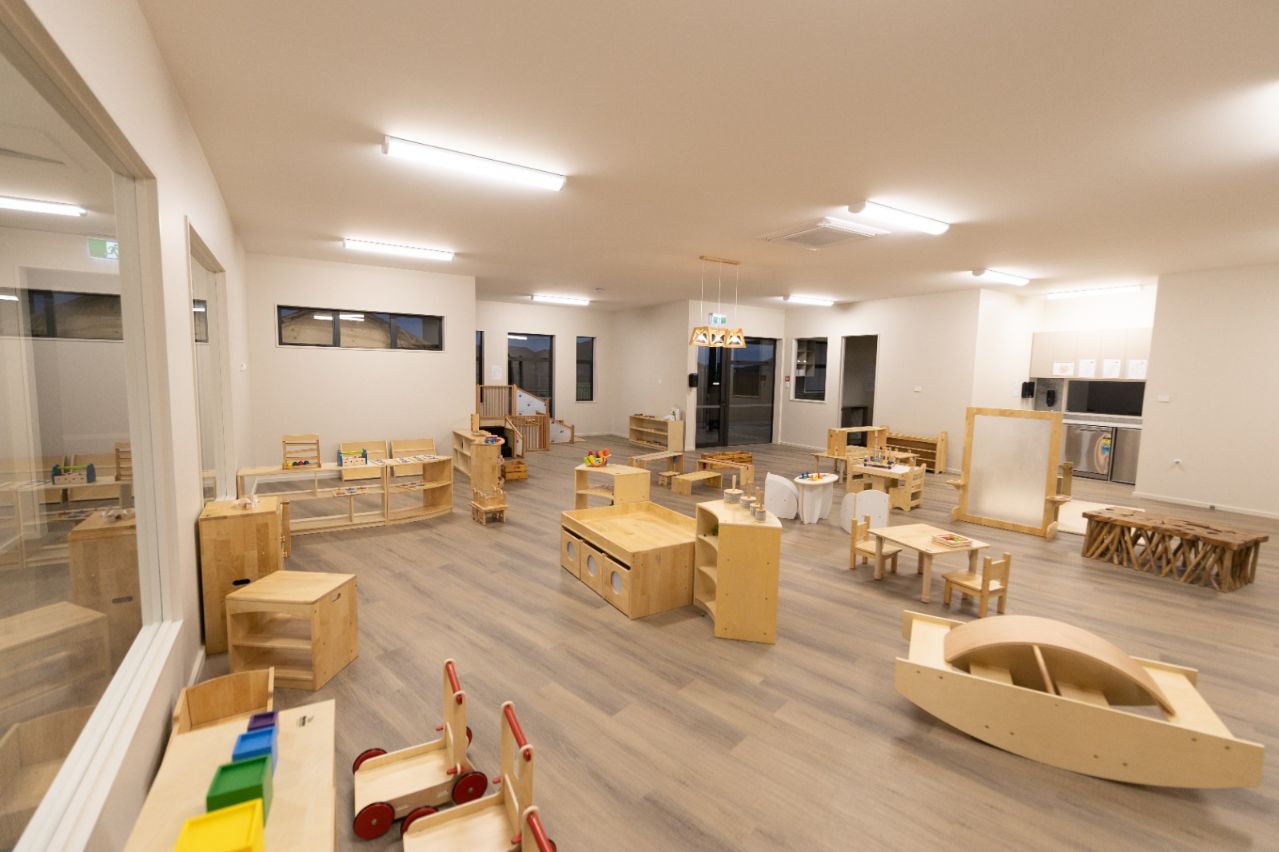
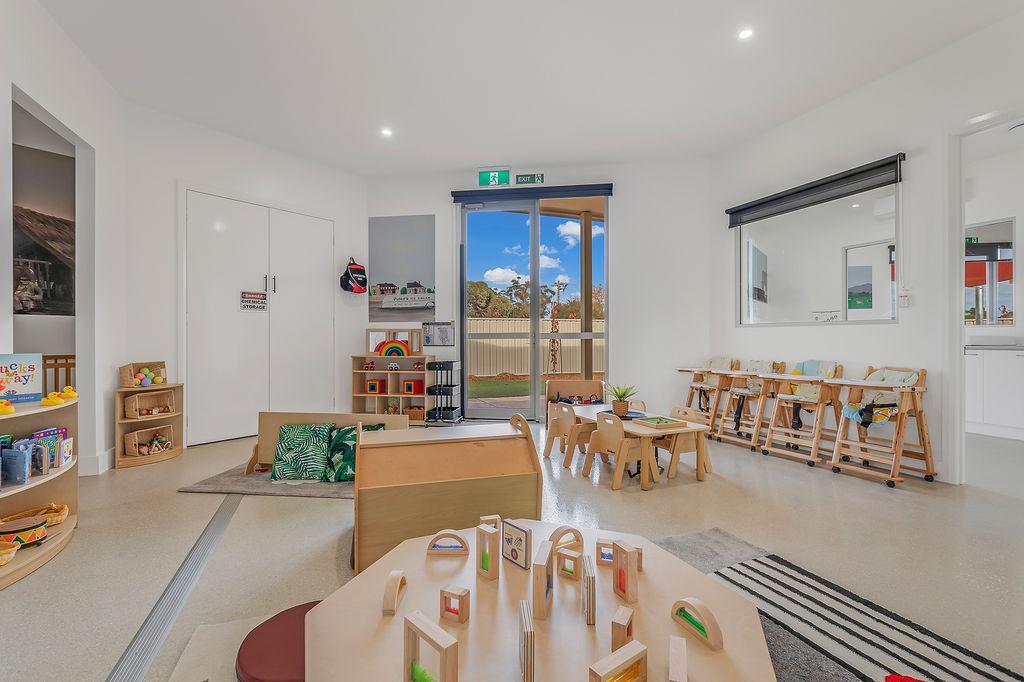
Dedicated Maker Space

A dedicated maker space is certainly the best choice, but don’t assume that an entire room should be fully equipped with everything, abundant materials, and complete furniture. Otherwise, the lack of clearly defined areas can leave children unsure where to begin. Therefore, the key is to keep the space as complete as possible, using functional zoning to ensure fluidity. First, determine a main activity area, then arrange the other areas. High-frequency materials shouldn’t be too far from the center, and avoid using enclosed storage cabinets simply because you have a lot of materials. Furthermore, don’t add endless items just because the space is large.
A true independent maker space isn’t about being overcrowded or bustling; it’s about having a clear sequence of activities. Children know where to start, different activities can find suitable spaces, artwork can be preserved and reused, and the space has continuity.
For daycares just starting to create a maker space, starting with a small, manageable scale is often more effective and helps teachers establish usage habits. Don’t rush to make the maker space the largest; first, determine if it can be done well.
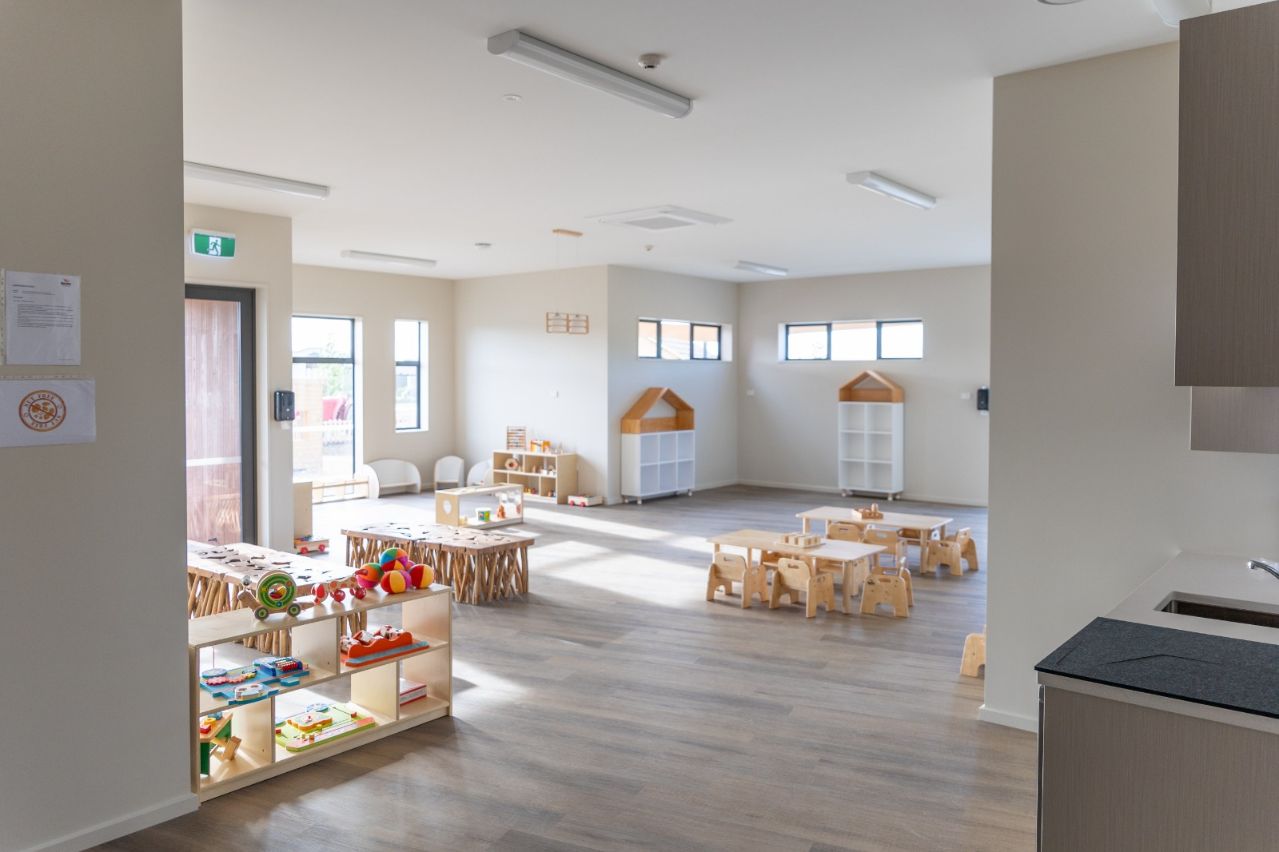
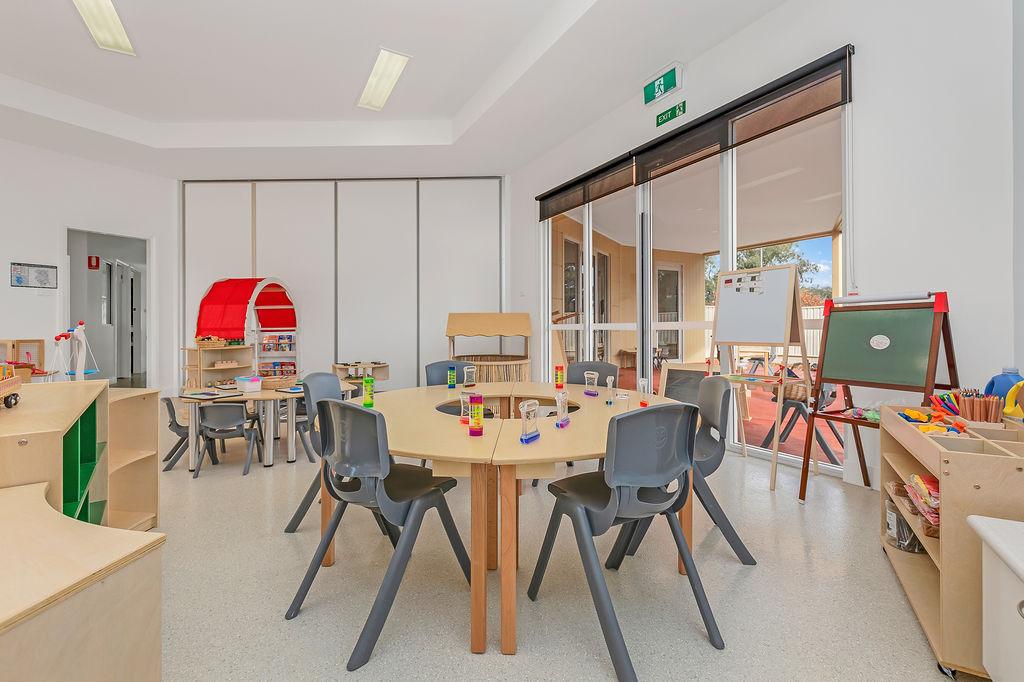
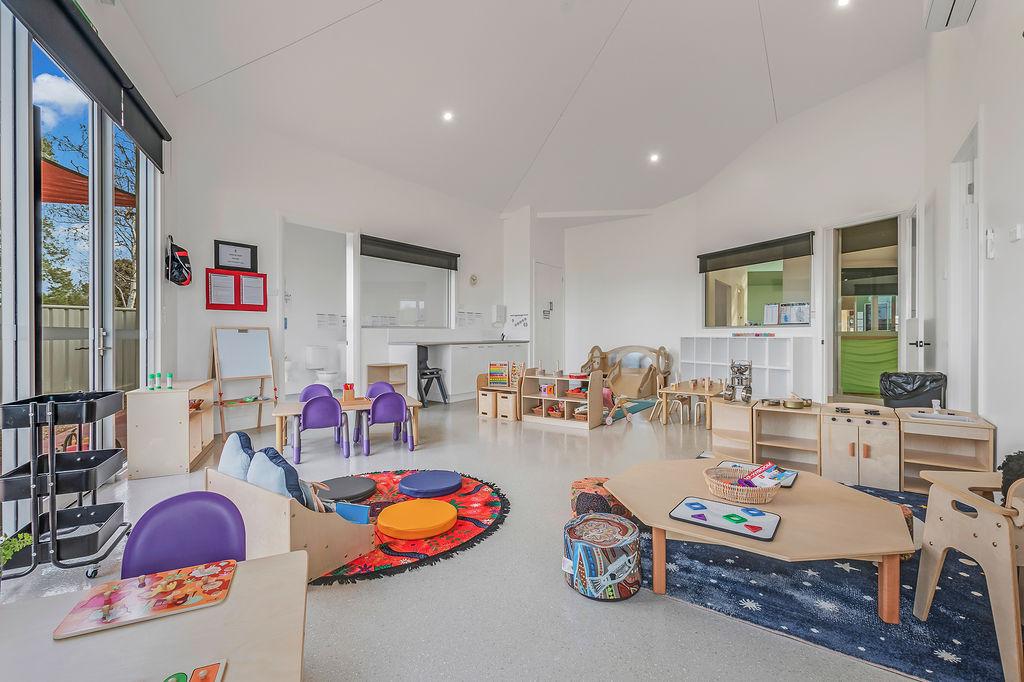
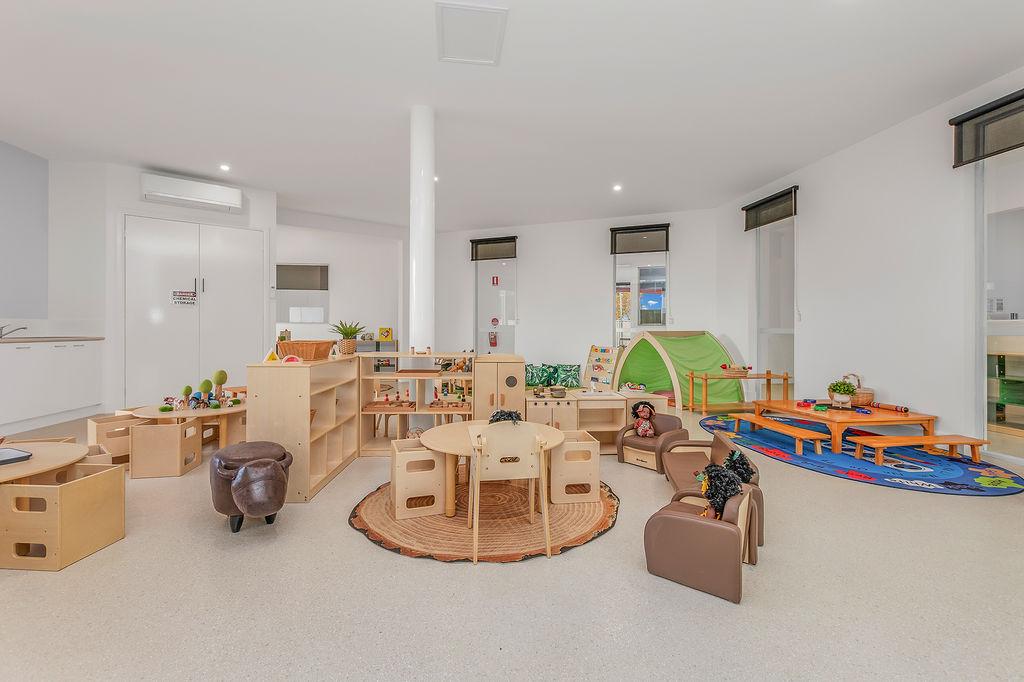
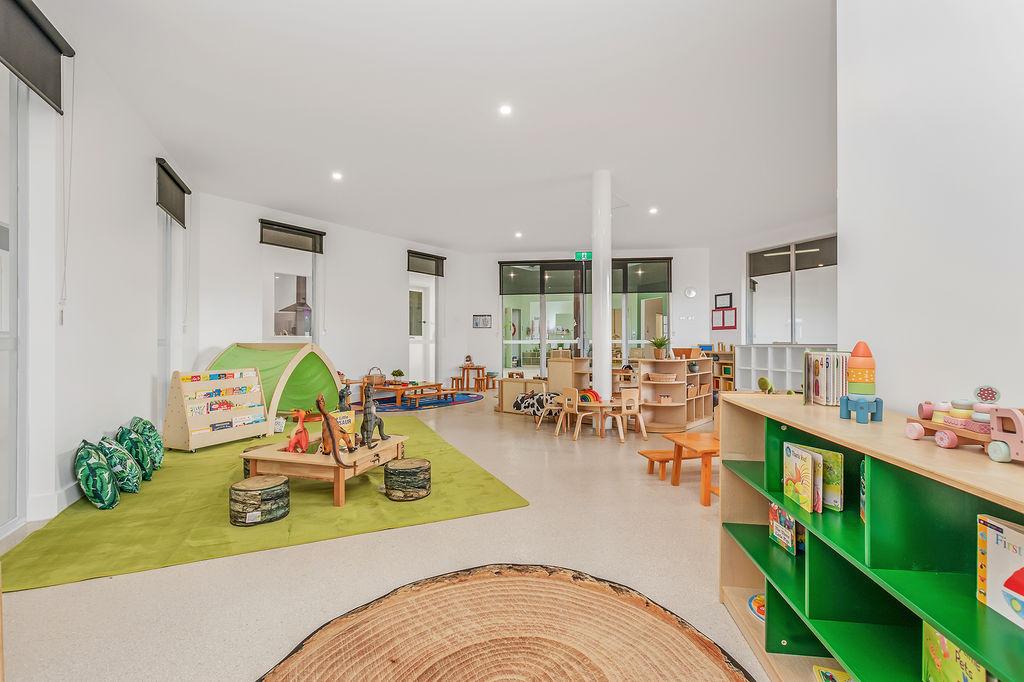
Step 3: Plan Key Functional Zones
Often, a maker space appears cluttered not because you have too many things or they’re misplaced, but because the space isn’t properly divided into zones. It’s important to plan areas according to the type of activity.

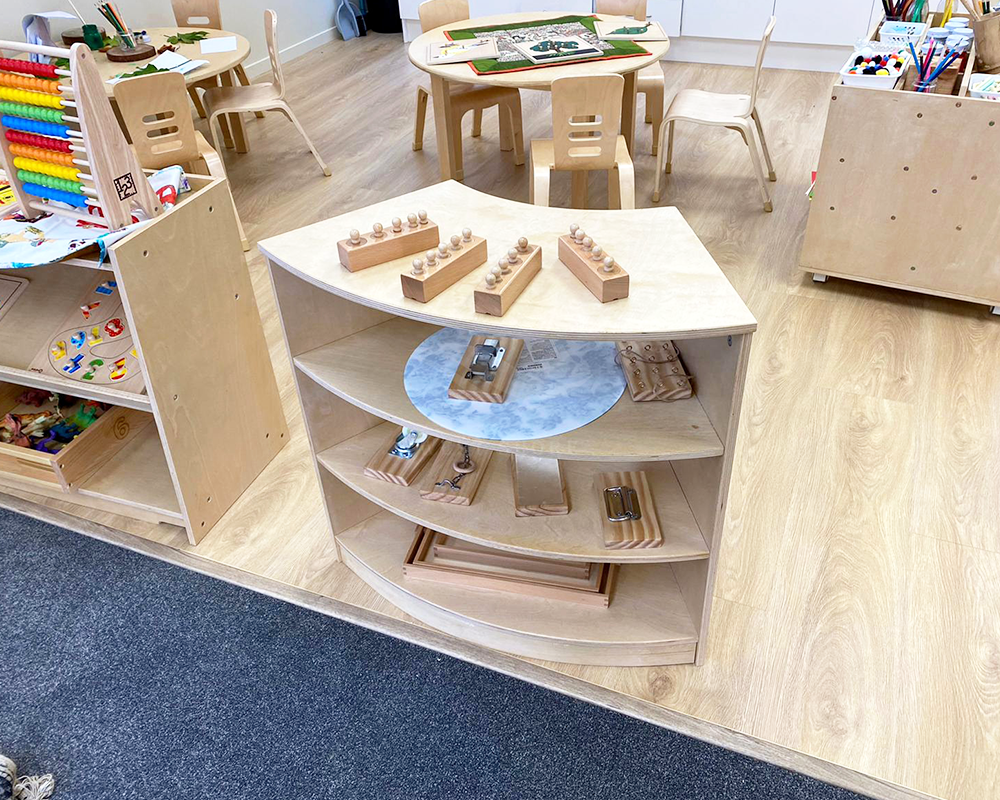
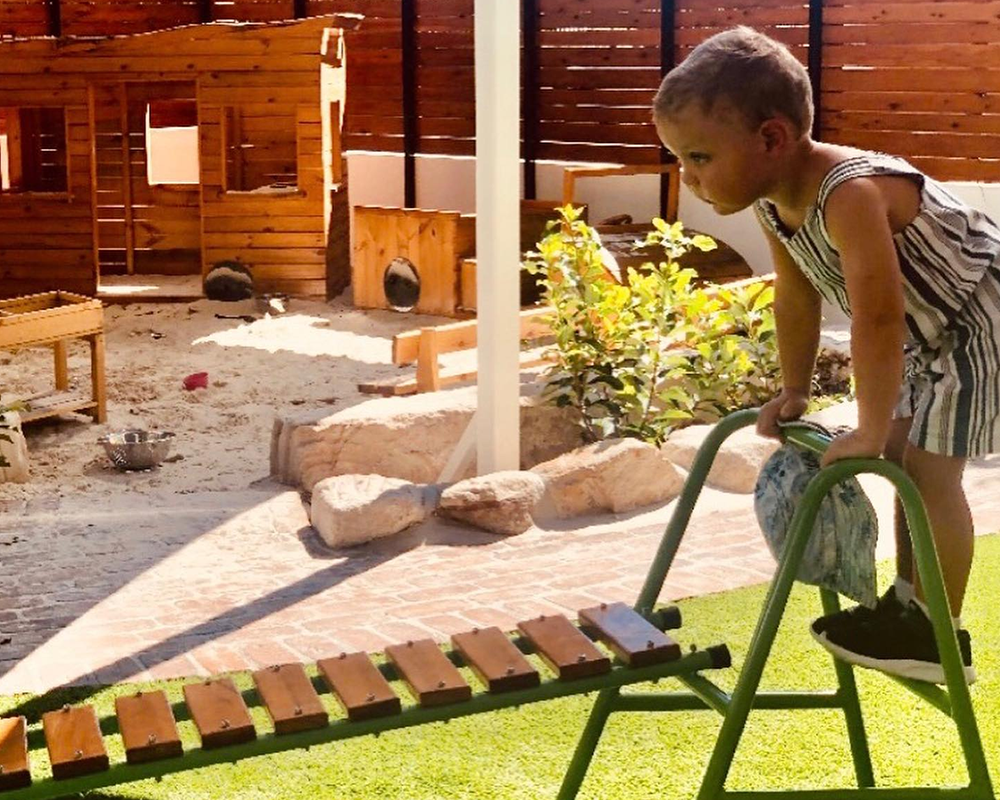
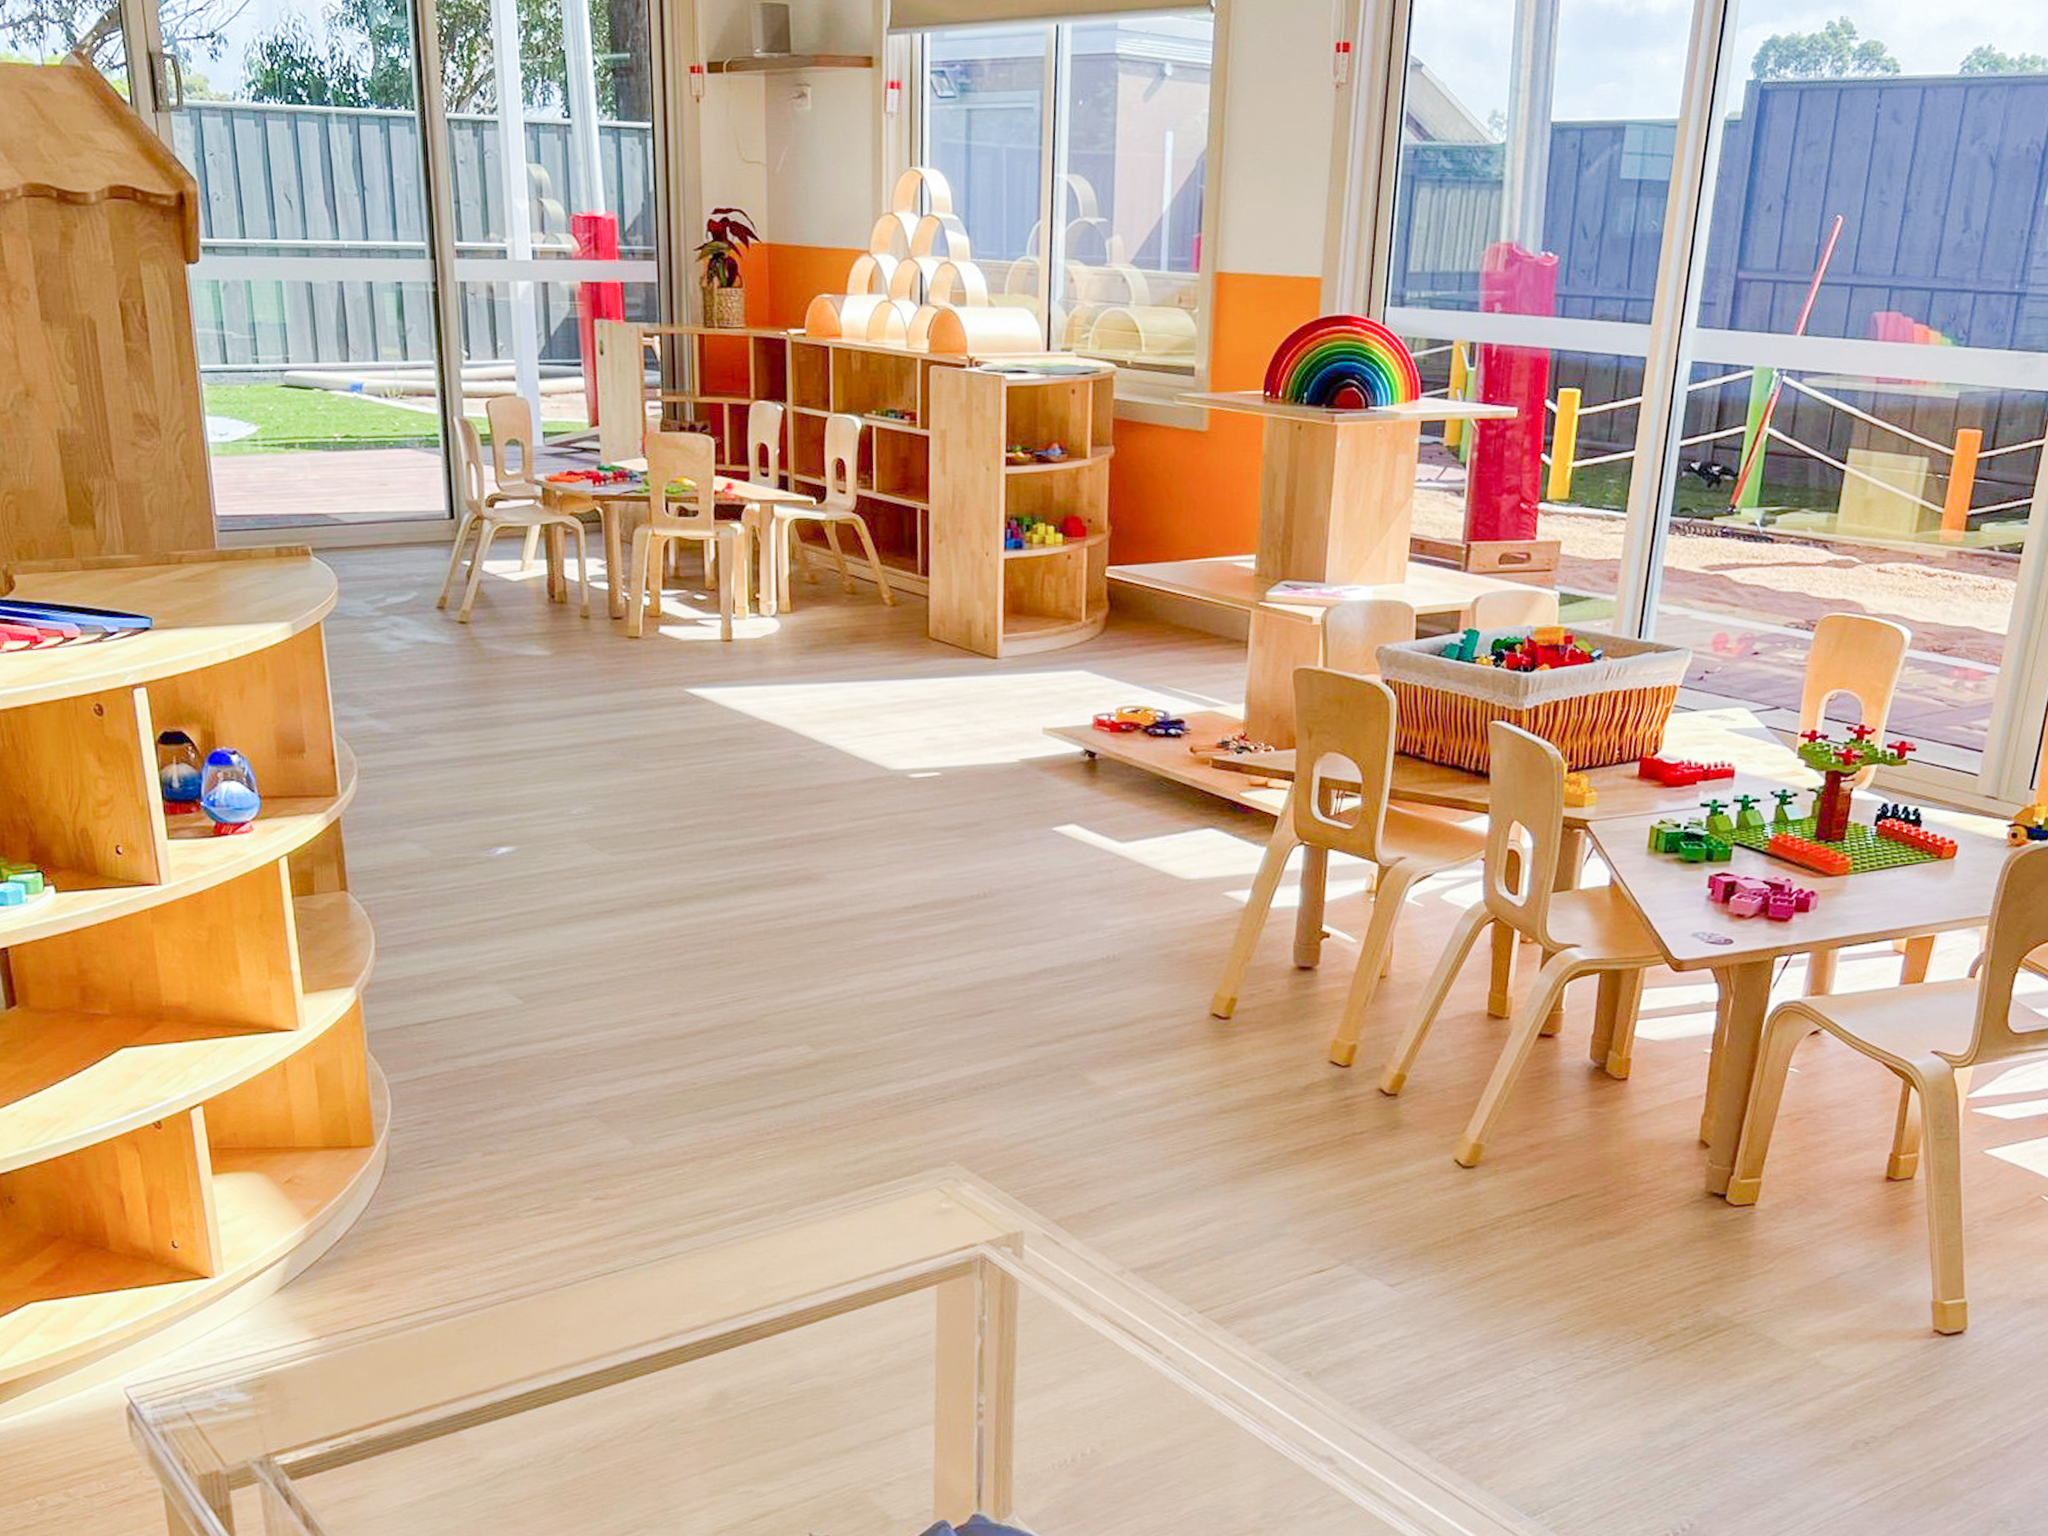
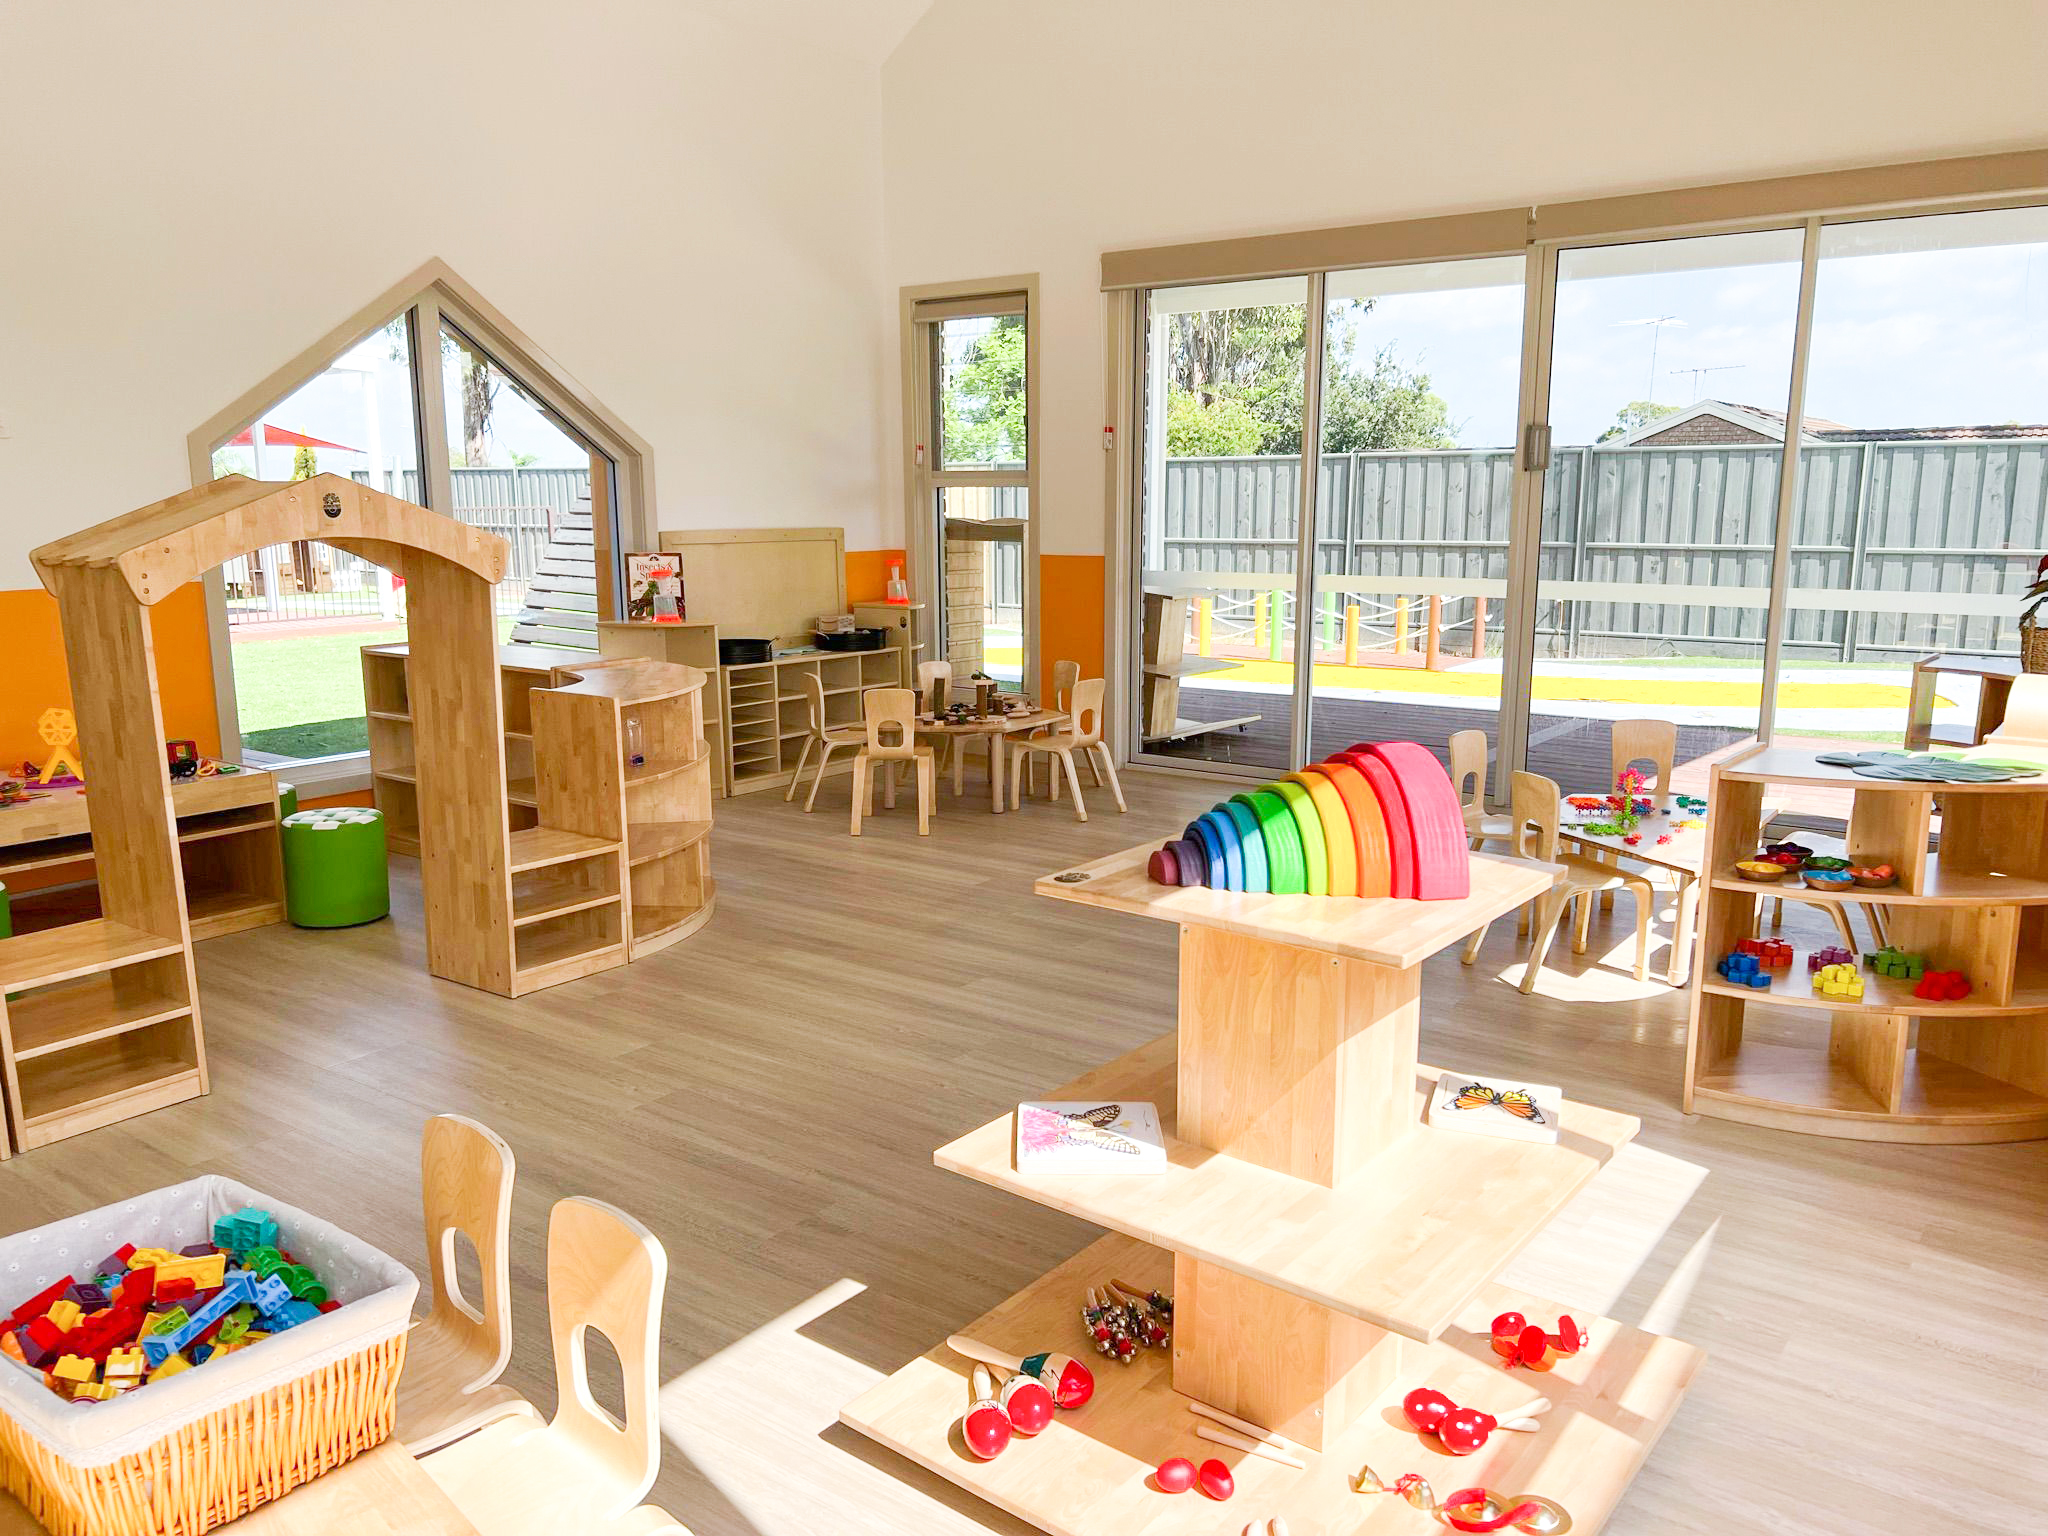
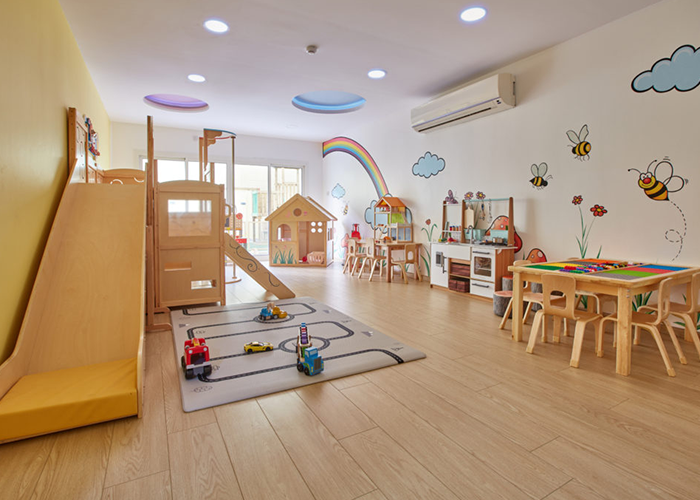
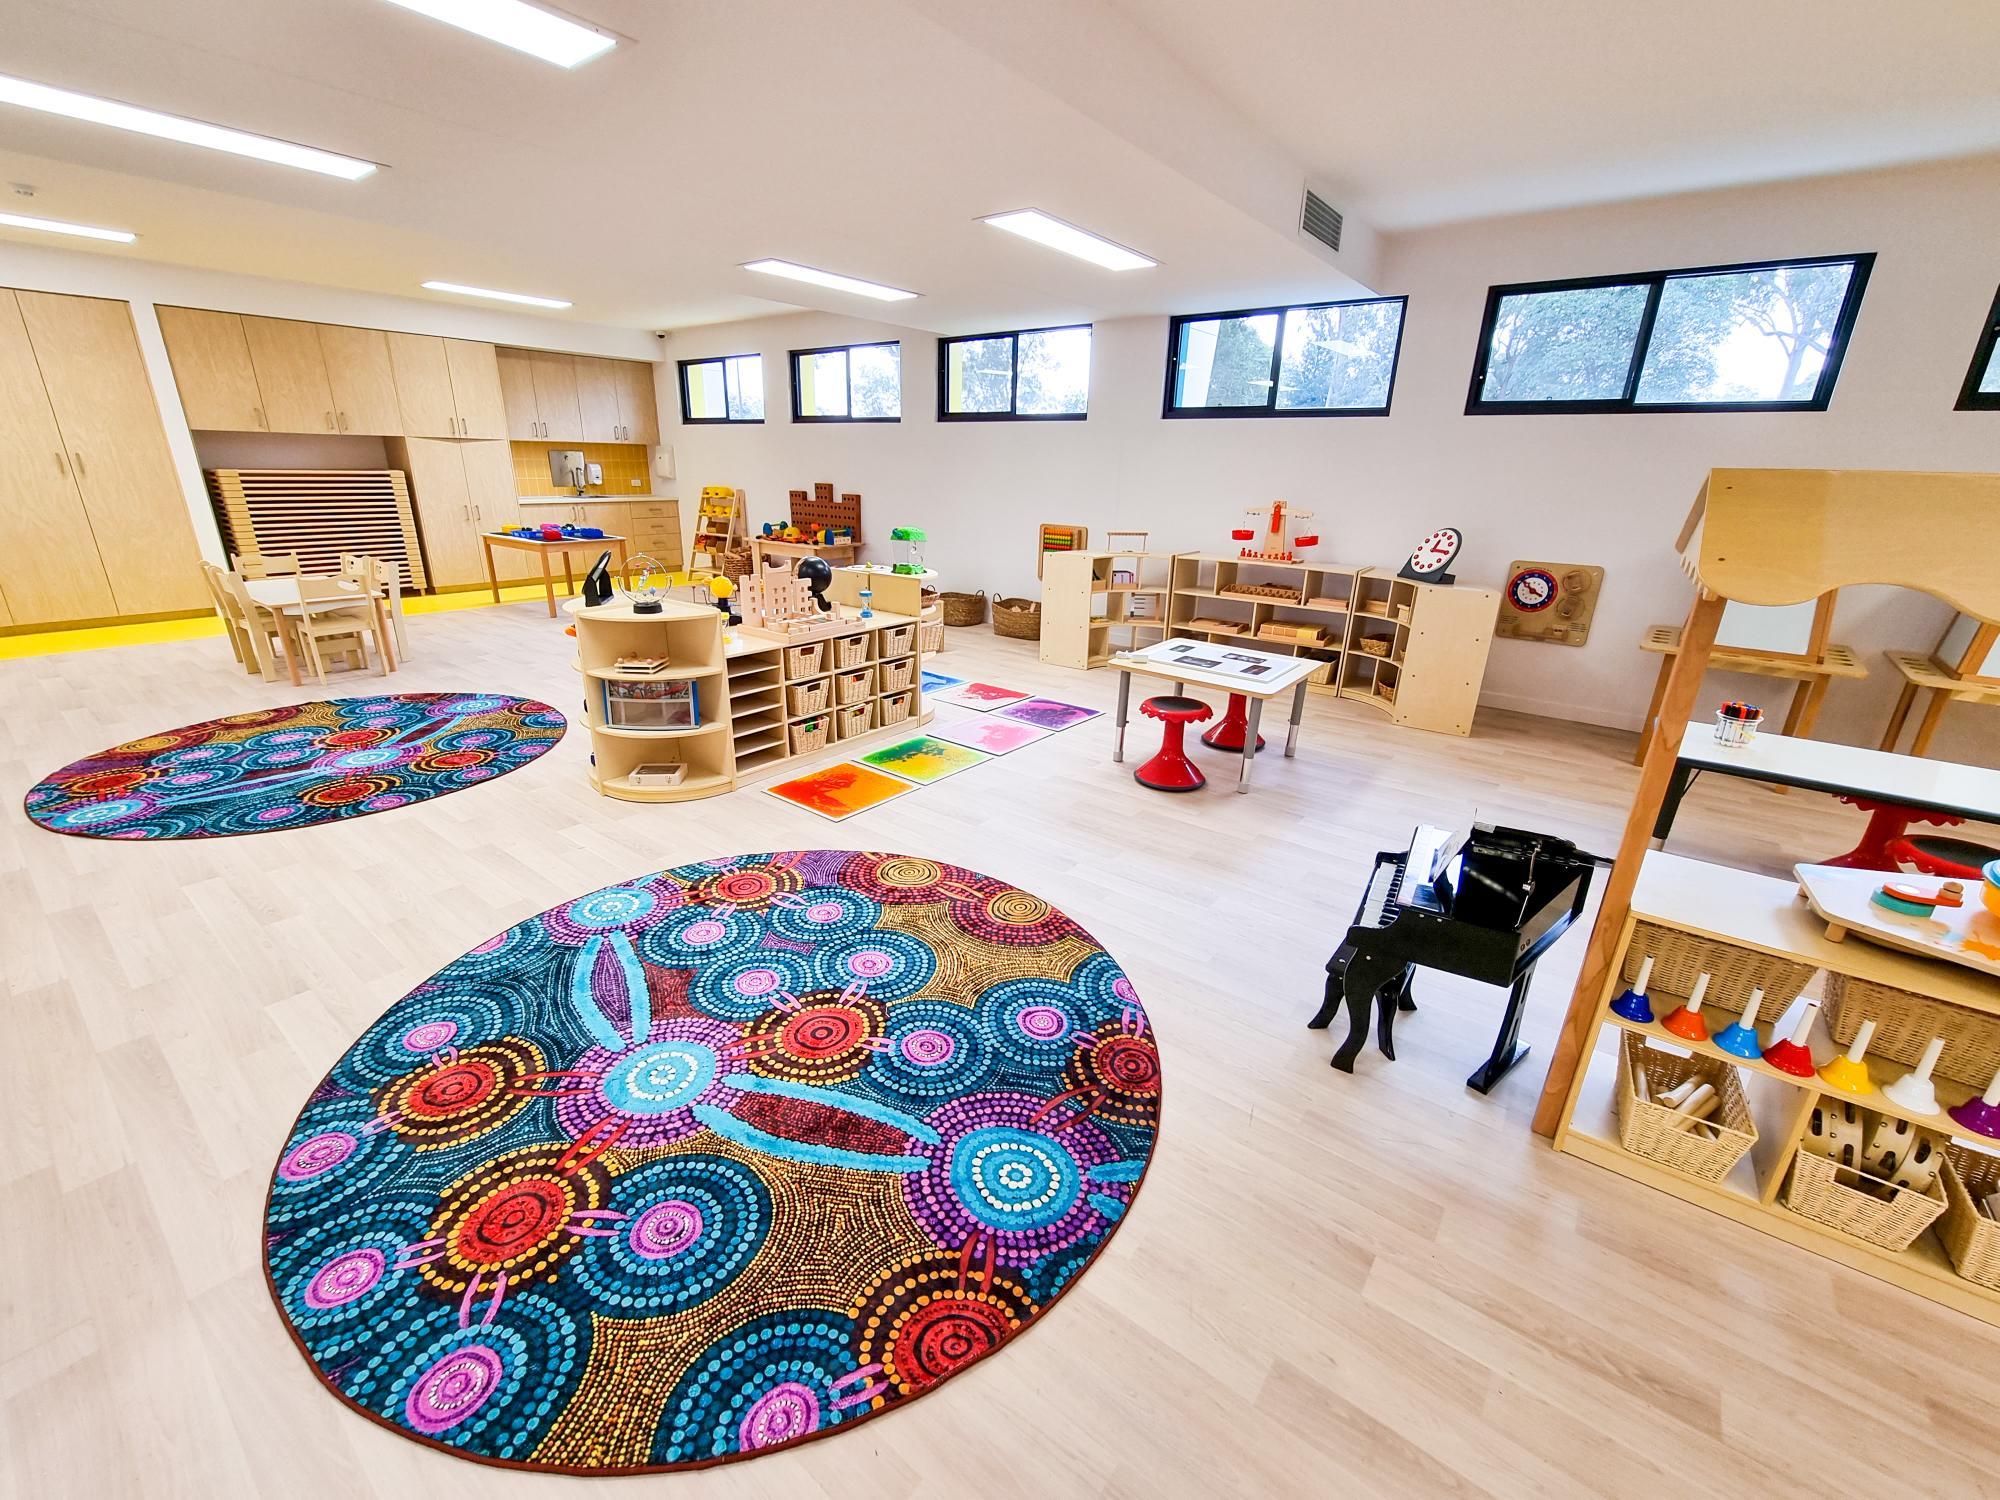
1. Building and Construction Zone
This is the easiest area to understand at a glance, and also the easiest to get involved in. Let children naturally enter the creative environment and turn abstract ideas into visible structures. What children will do here is not just stacking or piecing together, but understanding structure, balance, connection, spatial relationships and problem-solving through repeated attempts.
Required space conditions
- A relatively stable location that is not frequently interrupted:
- A large workbench or floor area
- A flat surface or floor surface large enough to display materials and semi-finished products
- Low, open storage

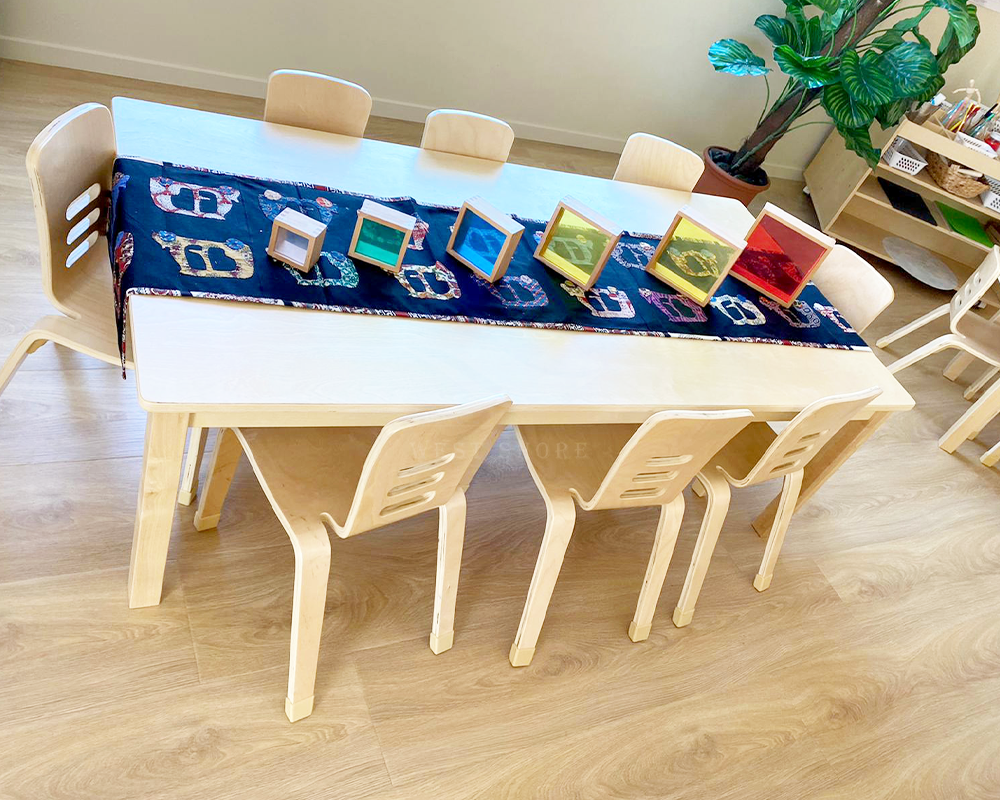
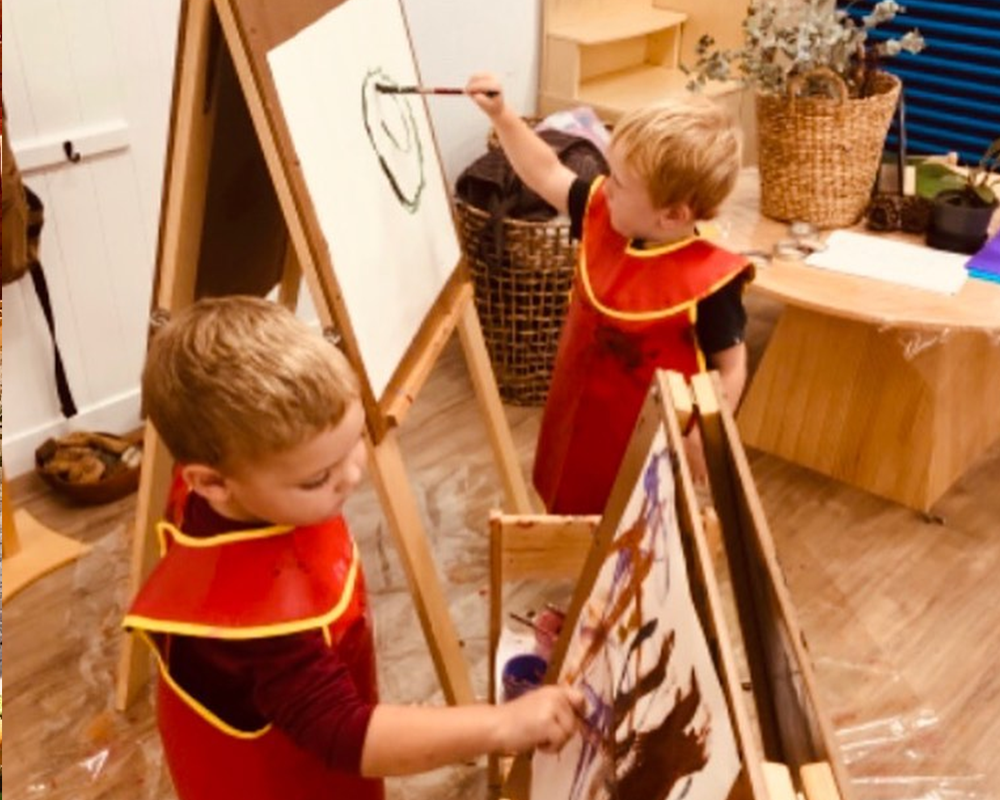
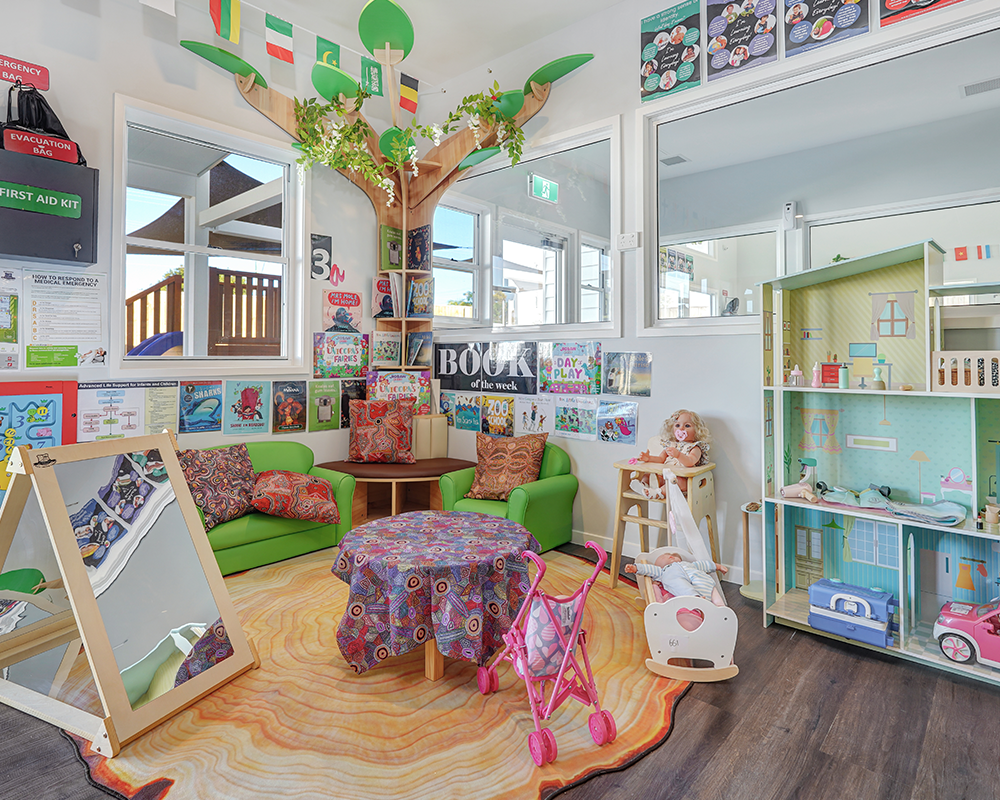
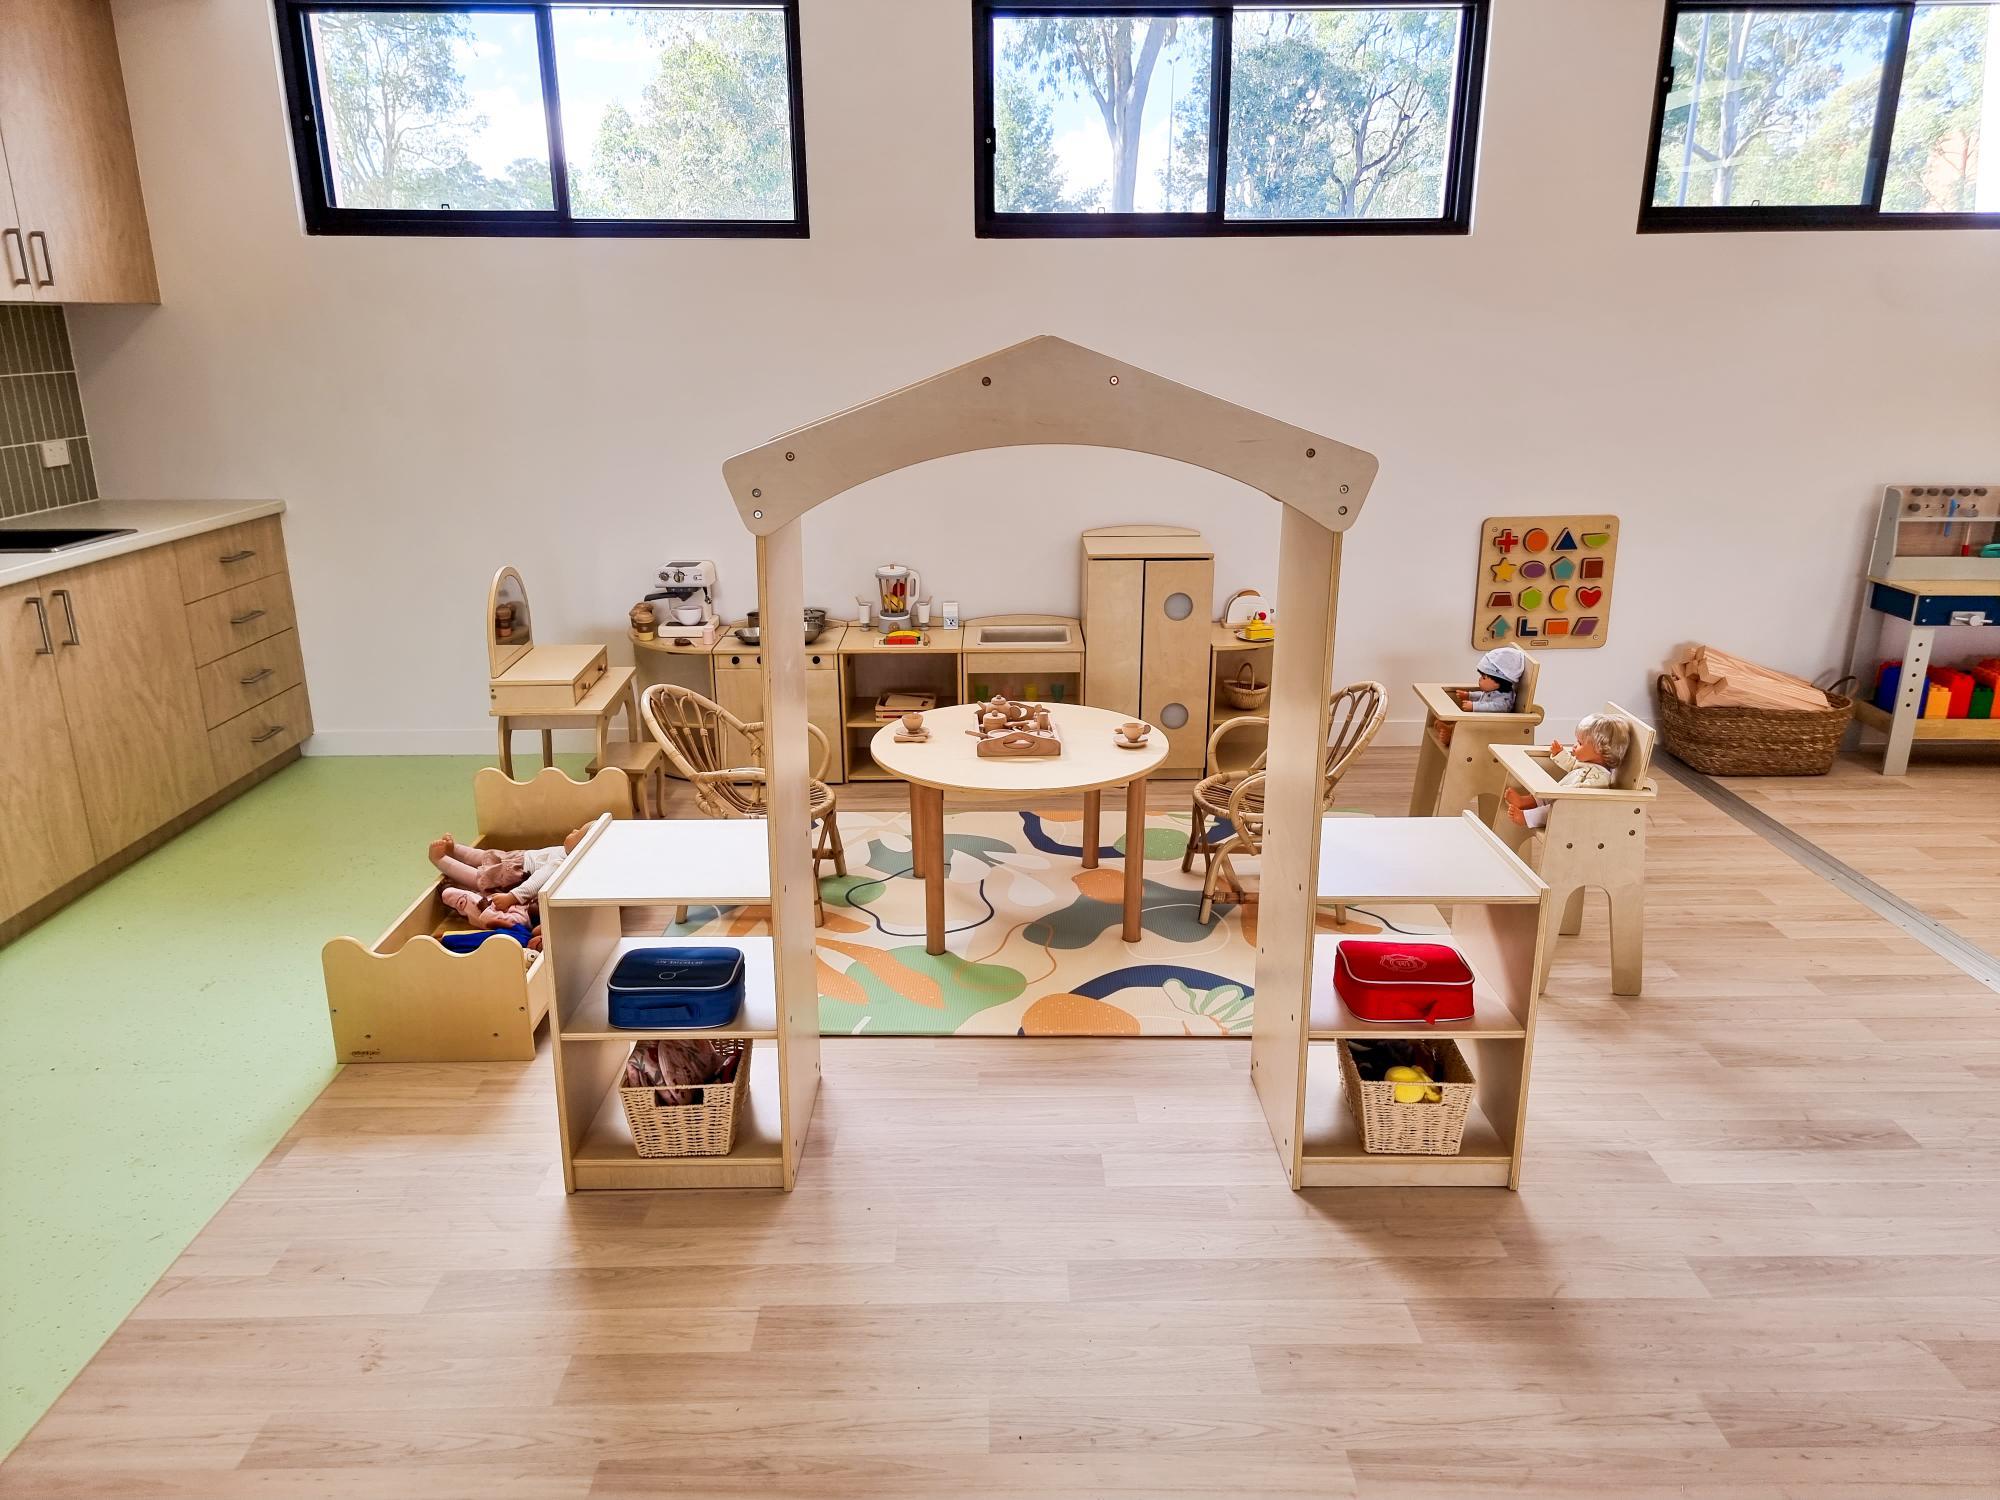
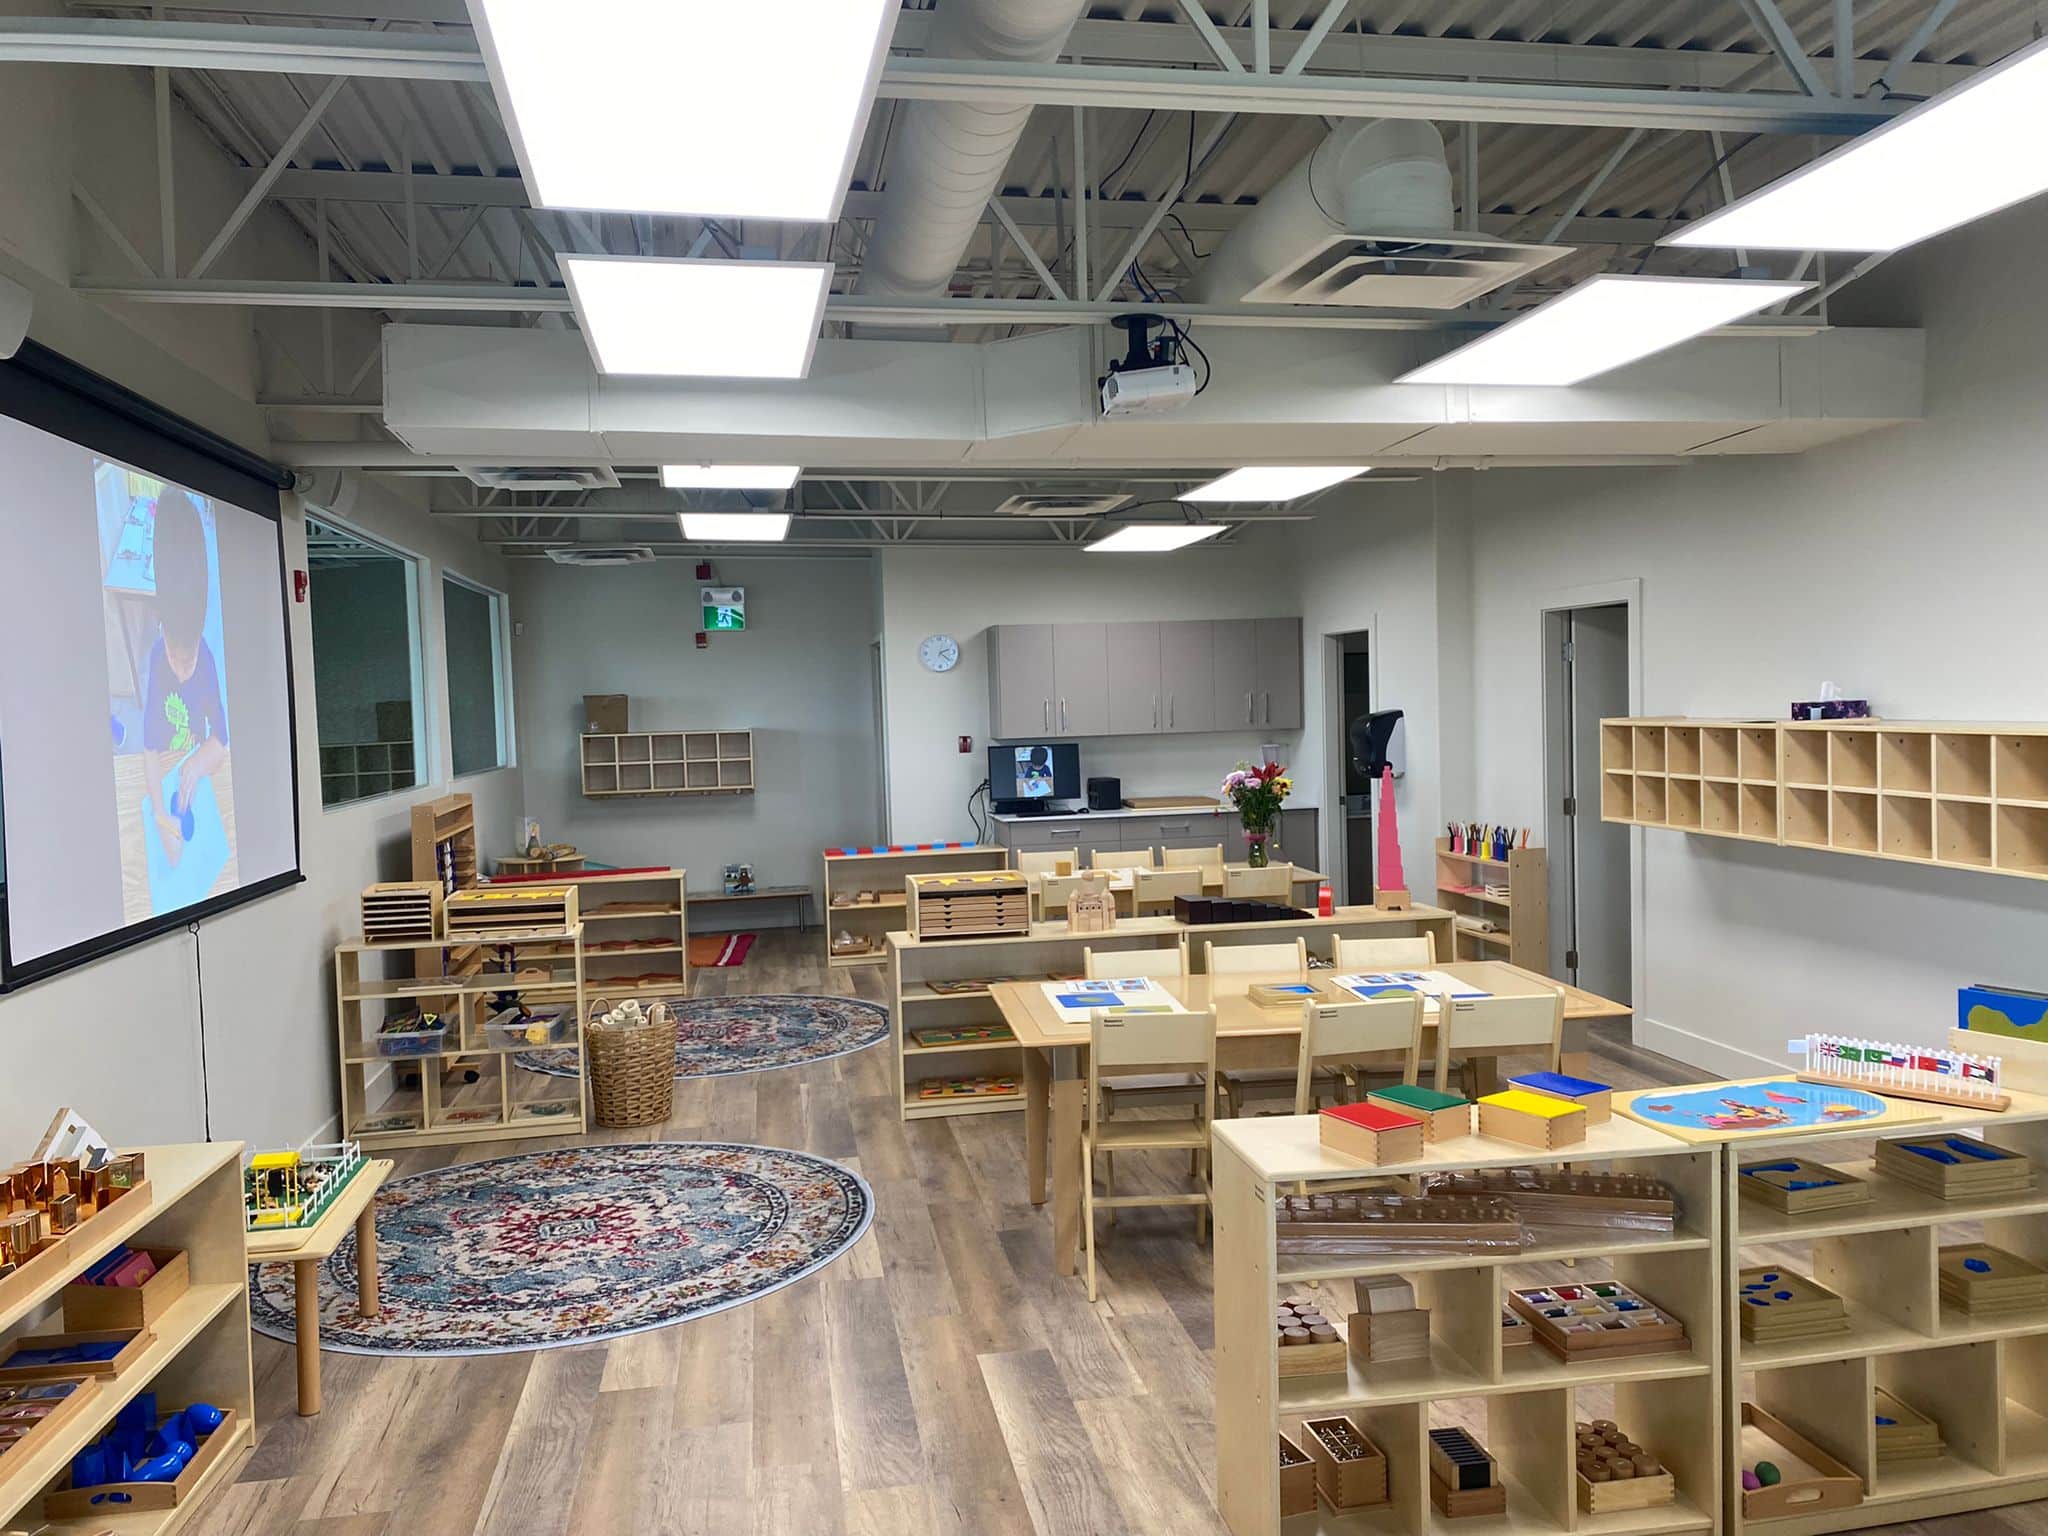
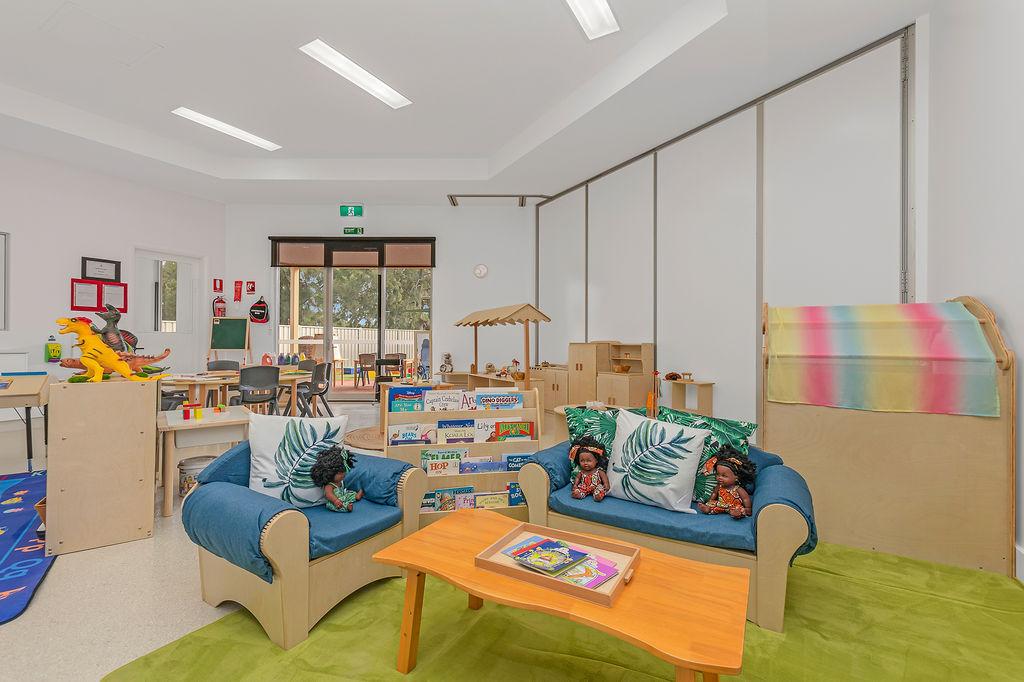
2. Art and Creation Zone
Don’t just think of the Art and Creation Zone as a place for crafts; it’s a space that fully unleashes children’s artistry and creativity. Here, children can paint, create stickers, and express their ideas and choices using paint and paper. They can then build upon their ideas and designs. It provides a relatively quiet space for children to focus on their creative process.
Required space conditions
- Ideally, place it near the art supplies storage area.
- It can be placed in a well-lit area.
- A suitable-sized children’s worktable.
- Choose a table that is easy to clean.
- Prepare storage boxes or baskets for small items.

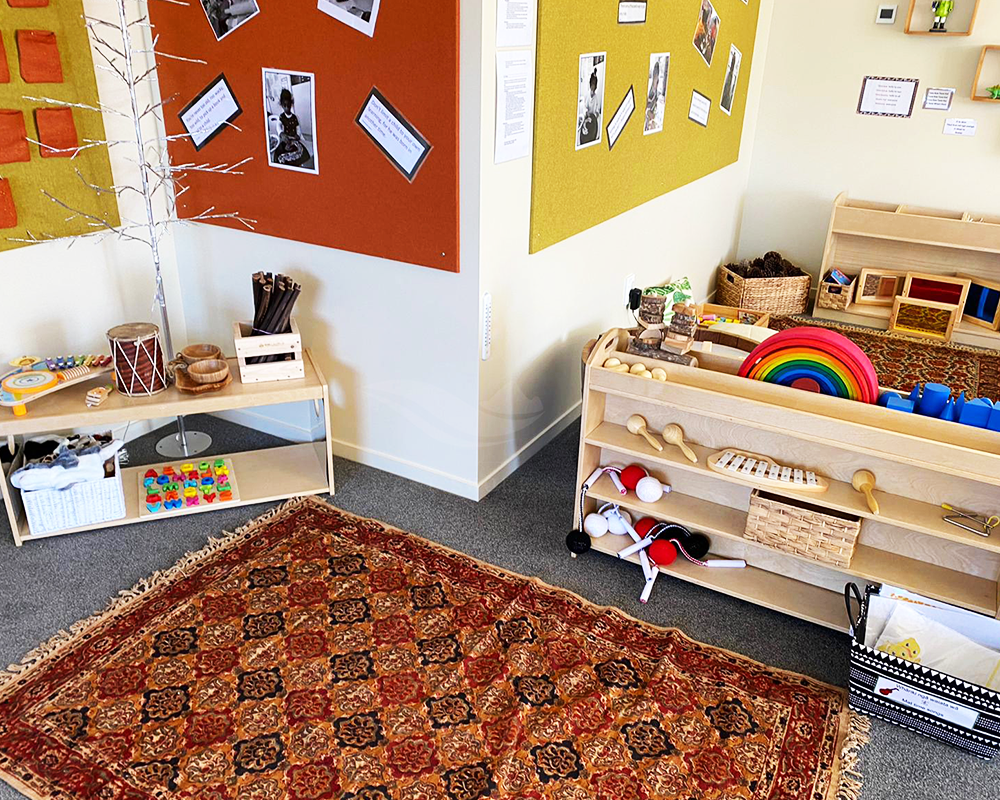
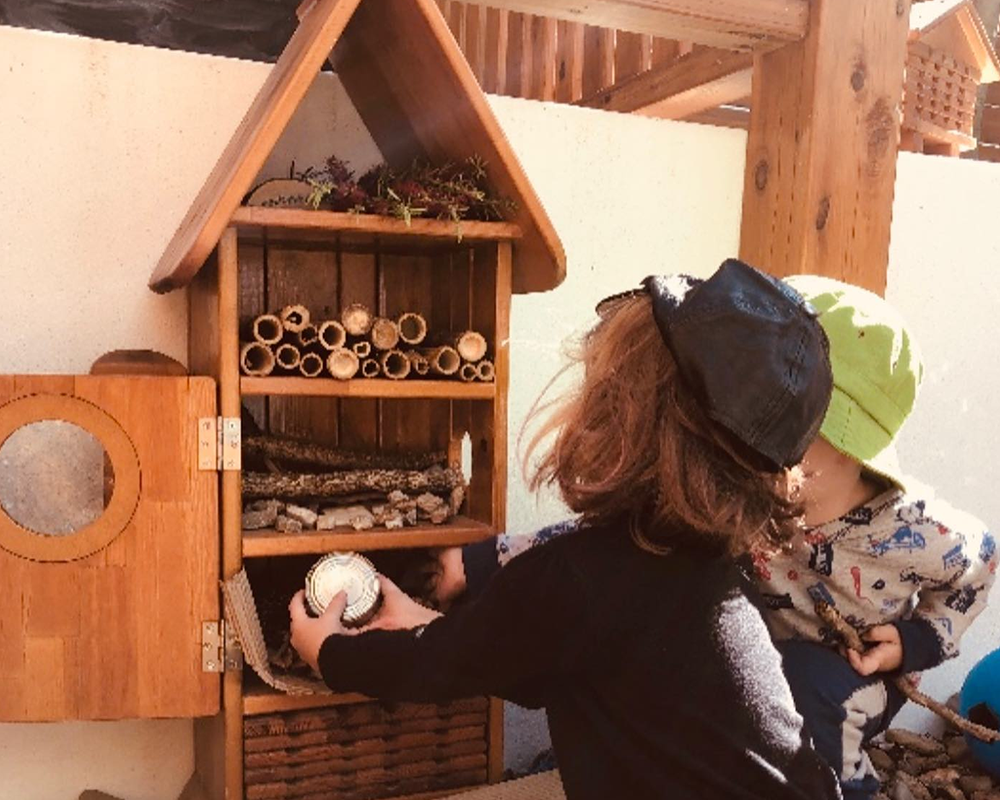
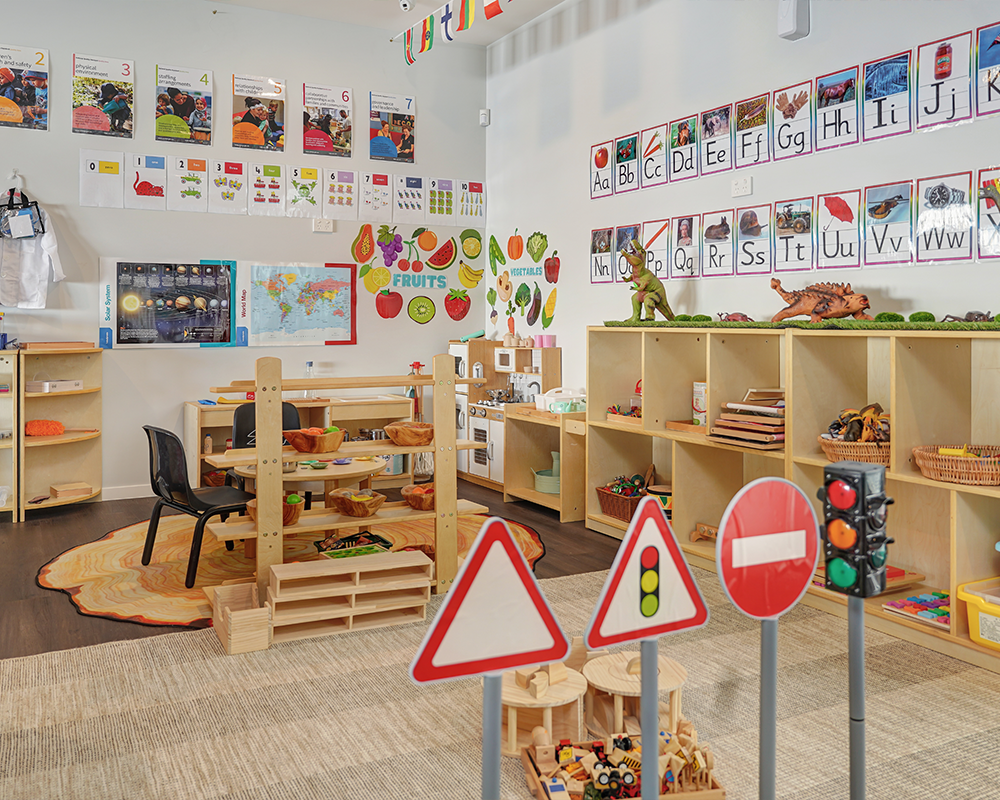
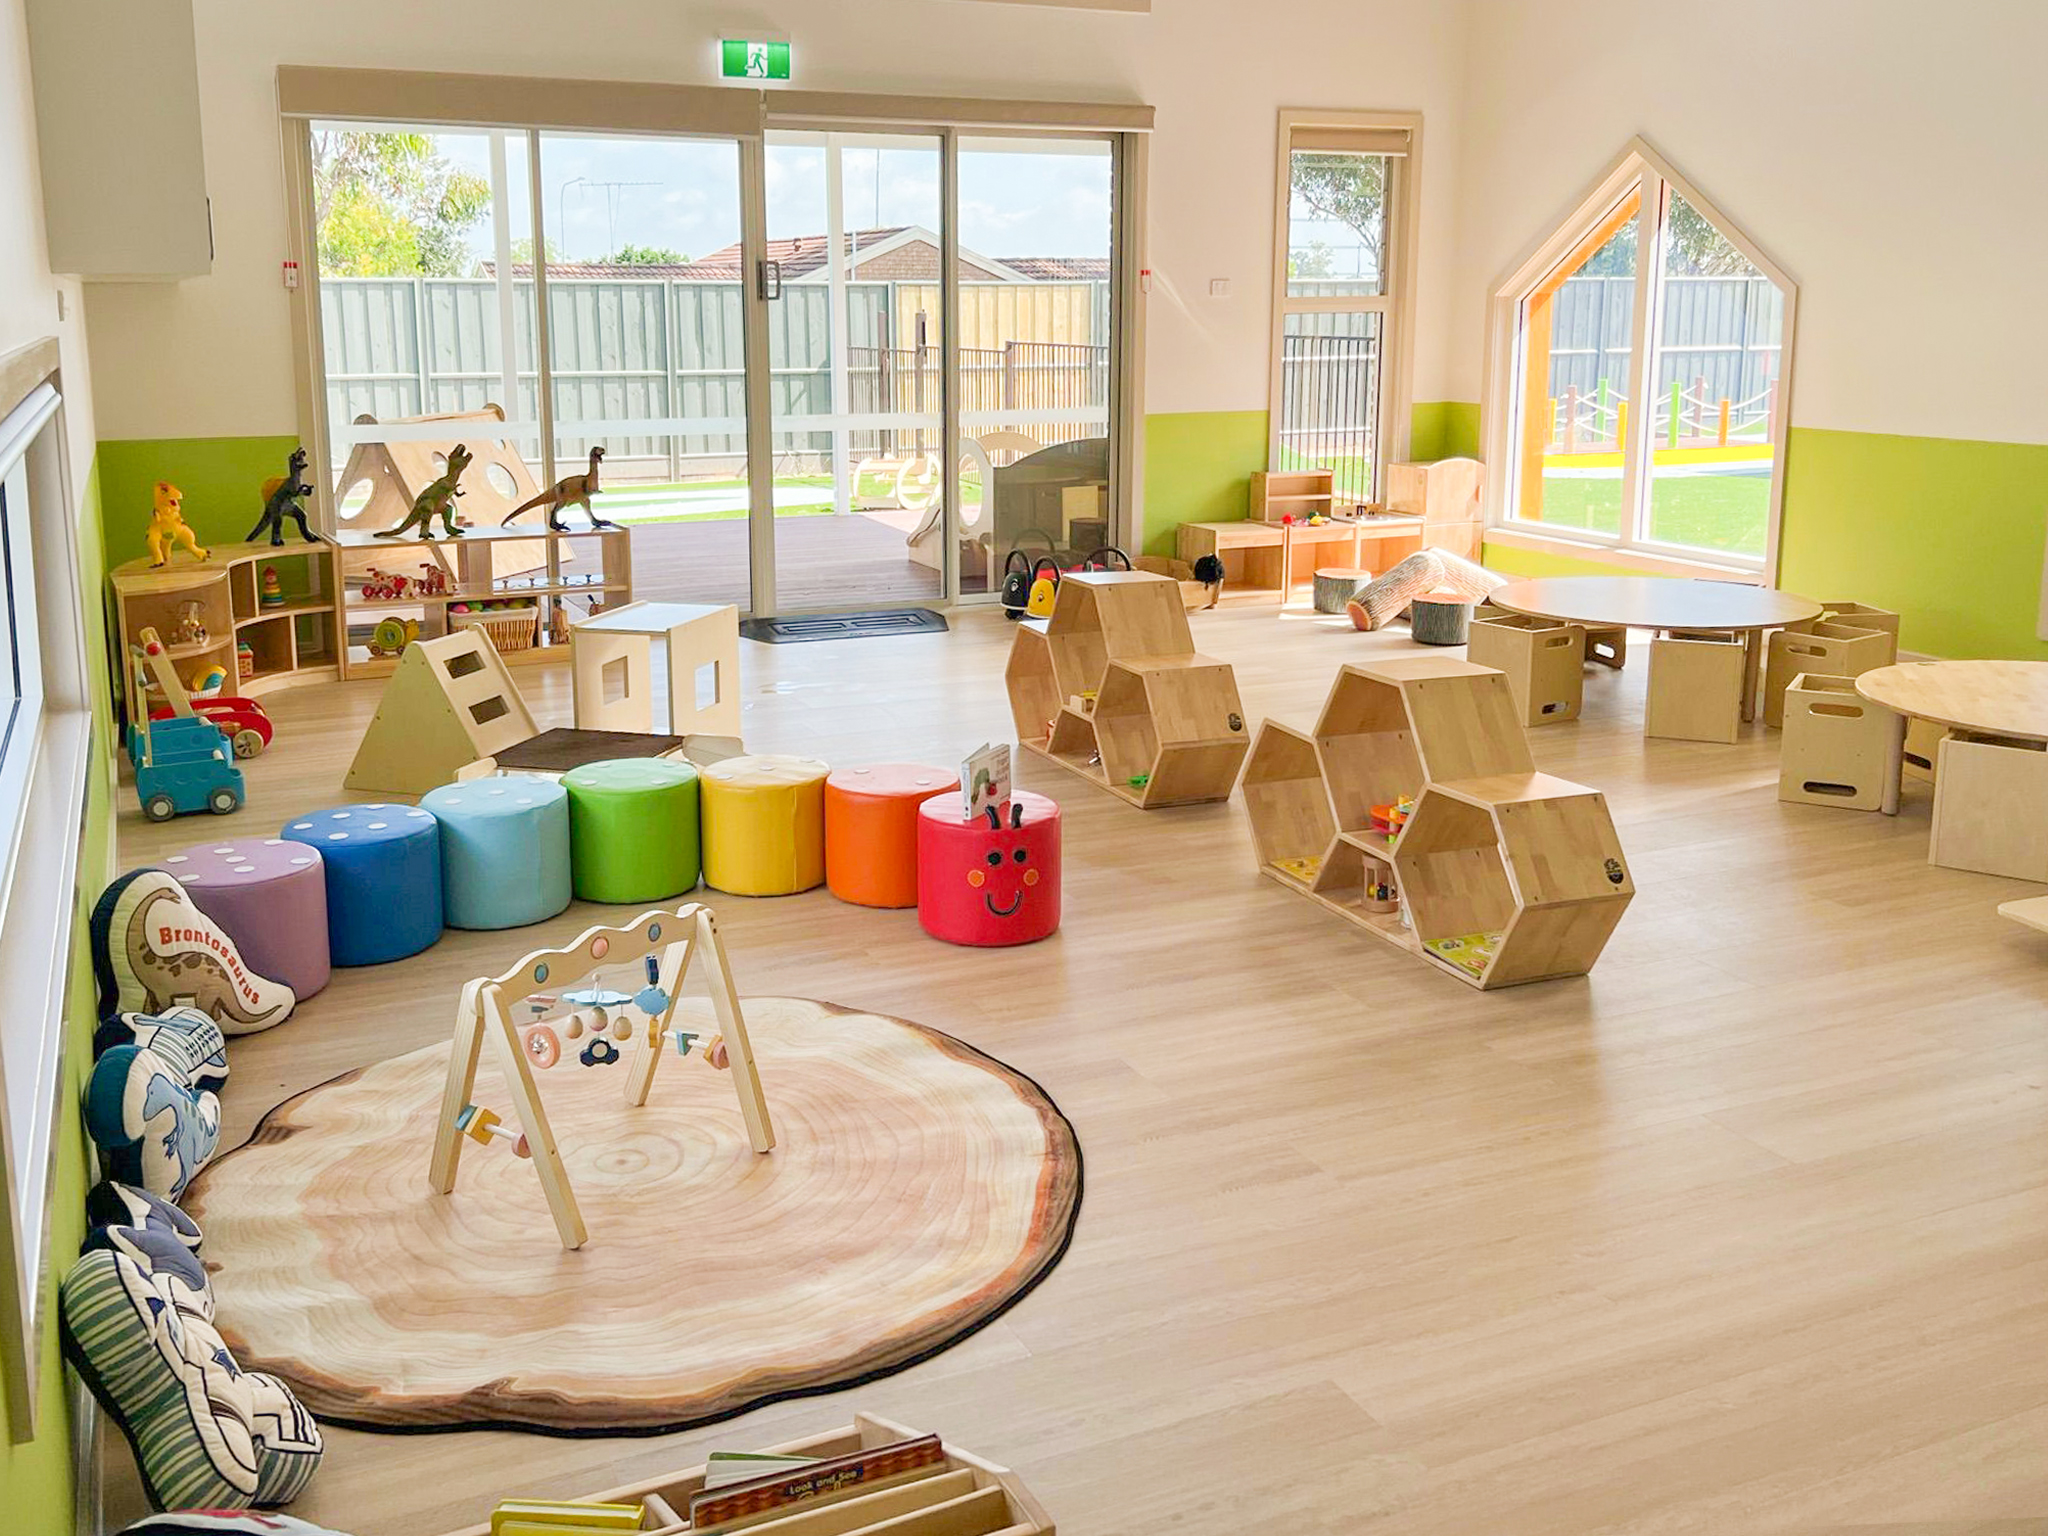
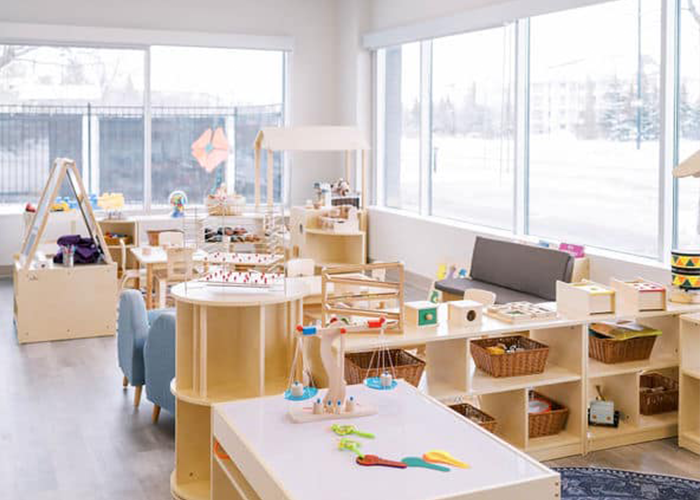
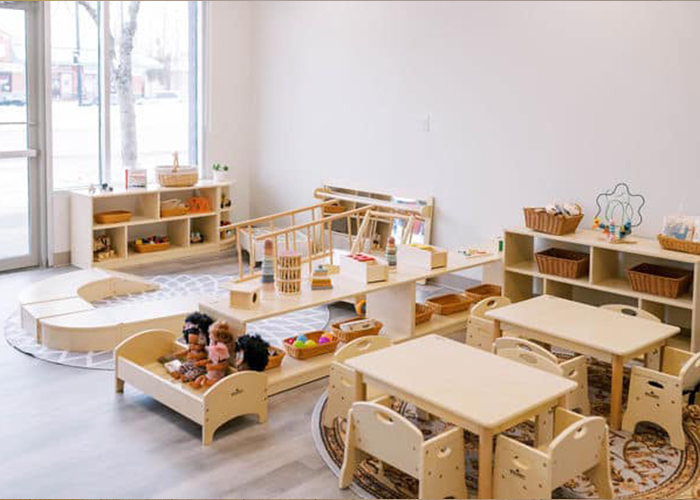
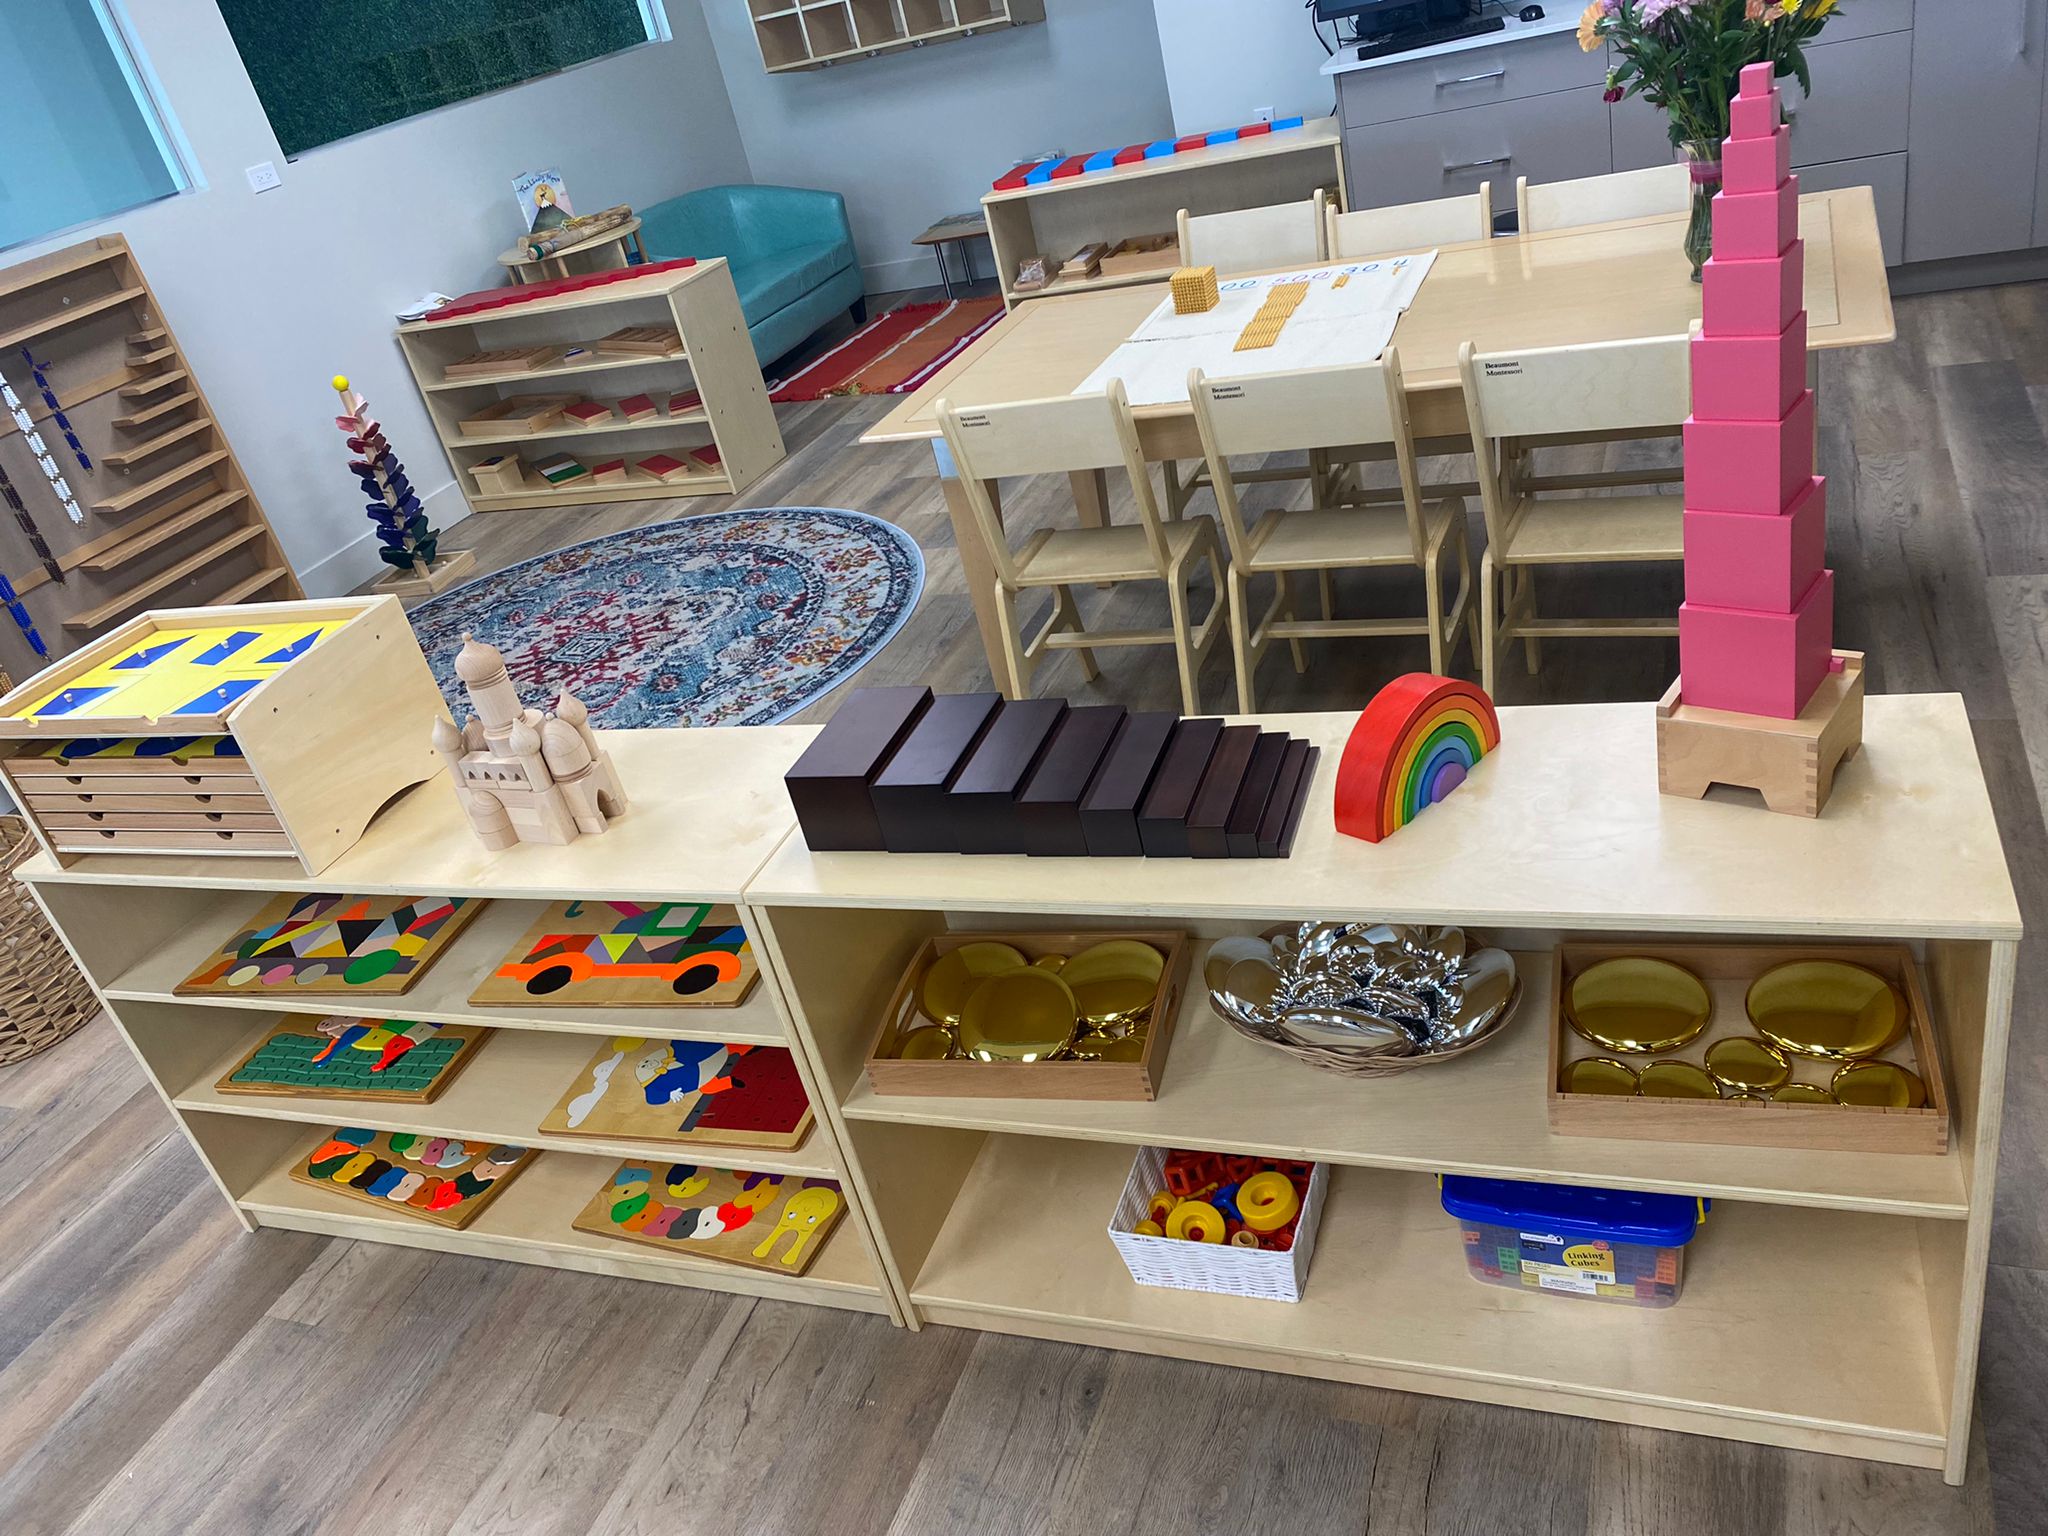
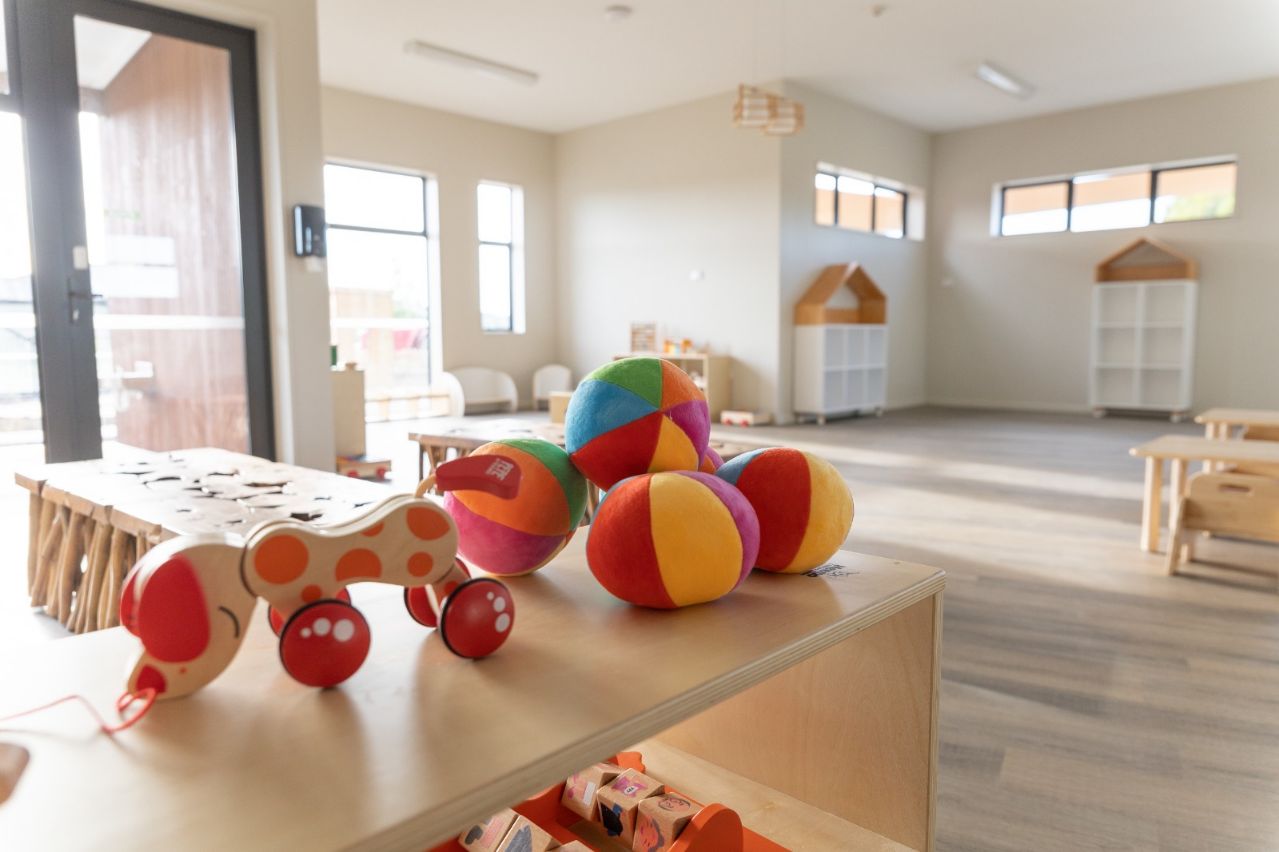
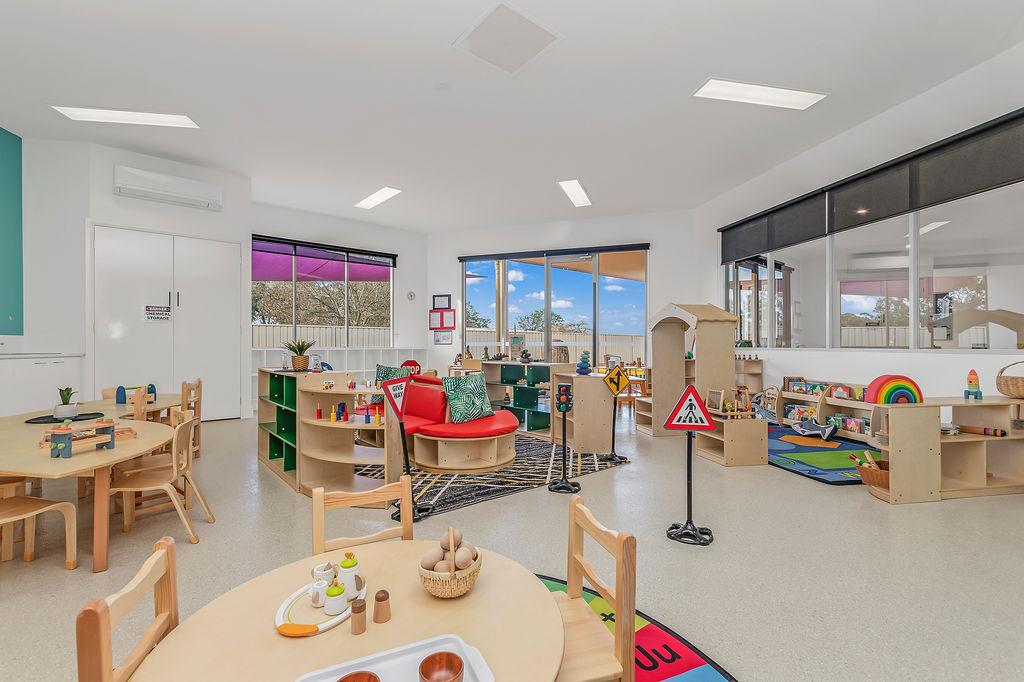
3. Loose Parts and Open Materials Area
This area is perfect for activating children’s ideas and understanding their individual differences. There are no strict rules; with clearly visible materials everywhere, children can freely pick them up, assemble them, and define their uses. Here, children can compare the shapes and sizes of different materials, using their imagination to combine or categorize them—for example, using bottle caps as wheels or paper tubes as telescopes. This concept aligns perfectly with Reggio, Montessori, and STEM education.
Required space conditions
- Materials must be placed in easily visible locations.
- Easy for children to reach.
- Use low, open storage.
- Utilize transparent containers.
- Prepare tables, chairs, or rugs for children to arrange the materials.

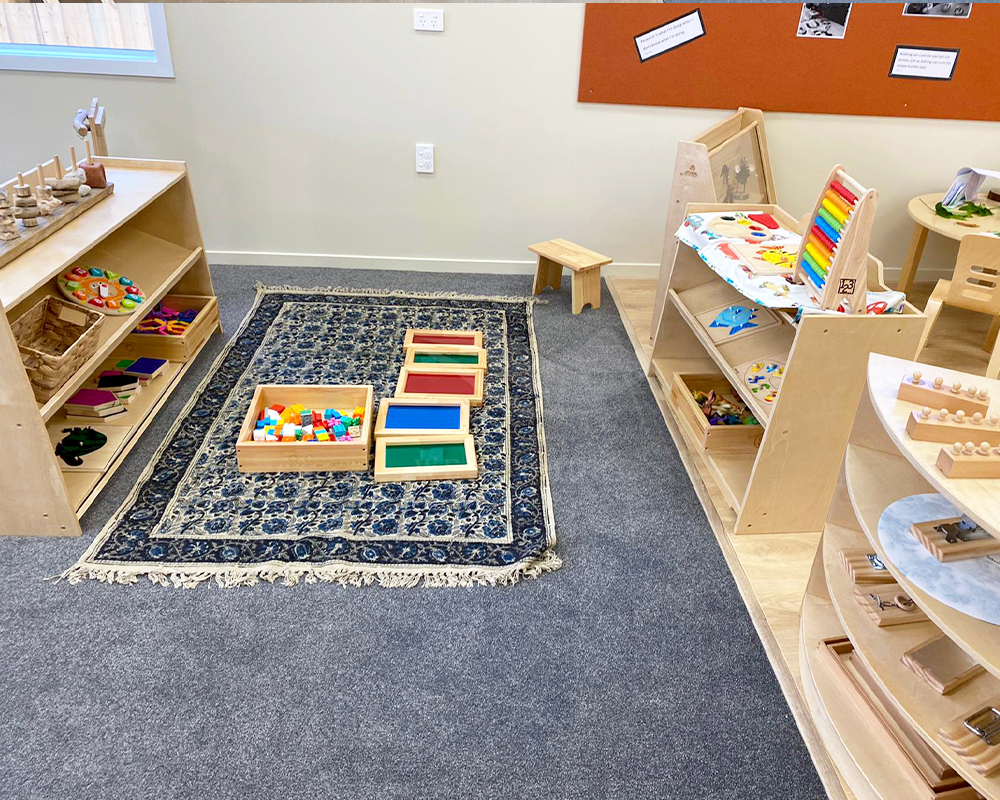
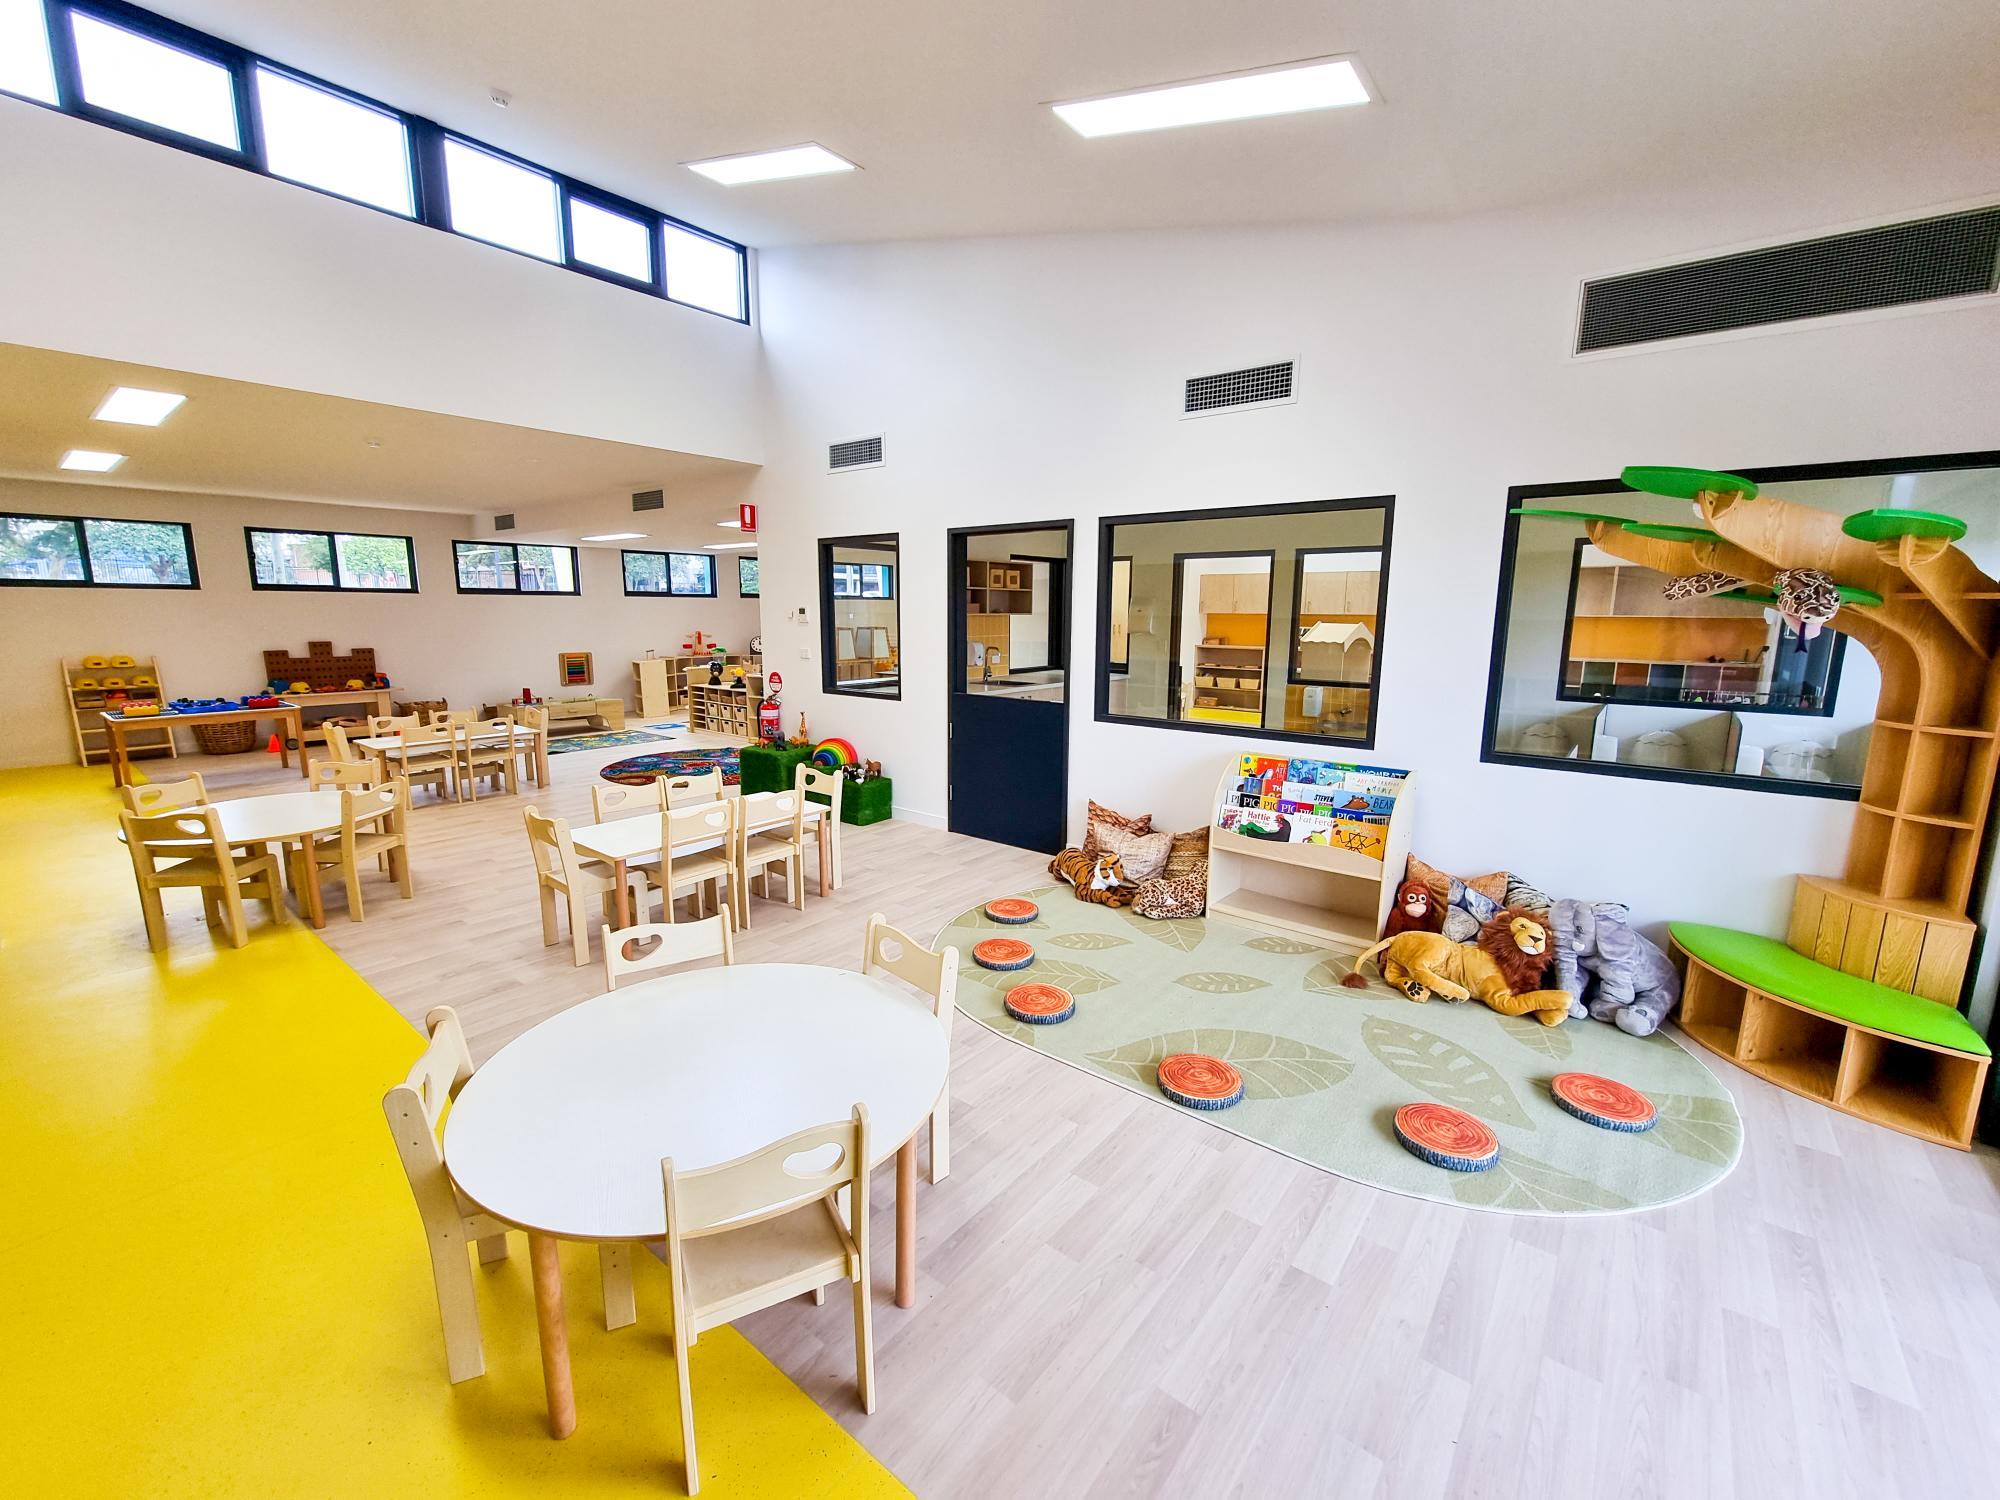
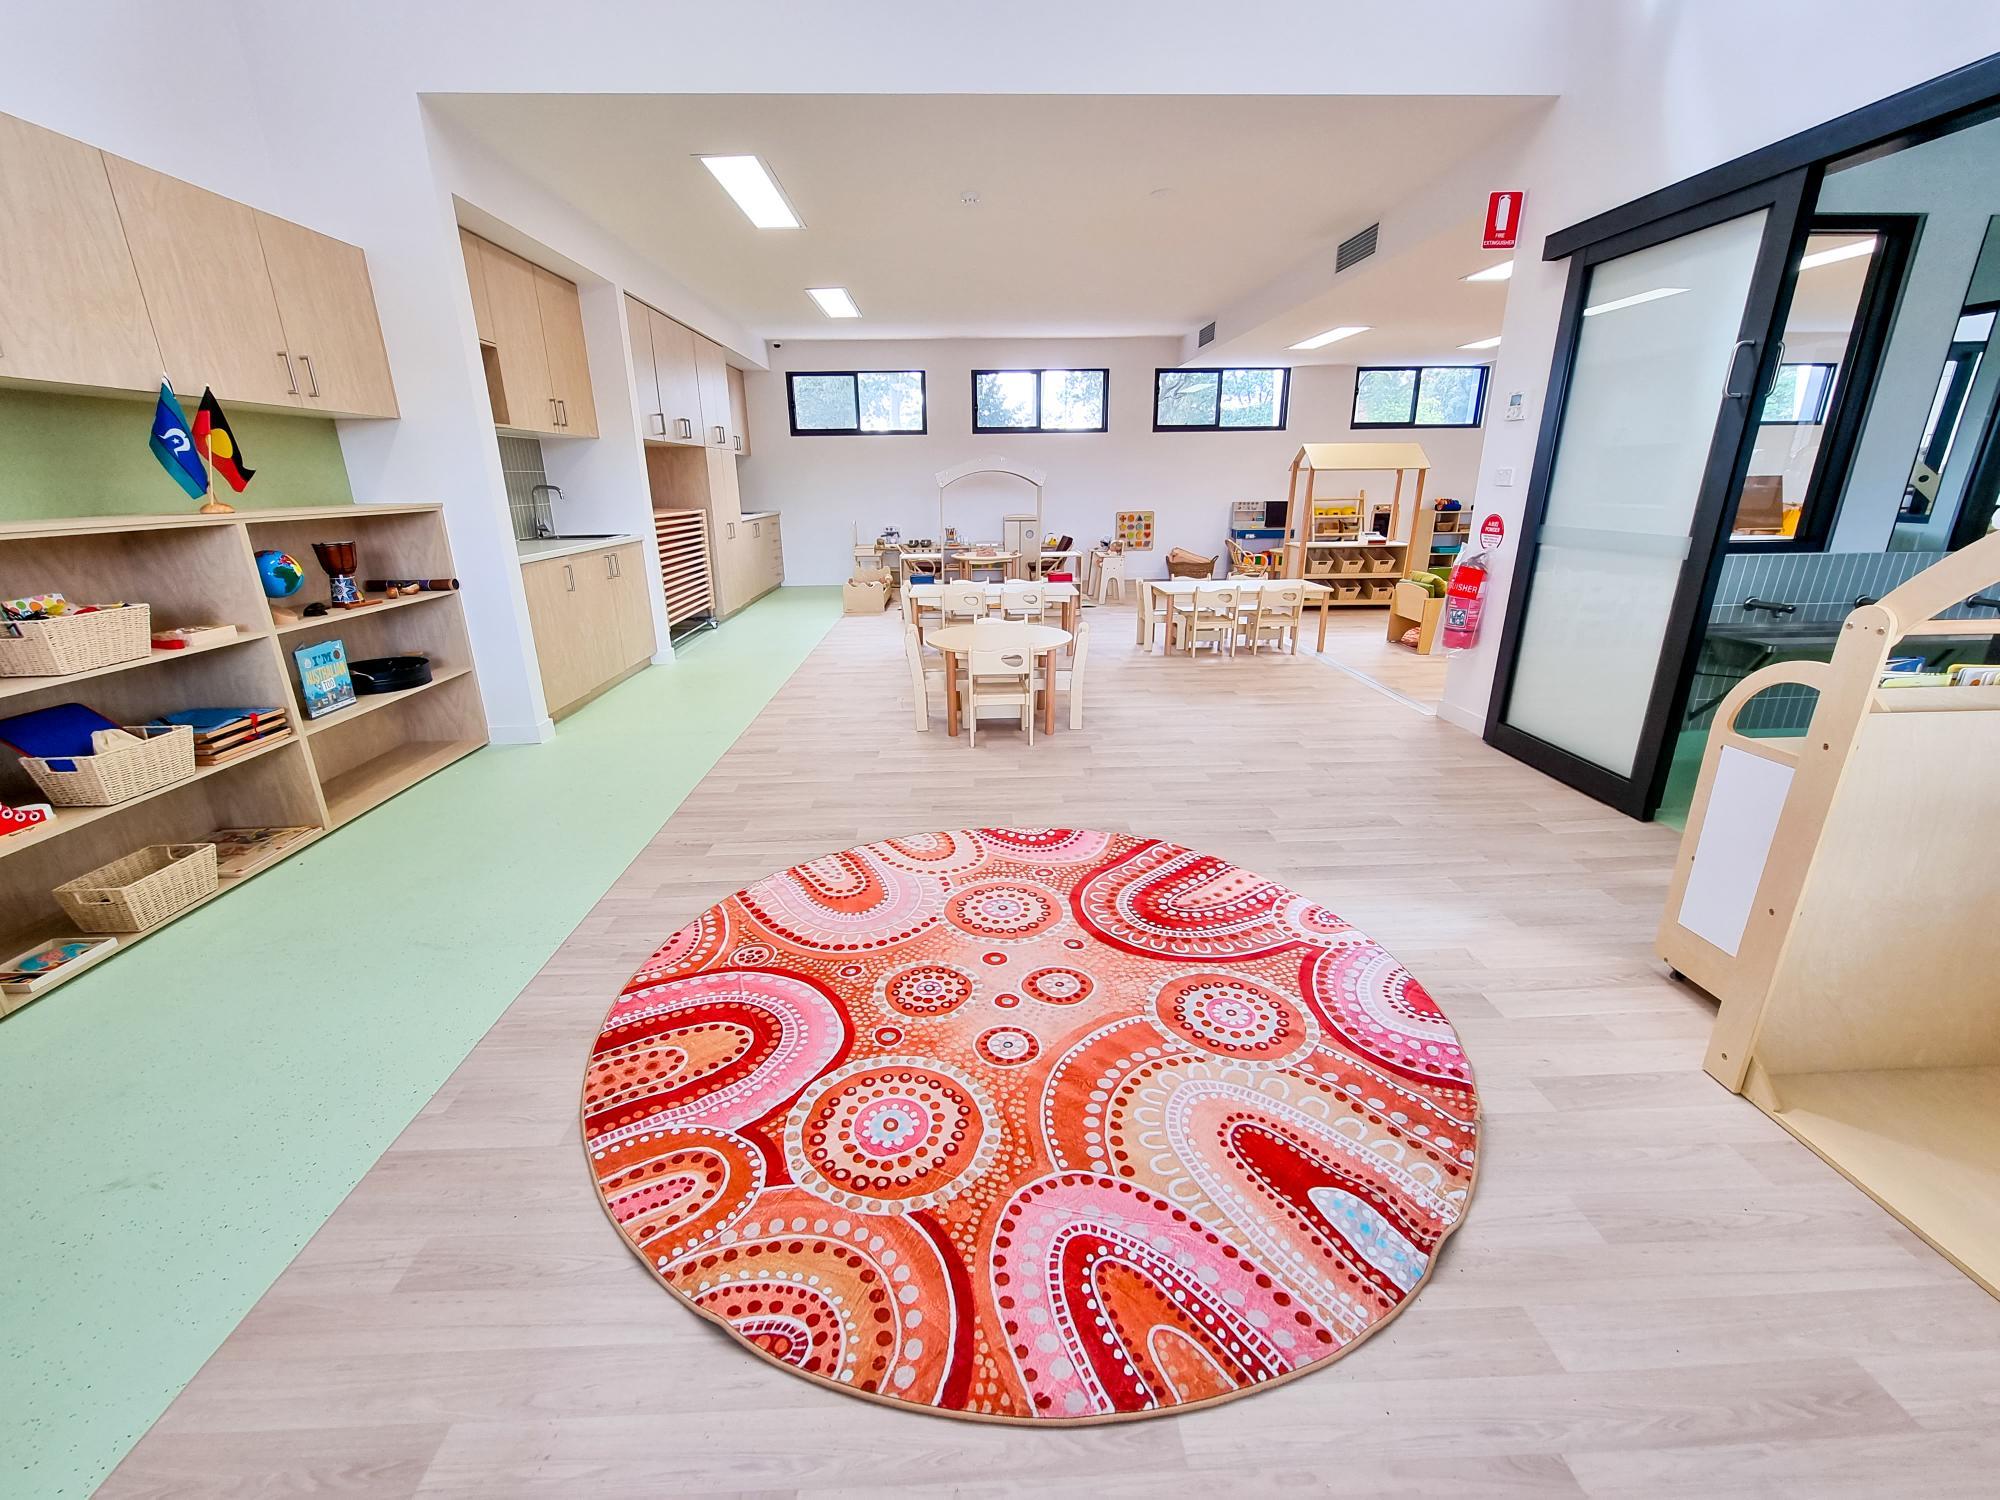
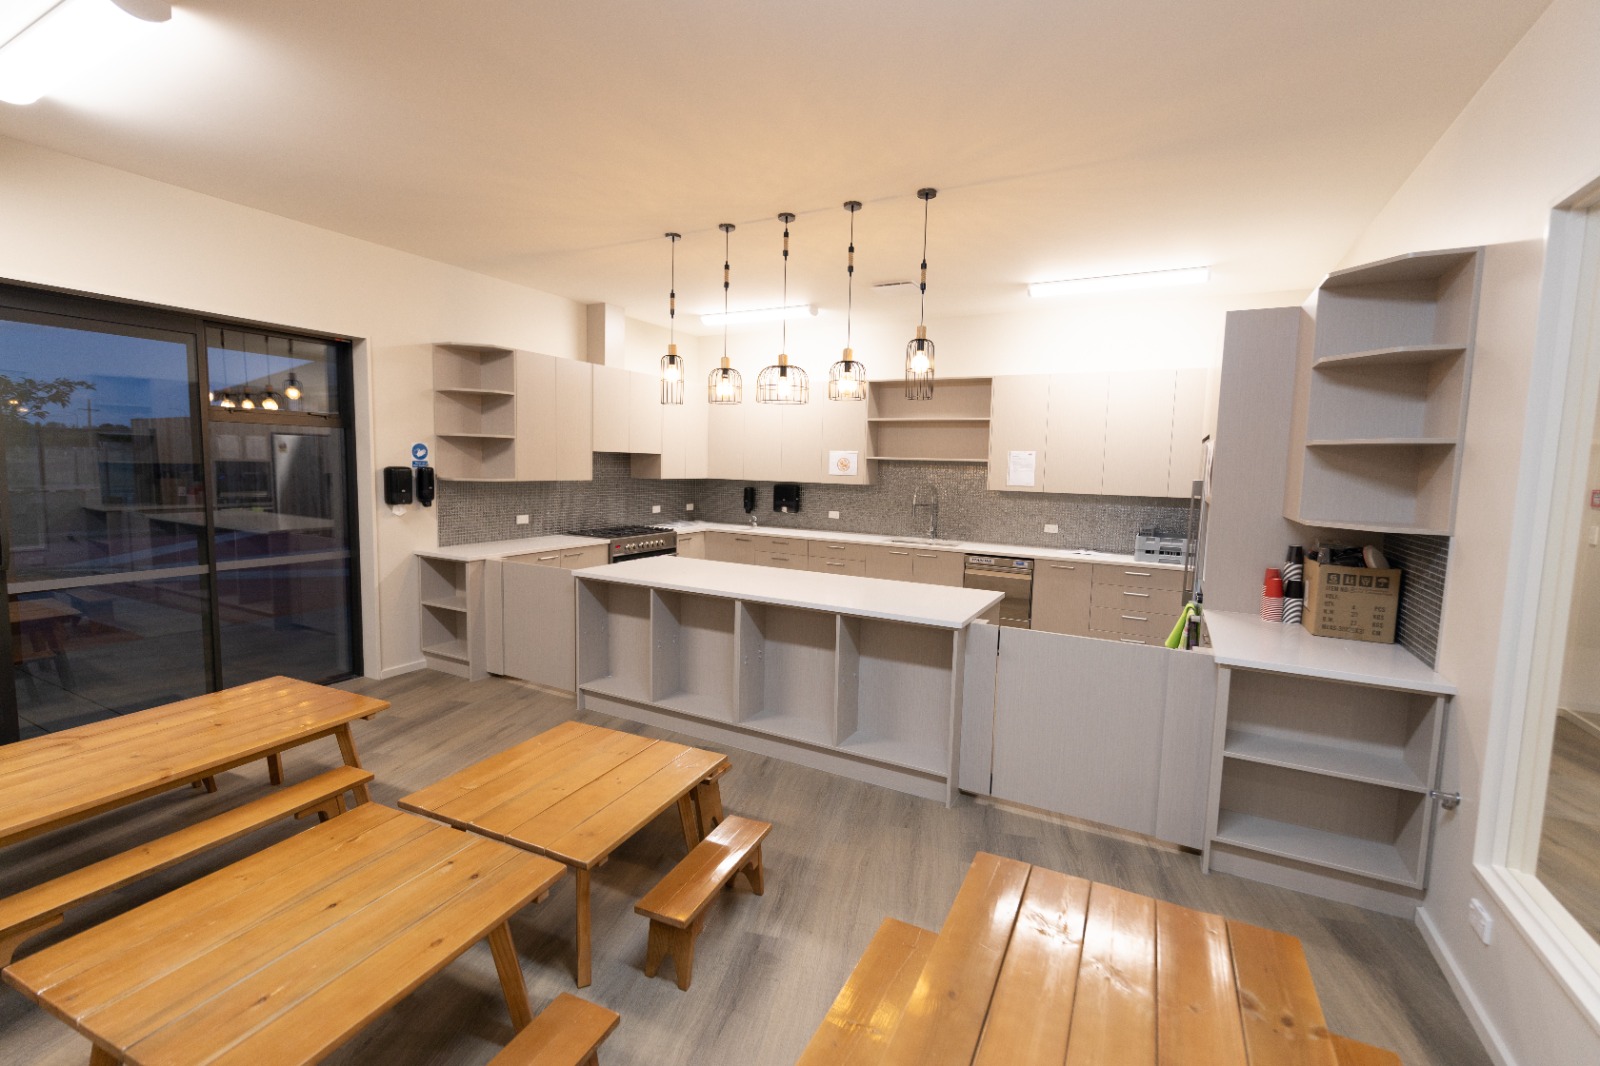
4. Storage and Project Display Area
The primary purpose of this area is to store materials and display children’s completed projects. A dedicated storage area prevents the space from becoming increasingly cluttered and difficult to maintain. Don’t treat it as an optional area; it’s a pillar for the long-term stable operation of the maker space. Displaying projects allows children and parents to see their achievements, fostering a sense of belonging for children. Unfinished projects can be kept here for future use.
Required space conditions
- Located near the main activity area, but without obstructing operations.
- Arrange the space to display artwork.
- Artwork display shelves.
- Categorized storage furniture.
Don’t mix everything together. In the maker space, make clear zoning plans, divide the space into sections first, and then place furniture and materials.
The zoning of a maker space is not about making the classroom more complicated, nor is it about making it look professional on the surface. Rather, it’s about providing different areas for different activities, making it easier for children to find their corresponding areas, and making it easier for teachers to manage and organize.


Step 4: Choose The Tight Furniture and Storage
Many educational institutions are attracted to complete furniture sets when purchasing furniture, as they look beautiful and neat. However, once in use, many problems arise, such as tables that are not large enough, chairs that cannot be moved flexibly, cabinets that are too tall, and insufficient display space.
The most important thing is to find a suitable maker space for you, rather than prioritizing aesthetics. If you want to avoid the hassle, you can find a professional layout planning team to customize a space to perfectly suit your needs and teaching methods.


Below are some core furniture recommendations based on our experience, which can fully unleash the potential of a maker space.
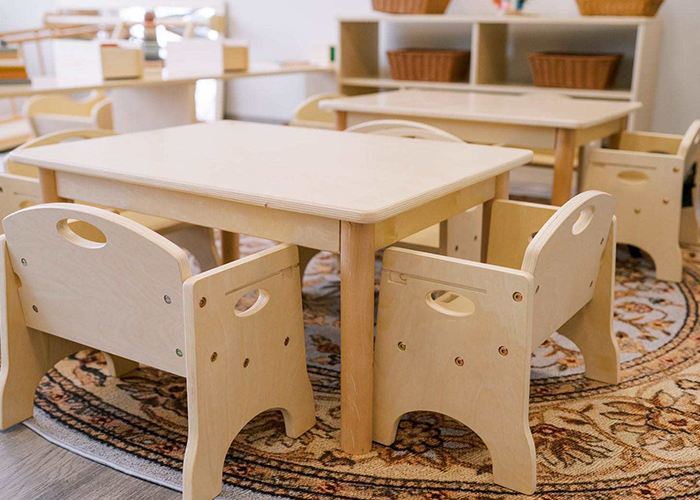
- Workbenches: Workbenches are the most basic furniture in a maker space. Unlike ordinary tables and chairs, they are not just places for children to sit; they support individual creation and group activities, allow for adjustments mid-project, and provide ample space for placing materials and displaying artwork. When purchasing, pay attention to the size of the tabletop, ensuring it is not too small, and that the surface is easy to clean. If needed, choose pieces with flexible combination capabilities.
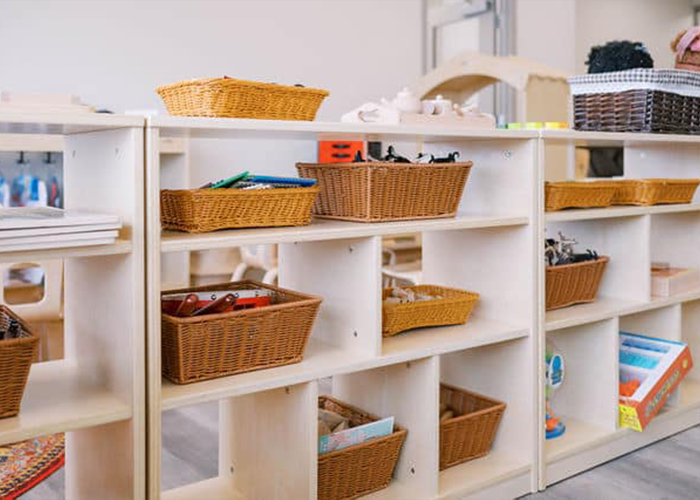
- Open Shelving: Open storage is best suited for storing materials, with the key being that children can clearly find what they need, helping them to retrieve and put things away themselves. Using closed cabinets can reduce autonomy.
- Mobile Storage Carts: Since not all activities take place in one location, using mobile storage carts allows materials to move with the activities, eliminating the need to move materials back and forth. It allows a single space to serve multiple purposes, especially for spaces that are not dedicated maker rooms, facilitating smoother event execution.
- Child-Sized Seating: Children won’t stand the whole time; sometimes they’ll sit down to rest or think. Don’t use the same style of chair for everything; choose according to different needs, and ensure it’s comfortable and natural during different activities and tasks, making children more willing to stay focused and engaged.
- Display Units: Display units are not merely decorative furniture. In a typical classroom, artwork is usually displayed on posters or bulletin boards, but in a maker space, they help children store unfinished projects. Since many children’s projects cannot be completed in a single class period, without storage, these half-finished works would be dismantled or disposed of, potentially discouraging children from engaging in such activities again. Furthermore, seeing these works makes it easier for parents to understand the educational value of the project.
- Wall Organizers and Vertical Storage Options: When classroom space is limited, wall and vertical space design can be used to free up a lot of floor and desk space. However, avoid storing frequently used materials that children cannot easily access, and pay attention to safety and the stability of the materials fixed to the wall.

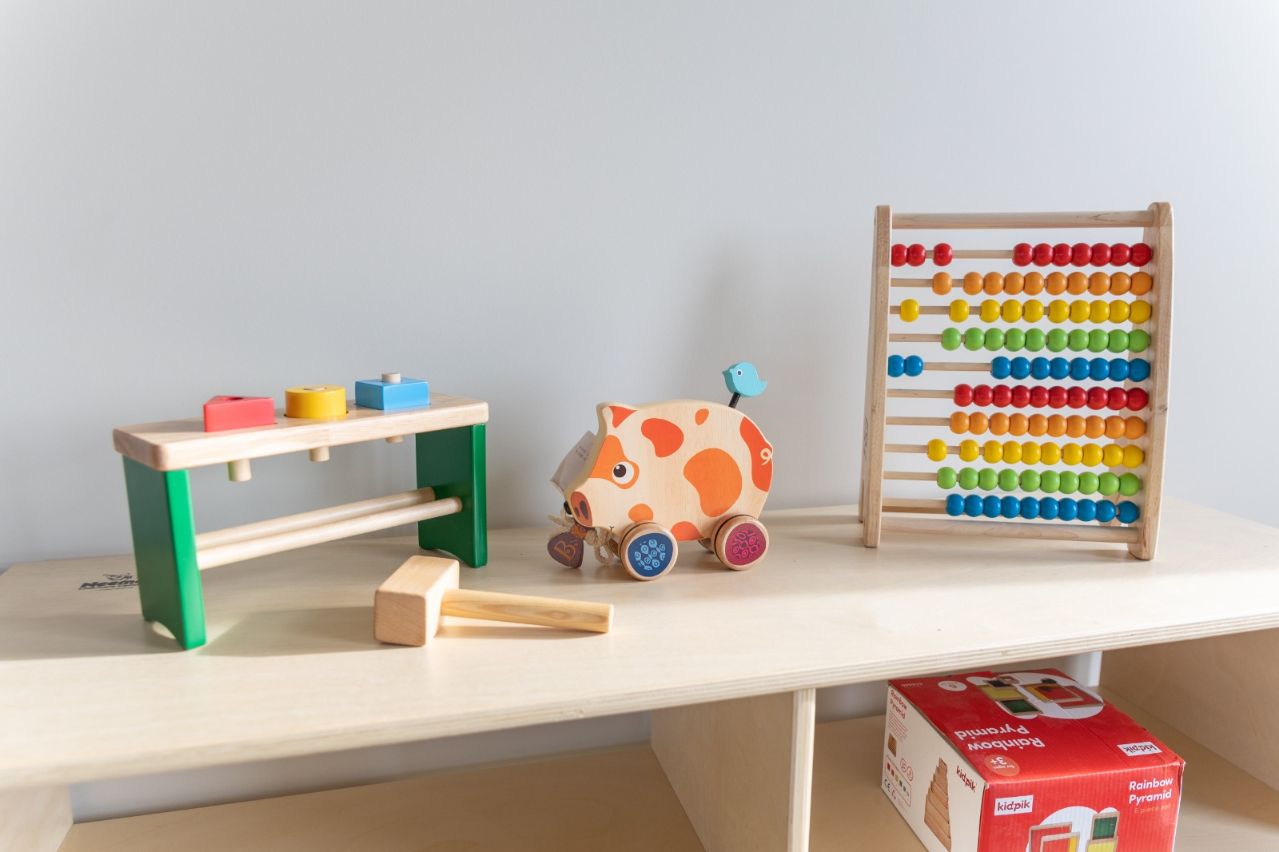
Step 5: Select Age-appropriate Materials
Similar to choosing furniture, more isn’t always better. For children, the real value lies not in the quantity of materials, but in whether they are age-appropriate, whether they can enhance their abilities, and whether they contribute to their development.
Key considerations when choosing materials:
- Don’t make them too complex; allow children to work independently.
- Don’t make them too simplistic; offer open-ended activities that support multiple ways of playing.
- Align them with the goals of a maker space.
- Ensure the safety of the materials.
Step 6: Set Up Simple Organization Routines
This is the root cause of why many maker spaces become unusable later on. It might not be because the room design is poor, but because you haven’t established clear and complete usage rules.
Often, maker spaces become chaotic not because the children mess things up or the teachers don’t manage them well, but because there’s no clear signal indicating where materials are placed, where they should be returned, and what to do with unfinished projects. Naturally, things become increasingly chaotic, and the teachers become increasingly overwhelmed.
What needs to be established from the beginning isn’t “strict management,” but a simple and clear order.
- Determine the location for retrieving materials.
- Material placement should be clear; open baskets, trays, etc., should ideally be categorized and labeled.
- Designate a specific storage area for unfinished works.
- Determine the quantity of each type of material to use.
- Simple cleanup requirements.
This step also ensures that your space can remain stable in the long term. Maker spaces are not afraid of chaos, because they are originally a space for children to create and innovate. What is feared is that they become increasingly complex and lack clear planning.

Key Features of a Good Maker Space for Kids
For schools and daycare centers, a good maker space for kids is not about how much you set up or how elaborately you decorate it, but about whether it attracts children, provides them with practical help, and helps teachers easily manage the classroom.
The following points should be noted when creating a suitable maker space for kids.
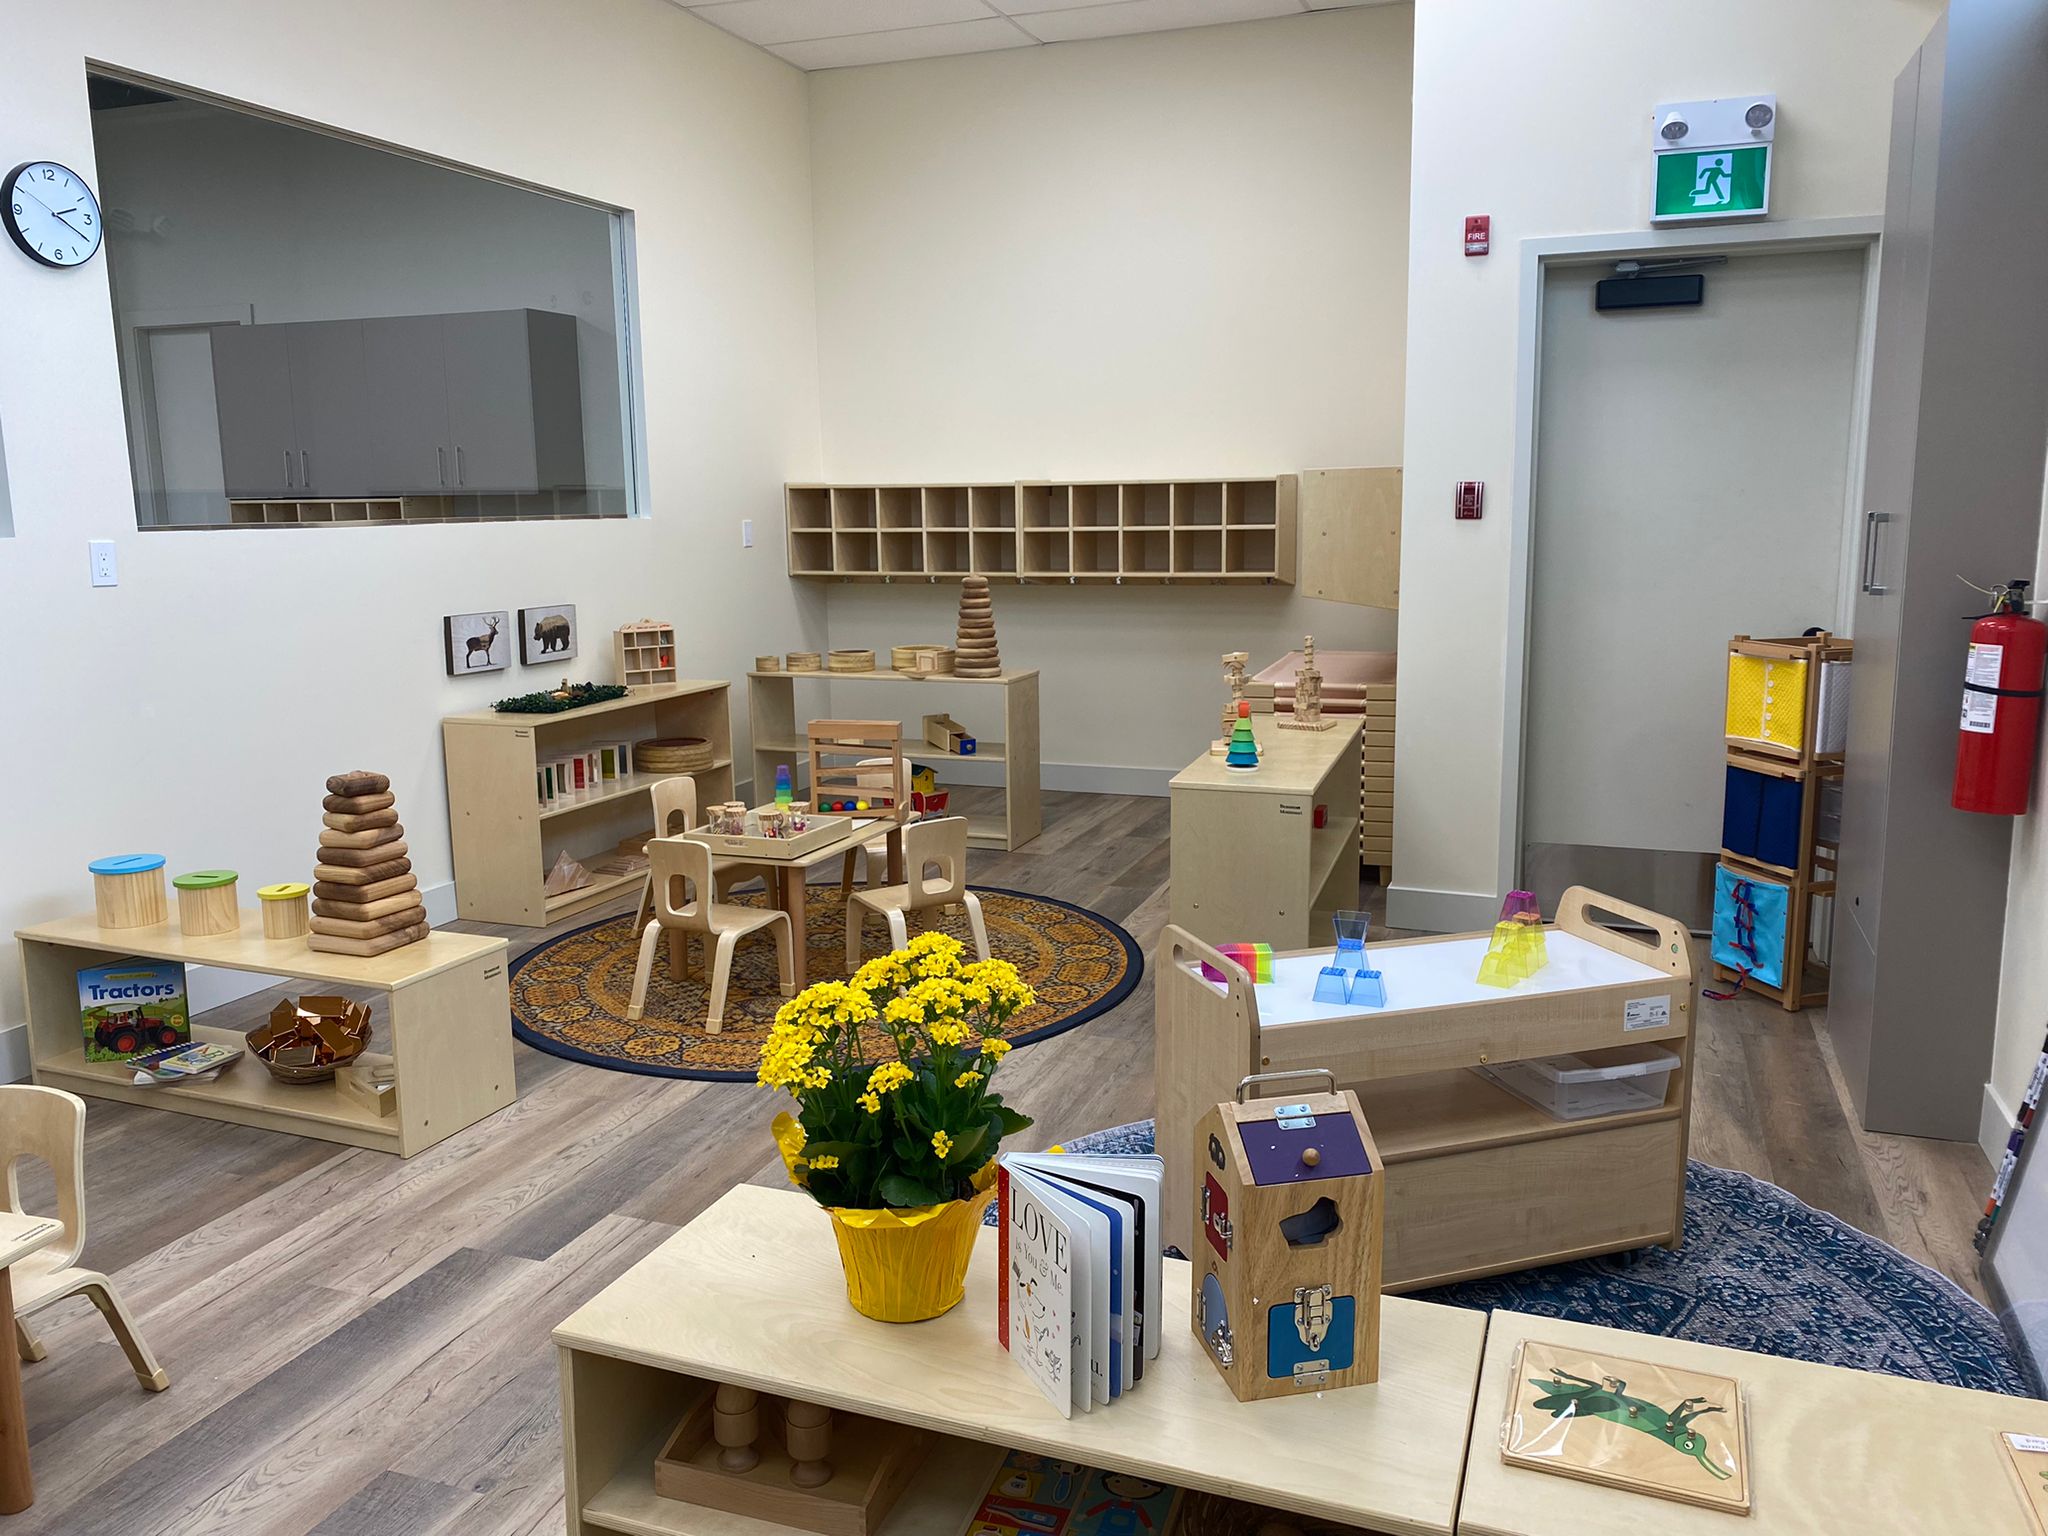
Accessible Materials
Most learning centers don’t lack materials, but problems often arise in their placement. Many classrooms display materials too high, too hidden, or haphazardly mixed together without any clear arrangement. Children struggle to independently access the materials they need, gradually losing the ability to choose independently. Instead, they rely on teachers for assistance or for the teachers to arrange which materials to use.
The key is to ensure that children can easily see and reach the materials and know to put them back in their place. For example, low, open lockers, simple trays, and labeled baskets can be used.
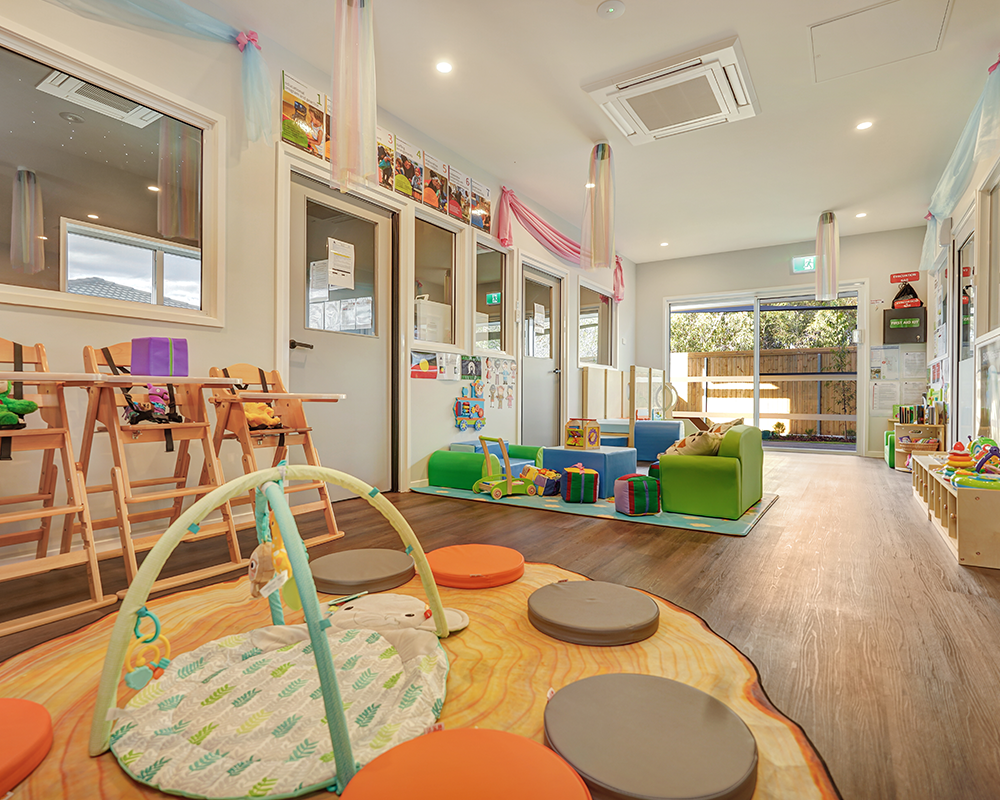
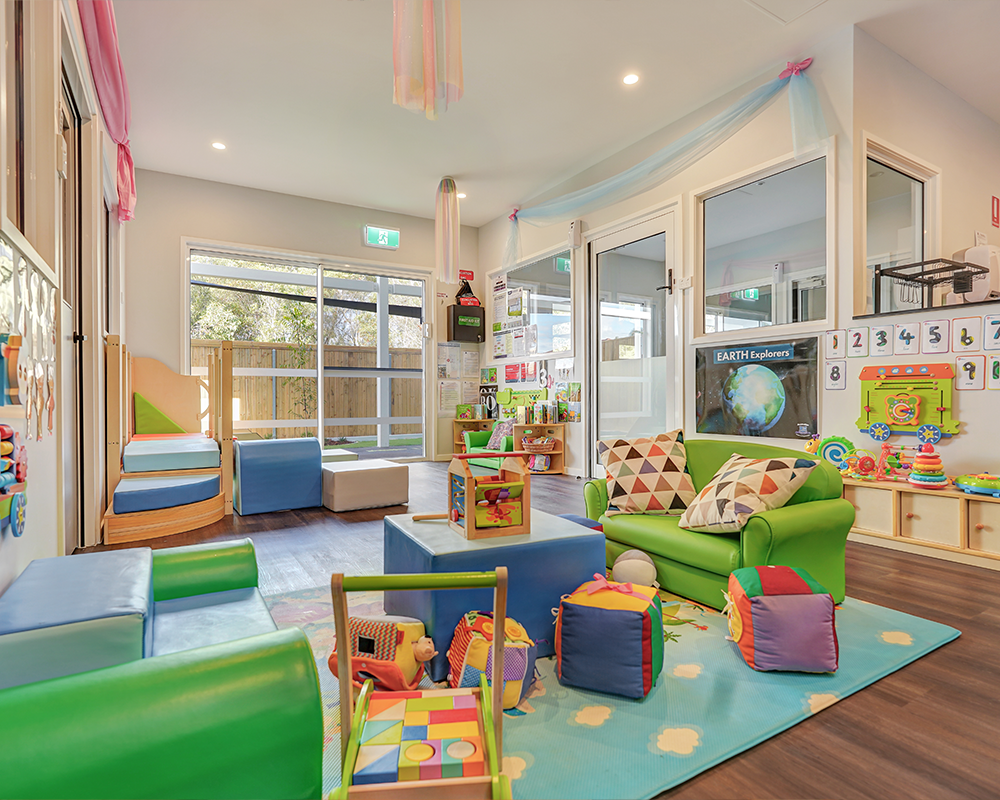
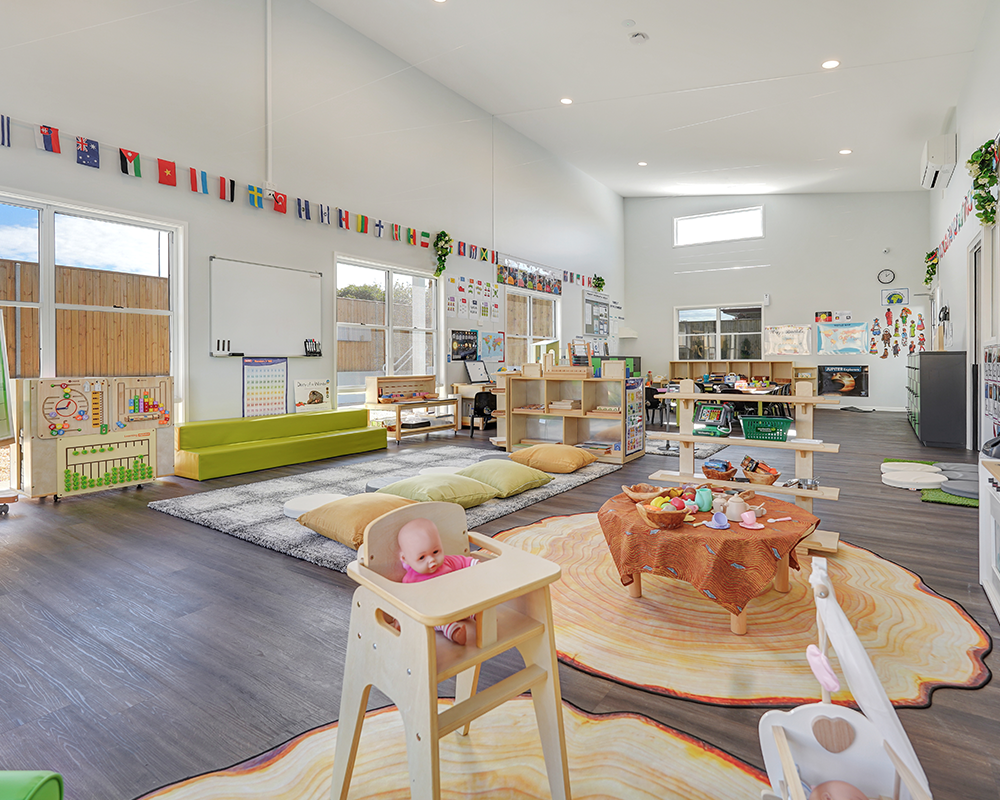
Flexible Furniture
Makerspaces host a variety of activities, and the use and arrangement of furniture will vary depending on the activity. Flexible furniture can meet multiple needs, especially in smaller spaces. For example, sometimes team activities require tables to be put together, while other times individual activities require children to work alone in a quiet corner. Therefore, if the furniture is not flexible enough, it will be relatively inconvenient to combine or use it for different activities.
Clear Zones
Many schools start with great enthusiasm, purchasing numerous materials and creating dedicated maker spaces. However, they fail to clearly define the spatial divisions, leading to increasingly cluttered classrooms and an inability to clearly identify the specific learning environment. Dividing classrooms into different learning areas—such as building areas, art creation areas, and open-source material areas—each specifically supporting a particular learning method, allows children to easily understand the purpose of each area and facilitates teacher supervision.
Visible Storage
Similar to accessible materials, many kindergartens keep their materials neat and tidy, but neglect visibility, leaving children unsure of where the materials are and unable to retrieve or return them independently. Transparent boxes and open bookshelves are more suitable for daily operations than completely enclosed cabinets. Children use what they see to make judgments, and this kind of environment itself teaches children to classify, select, and organize.
Child-Sized Setup
It’s very simple; all the arrangements must be tailored to a child’s size. Tables that are too high, displays that are too high, and tools that are placed too high are all unsuitable. Facilities that are the right size for a child allow them to use the space freely.
Easy Supervision
The spatial layout should avoid visual blind spots as much as possible, maintain a clear line of sight between key material areas and high-frequency activity areas, prevent active and quiet areas from interfering with each other, and ensure that storage and operation areas are reasonably spaced so that teachers can roughly grasp the status of multiple areas when standing in a relatively central position.
FAQs About Maker Space for Kids
- What materials are commonly used in a maker space for kids?
Choosing materials involves more importantly considering their development, age, and suitability. The most common choices include open-source materials, recycled materials, natural materials, and art and building materials. - How do you choose the right materials without making the space feel messy?
Based on the core activity areas, observe the activities that the children are most interested in, and supplement materials accordingly, rotating them rather than buying them without thinking. - How much space do you need for a maker space for kids?
There isn’t actually a fixed size standard. A maker space doesn’t necessarily have to be a separate room; it depends on what kind of activities you want to support and how many children will be using it at the same time. - What age is appropriate for a maker space?
There are no strict age restrictions for maker spaces; you can start from early childhood. Just pay attention to the materials and activities used at each stage. - How can you create a maker space on a small budget?
A limited budget doesn’t mean you can’t create a maker space. Focus on the essential furniture first, such as workbenches, open shelves, and basic storage, rather than aiming for a complete setup from the start. Materials can be chosen from what’s already in the classroom, such as paper tubes, cardboard boxes, bottle caps, and paint. - How can I make sure children are learning and not just making a mess?
Allow time for children to explain their work. Teachers should record the process rather than looking at the final product, observe the children’s choices and difficulties, and address them promptly.
Conclusion
Creating a maker space for children isn’t about filling a classroom with furniture and materials, or making it look aesthetically pleasing. It’s about creating an environment that children can easily use, with clear flow, supporting exploration, creation, and long-term use.
The real core isn’t materials or furniture, but spatial layout and practical goals. Different zones guide children’s direction, furniture and materials support different activities, and open storage helps with independent choices. When these factors are fully prepared and perfectly integrated, a true maker space is created.
If a school or daycare is planning such a space, instead of rushing to buy a lot of materials and furniture, it’s better to clarify the overall logic first. Getting professional layout and furniture planning support from the beginning will make the project more efficient. If you still have doubts or want to complete your project faster, contact Xiha Montessori. We are a preschool furniture manufacturer with 20 years of experience in the education industry. We can design a maker space tailored to your needs based on your goals, teaching methods, and room style, and we can also provide furniture and materials in a one-stop shop.


