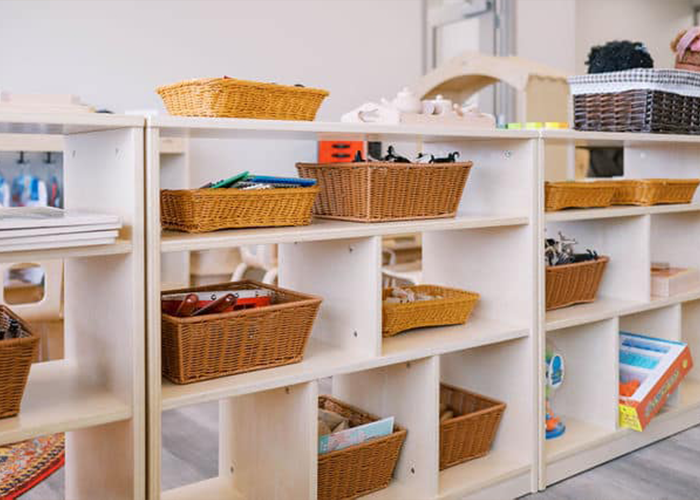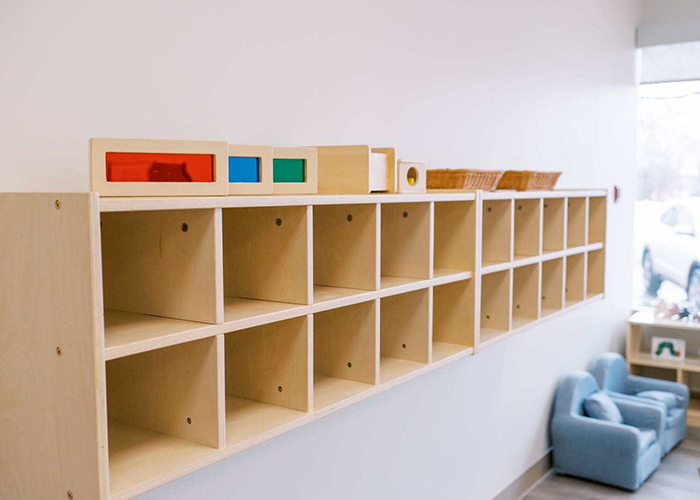
Montessori classroom seating arrangements usually combine several work settings rather than one fixed desk pattern. Children may work alone at a small table, beside a classmate, on a floor mat, in a lesson arc, or together in a circle. This guide explains seven useful layouts, where each one works best, and how to combine them without blocking movement or reducing usable floor space.
Start With Work Patterns, Not Seat Counts
A Montessori seating plan begins with the work children need to do. Some materials need a stable tabletop. Others need enough floor area to unfold, sort, or build. Short presentations need a clear view of the material, while community meetings need a shared gathering space.
This is why a Montessori room rarely works well as rows of identical desks. The Association Montessori Internationale describes Montessori environments as offering a variety of workspaces for individual, collaborative, and peer work. American Montessori Society accreditation standards also expect environments to support work at a table or on the floor, alone or in groups.
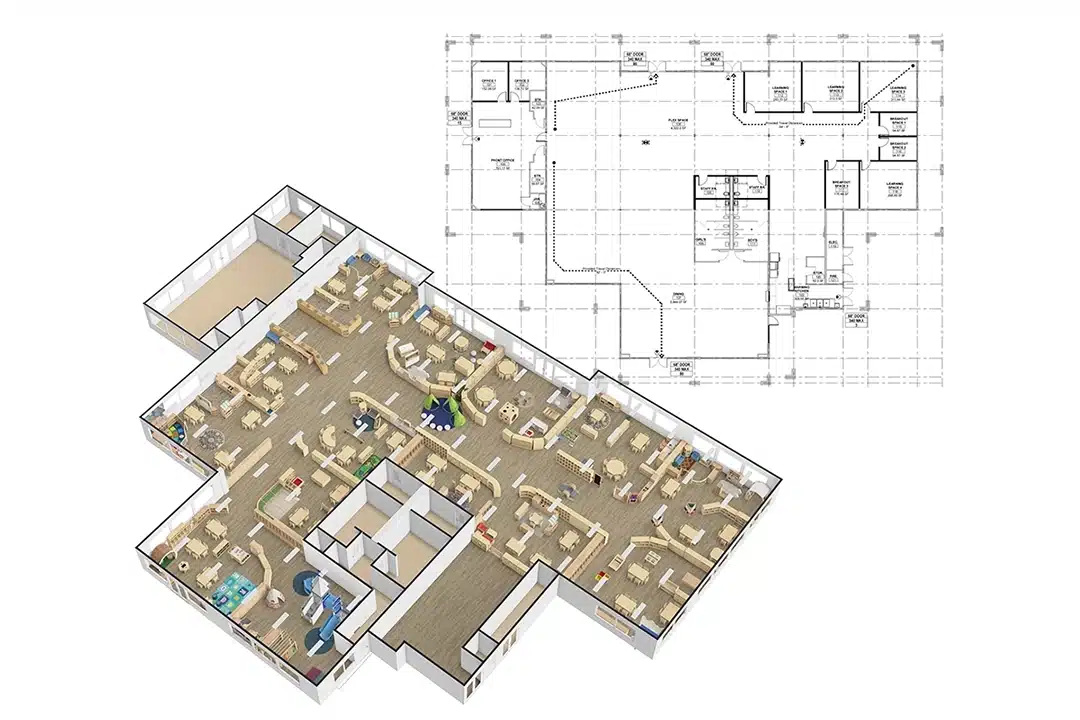
Before moving furniture, list the activities that happen during the same work period. Then decide how many individual table places, shared places, floor work areas, and lesson spaces the room needs at one time. For broader zoning decisions beyond seating, use our Montessori classroom layout guide.
Seven Montessori Classroom Seating Arrangements
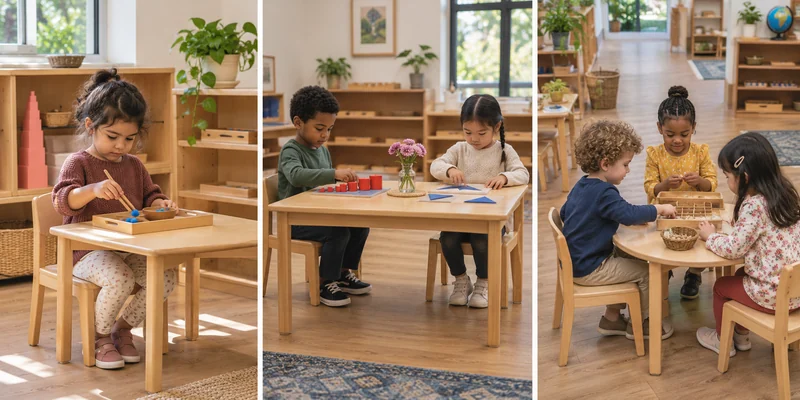
1. Individual Work Tables
An individual table gives one child a defined place for writing, drawing, practical life, or materials that need a firm surface. It supports concentration without isolating the child from the classroom.
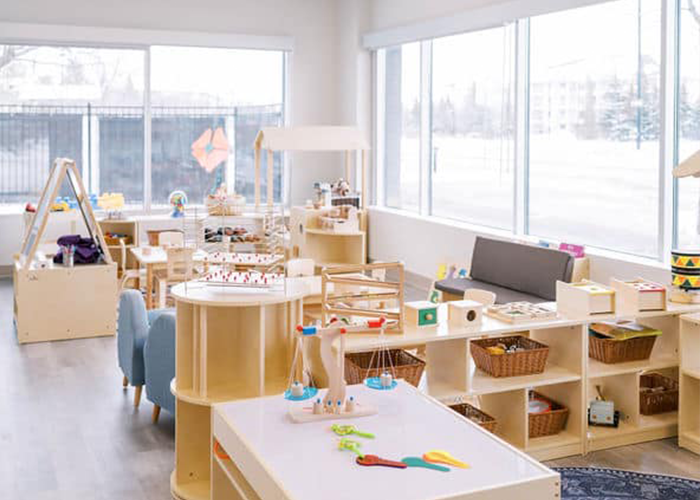
Place these tables near the shelves that hold the work most often used there, but outside the main route between the entrance, sink, shelves, and group area. A table against a wall can work in a narrow room, provided the child can sit down and leave independently. A freestanding table creates more access but needs clear space around the chair.
Use this arrangement when a task benefits from sustained individual attention. Avoid lining every individual table into a row facing the same direction; that recreates a desk-based classroom and consumes space that could support floor work.
2. Two-Child Table Pairs
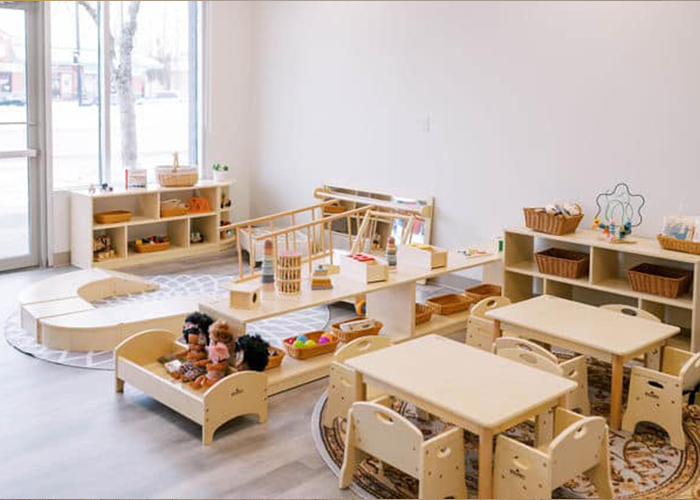
A two-child table supports parallel work, partner activities, and brief peer exchanges. It also lets a guide sit beside a child for a presentation without moving to a separate teaching station.
Position paired seating where both children can approach without squeezing behind another chair. A rectangular table can place children side by side or opposite one another; the better orientation depends on the material. Side-by-side seating suits a demonstration that both children need to see from the same angle. Face-to-face seating works for conversation or a shared task.
Keep pairs away from the busiest walkway. Two chairs create more movement than one, especially when children carry trays or rolled mats past the table.
3. Small Shared Tables
A table for three or four children is useful for collaborative projects, art, food preparation, and selected elementary work. It should serve a clear purpose instead of becoming the default arrangement for the entire room.
Place a shared table near the materials and cleanup point connected to its main activity. In an early childhood room, for example, an art or practical-life table may sit closer to water and washable surfaces. In an elementary room, a project table may belong near reference materials and storage for work in progress.
Check the table at its fullest use: every chair pulled out, children seated, materials spread across the surface, and someone walking behind them. A table that fits on a drawing can still create a bottleneck once the chairs are occupied.
4. Floor Work Mat Zones
Floor work is a core part of the Montessori seating plan. A mat marks a personal workspace, protects the order of the material, and shows other children where to walk. It also lets the room provide more work locations without filling it with furniture.
Protect one or more open zones where children can fully unroll a mat and walk around it. Locate mat storage where children can reach it before collecting the material. The route from shelf to mat should not cross the group circle or pass through a doorway.
A broad open area can hold several individual mats when the boundaries remain clear. Smaller pockets of floor space can support one mat near a specific curriculum shelf. Choose classroom rugs and work mats that lie flat, are practical to clean, and are easy for the intended age group to handle.
5. Small-Group Lesson Arcs
For a short presentation, arrange children in an arc or shallow semicircle around the guide and the material. Everyone can see the same demonstration, and the guide can make eye contact without placing a table between the group and the work.
This can be a temporary arrangement on an open rug rather than a permanent seating zone. Keep the arc small enough that children do not need to lean across one another. Leave an open side so a child can join or leave without stepping over the material.
Position the lesson area so the guide can still see the wider classroom. Avoid placing it in front of shelves that other children need during the work cycle.
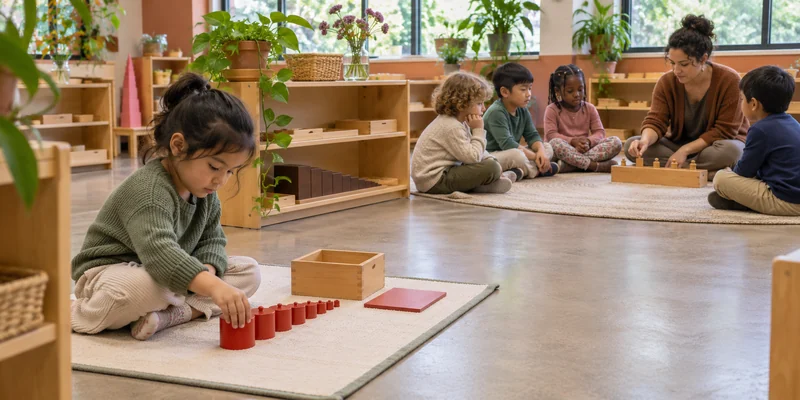
6. Whole-Group Circle or Ellipse
A circle or ellipse supports songs, movement, class conversations, grace and courtesy activities, and brief community meetings. Children can see one another, and the arrangement has no front row or back row.
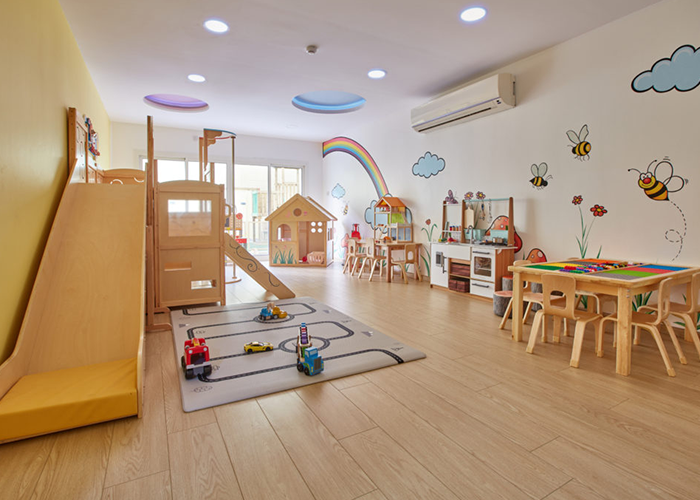
The group area may be defined by an ellipse on the floor, a large rug, or a clear section of flooring. It needs enough room for children to sit without pressing against shelves or furniture. It should also remain available without a long furniture-moving routine.
In a compact classroom, lightweight tables may temporarily overlap the ellipse during individual work and move when the full group gathers. AMI’s prepared-environment planning guidance recommends testing the arrangement and removing obstacles to free movement. If clearing the circle disrupts several work areas every day, the furniture mix or location needs revision.
7. Quiet Reading or Observation Seating
A quiet seat gives one or two children a place to read, observe, or settle before choosing the next work. This may be a small chair beside a low book display, a bench with a clear view into the room, or a simple floor cushion where local safety and cleaning requirements allow.
Choose a calm edge of the classroom rather than a hidden corner. The entry, sink, active practical-life area, and cleanup route usually create too much traffic. Keep the seat within the guide’s sightline and limit the size of the area so it remains a purposeful choice rather than an unsupervised lounge.
How to Combine the Layouts in One Room
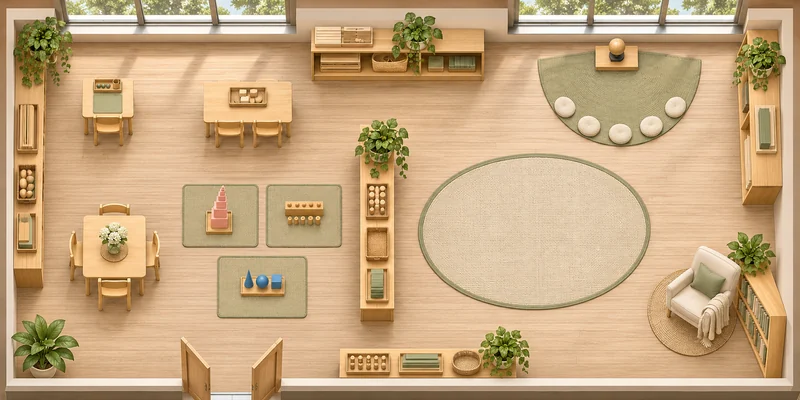
Most Montessori classrooms use a mix of the seven arrangements. The exact balance changes with age, enrollment, room shape, curriculum, and the number of activities happening at once. A useful plan distributes work rather than concentrating every child around the same type of table.
| Classroom Area | Useful Arrangement | Placement Priority |
|---|---|---|
| Perimeter near curriculum shelves | Individual tables and floor-mat pockets | Short route from shelf to work location |
| Calm interior zone | Pairs or small shared tables | Space behind occupied chairs |
| Open floor zone | Individual mats, lesson arc, and group circle | Flexible use without blocking circulation |
| Near water or cleanup | Practical-life or art table | Easy setup and cleanup; washable surroundings |
| Low-traffic edge | Quiet reading or observation seat | Calm setting with an open sightline |
Xiha’s planning approach is to place work locations first, trace the routes children use to collect and return materials, and then check actual furniture footprints. This sequence reveals where a table quantity, shape, or orientation needs to change. A furniture schedule developed before those checks can leave a room with enough chairs on paper but too few usable workspaces in practice.
Adjust the Mix for Different Age Groups
Toddler Communities
Toddlers benefit from short, obvious routes and a smaller number of well-defined choices. Use stable individual or two-child tables, generous movement space, and floor areas that do not require children to carry materials across the room. Quiet seating should be easy for an adult to observe and support.
Early Childhood Classrooms
Ages three to six often need the broadest mix: individual tables, paired work, floor mats, a few shared activity tables, and an open circle or ellipse. Protect floor work from chair traffic and keep practical-life routes direct. Since children move independently through the work cycle, the arrangement must remain understandable without repeated adult direction.
Elementary Classrooms
Elementary students use longer collaborative projects, research materials, and work that may remain in progress. The plan can include larger shared tables and project surfaces while retaining individual and floor choices. Storage for unfinished work becomes part of the seating decision; otherwise, projects spread into circulation space or occupy a table that other students need.
Test Movement and Sightlines Before Ordering
A floor plan should be tested as a sequence of actions, not viewed as a static arrangement. Mark furniture at its real width and depth. Include the space used by an occupied chair, an open cabinet door, a rolled mat, and a child carrying a tray.
- Walk from each curriculum shelf to its likely table or floor-work area.
- Check whether one child can pass without stepping into another child’s workspace.
- Sit in the guide’s usual lesson positions and review sightlines to the entry, water area, quiet corner, and open floor zone.
- Simulate a small-group lesson while other work areas remain in use.
- Pull out every chair at a shared table and test the route around it.
- Confirm that the whole-group area can be prepared quickly and restored without moving several heavy pieces.
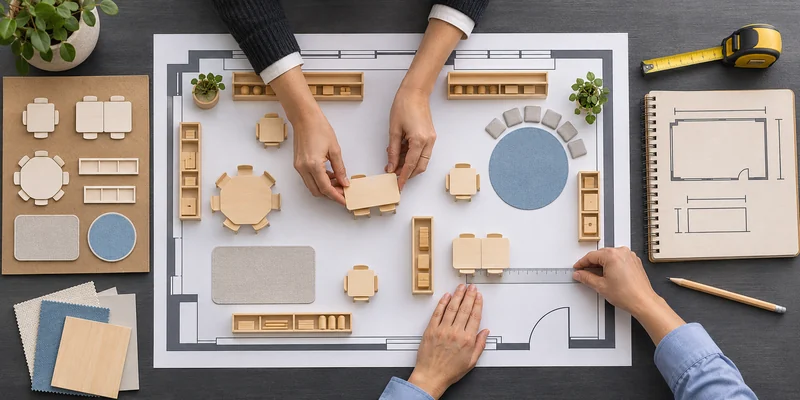
For a new classroom project, provide the supplier with room dimensions, doors, windows, columns, sinks, fixed storage, age range, expected group size, activity zones, and the dimensions of any furniture that will remain. Xiha uses these details to coordinate seating with shelves, material access, cleaning, supervision, and delivery constraints. This produces a more dependable layout than selecting items from isolated product photos.
Furniture Details That Make the Layout Work
Once the seating methods and locations are clear, verify the furniture. Check child scale, stability, legroom, surface care, and whether the intended age group can move a chair without losing control. Use current product dimensions rather than estimating from an image.
Review the table and chair options as coordinated work settings. A good table in the wrong size, or a chair that cannot move cleanly under it, can make a sound floor plan difficult to use. Also confirm how pieces will be cleaned and whether frequently moved items have manageable weight and reliable floor contact.
Quantity should follow simultaneous use. Count table places, floor work locations, lesson capacity, and quiet seating together. Avoid a strict one-chair-per-child formula unless local regulations or the school’s routine require it.
Common Seating Layout Mistakes
Using One Arrangement Everywhere
A room made entirely of individual tables restricts collaboration. A room filled with group tables can make focused work difficult. A balanced mix lets the activity determine the work location.
Filling Every Open Area
Empty floor space is functional. It supports mats, lessons, movement, and changing routines. Adding another table because it physically fits may remove several flexible work options.
Planning With Tables but Not Occupied Chairs
Chair clearance is where many layouts fail. Draw or tape the chair in its pulled-out position and test circulation at full use.
Blocking Shelves With Lesson Groups
A lesson arc placed in front of popular materials interrupts independent work. Keep teaching groups beside the flow of the room rather than across it.
Creating Hidden Corners
Low shelves can define work zones, but too many divisions create blind spots and narrow paths. Review the room from the guide’s normal working positions as well as from the doorway.
Frequently Asked Questions
Do Montessori Classrooms Have Assigned Seats?
Many Montessori classrooms allow children to choose an appropriate work location within established limits. A guide may assign or redirect a place when a lesson, concentration need, social situation, or classroom rule calls for it. The physical layout should make suitable choices easy to recognize.
How Many Seating Arrangements Should One Classroom Use?
There is no required number. Most rooms benefit from at least individual table work, shared work, floor work, and a group gathering option. Add quiet seating or dedicated project tables when the age group, curriculum, and room size support them.
Can a Small Classroom Have a Montessori Seating Layout?
Yes. Use fewer pieces with clear roles, protect one flexible floor zone, and let the same open area support mats, a lesson arc, and a group circle at different times. Choose table quantities after testing movement, rather than trying to place a chair for every child around the perimeter.
Are Flexible Seats Part of Montessori Classroom Seating?
They can be, but variety alone does not make a Montessori arrangement. Each seat or floor option needs a clear purpose, safe placement, practical cleaning routine, and relationship to the materials used there. Add specialty seating only after the main work patterns are working well.
Plan the Layout Before Finalizing the Furniture List
Effective Montessori classroom seating arrangements give children several clear ways to work while keeping shelves, walkways, and supervision open. Begin with the seven layout methods, choose the mix that matches the work cycle, and test the occupied furniture footprints before ordering.
If you are preparing a new room or correcting a layout that feels crowded, Xiha Montessori can review the floor plan, age group, activity zones, and furniture requirements as one classroom solution.