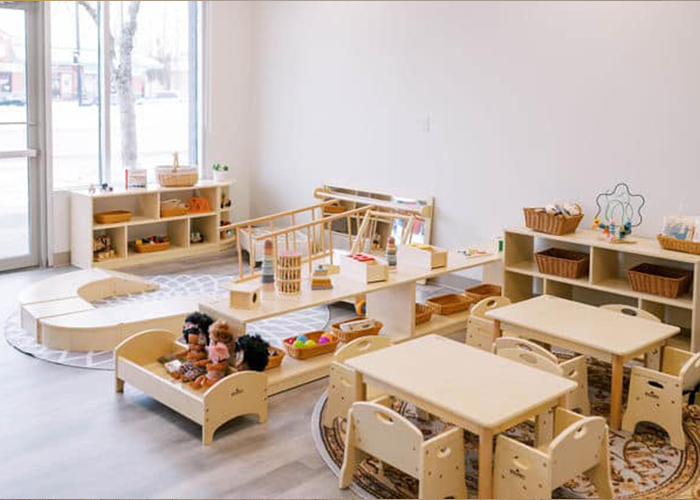
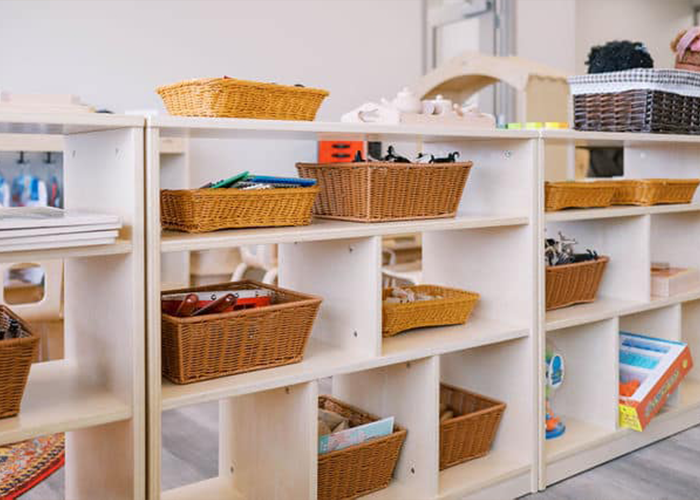
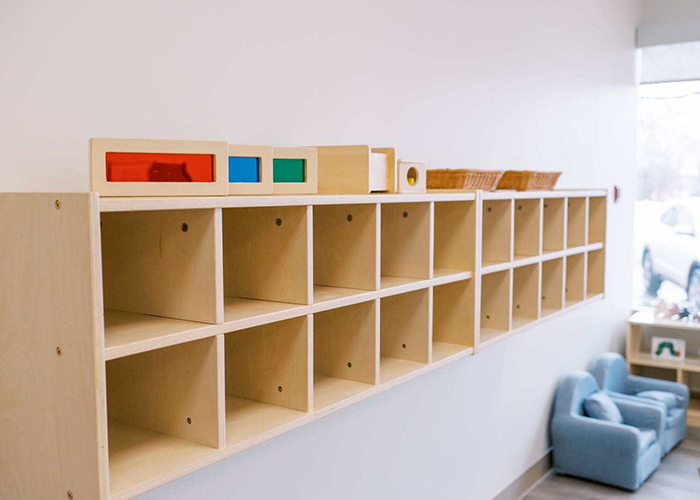
A process art preschool program gives children time to explore materials, make choices, and change direction as they work. The goal is not to make every child produce the same craft. The goal is to create a well-prepared environment where children can experiment with color, texture, movement, and form. This guide explains the difference between process and product art, the materials that work well, and the classroom decisions that make an art area practical to use every day.

What Is Process Art in Preschool?
Process art is an open-ended art experience in which children decide what to make and how to use the materials. A teacher may prepare paper, paint, clay, collage pieces, or unusual tools, but does not set one finished example for children to copy. The artwork can change as children test an idea, notice a result, and try again.
NAEYC describes process-focused art as an experience without step-by-step instructions or a required final result. Children explore techniques, tools, and materials, and the finished work is their own. This definition is useful for teachers because it separates a genuinely open art invitation from a craft that has simply been given a creative-sounding name. Read NAEYC’s overview of process-focused art experiences.
Process Art and Product Art: What Is the Difference?
Both process art and product-focused art can have a place in an early learning program. They serve different purposes. Product art is useful when a teacher is introducing a tool, practicing a specific skill, or completing a group project with a shared theme. Process art gives children more control over the decisions and the result.
| Process art | Product-focused art |
|---|---|
| Children choose how to begin and change the work. | Children follow directions toward a planned result. |
| There is no model that must be copied. | A sample or visual model may guide the activity. |
| Different children may use the same materials in very different ways. | The finished pieces are often similar. |
| The teacher observes, asks open questions, and protects the child’s ownership. | The teacher demonstrates steps and checks whether the steps are followed. |
The important planning question is not whether one approach is always better. Ask what children need to practice. If the objective is to explore texture or make independent choices, use an open-ended process art invitation. If the objective is to learn how to fold, cut, join, or use a particular tool, a short teacher demonstration may be appropriate. Keep the demonstration about safe tool use rather than showing children what their finished work should look like.
What Children Learn Through Process Art
Process art does not guarantee a particular developmental outcome, but it creates repeated opportunities for children to practice several useful skills in one activity. The learning becomes easier to see when teachers observe the choices children make instead of judging the appearance of the final picture.
- Planning and problem-solving: Children decide where to place materials, test what a tool can do, and adjust when the result is different from what they expected.
- Language: Children can describe color, texture, movement, and intention. Teachers can record a child’s explanation without turning the conversation into a quiz.
- Fine-motor practice: Painting, tearing, pinching clay, squeezing glue, using a brush, and manipulating collage materials all require different hand movements.
- Social learning: A shared art table gives children practice waiting for a tool, negotiating space, watching another child’s process, and caring for common materials.
- Confidence and agency: Children experience that their ideas can guide the work. This matters most when adults resist correcting, completing, or redesigning the artwork.
For teachers, the most useful evidence may be a child’s words, the sequence of choices, or a new way of using a familiar material. A photograph of the work can be paired with a short child-dictated sentence or observation note. This records the process without suggesting that a more realistic or more decorative product represents better learning.

How to Choose Materials for a Process Art Preschool Area
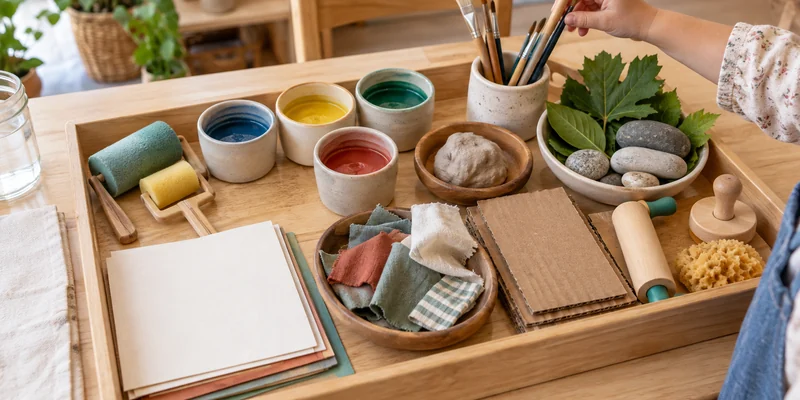
A useful materials list starts with the learning action you want to invite. Choose a base, a medium, and a small group of tools. Adding every available supply at once can make the table difficult to use and difficult to reset. Rotate materials after you observe what children are doing with them.
Paint and Mark-Making Tools
Use washable, age-appropriate paint with paper or another approved work surface. Offer brushes in different sizes, sponges, rollers, droppers, or other tools that create different marks. Crayons, markers, pencils, and pastels give children a drier option when the class needs a lower-mess invitation. The value comes from comparing what each tool does, not from offering the largest possible color range.
Clay, Dough, and Three-Dimensional Materials
Clay and play dough let children squeeze, roll, press, pinch, join, and separate material. Add simple tools such as boards, rollers, or blunt modeling tools when children are ready. A three-dimensional invitation needs enough table depth for children to work without knocking into one another, plus a clear place to return unused material.
Collage, Natural, and Recycled Materials
Paper scraps, cardboard, fabric, yarn, tape, glue, and child-appropriate scissors support tearing, arranging, layering, joining, and cutting. Leaves, seed pods, shells, and smooth stones can add natural texture when they have been checked for sharp edges, dirt, loose pieces, and age suitability. Cardboard tubes, boxes, and clean packaging can become building materials, printing tools, or collage pieces. Their use should be decided by the children rather than assigned to one model.
- Check labels and local requirements for non-toxic, washable, and age-appropriate materials.
- Remove objects that are too small for the children using the area or that have sharp, brittle, or detachable parts.
- Separate materials that need close adult supervision from the everyday self-access collection.
- Plan how wet, sticky, dusty, or loose materials will be cleaned, dried, replenished, and stored.


How to Set Up a Process Art Preschool Area
The room arrangement determines whether process art can happen as an independent classroom choice or only as a teacher-led event. A strong setup reduces unnecessary waiting, protects children’s work, and makes cleanup part of the routine.
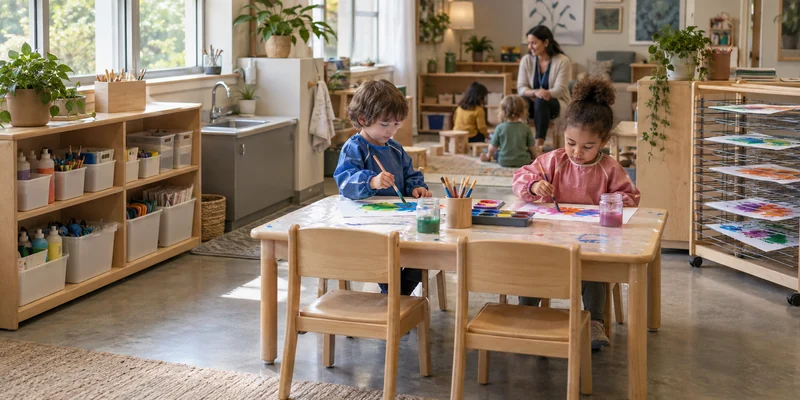
1. Place the Art Area Where Teachers Can See It
Keep the art table within normal sightlines and away from the busiest traffic path. Children need room to move between the material shelf, work surface, drying area, and sink or cleanup station. Staff should be able to supervise without standing in the middle of the activity. Clear pathways also reduce spills and interruptions when children carry wet work.
2. Create Separate Zones for Materials, Making, and Drying
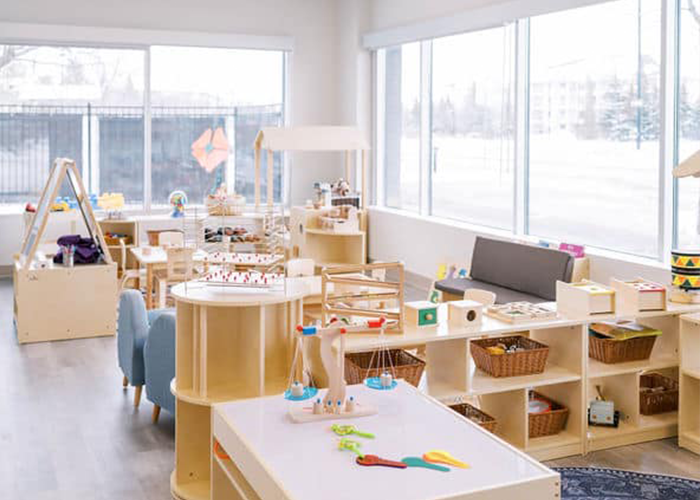
Use low, open storage for materials that children are allowed to access independently. Keep the work surface large enough for the intended group size. A drying rack or clearly marked drying shelf prevents finished work from being moved accidentally. If the room has limited space, a mobile cart can hold the current invitation, while a fixed shelf stores the broader collection.
3. Choose Surfaces and Furniture for Real Classroom Use
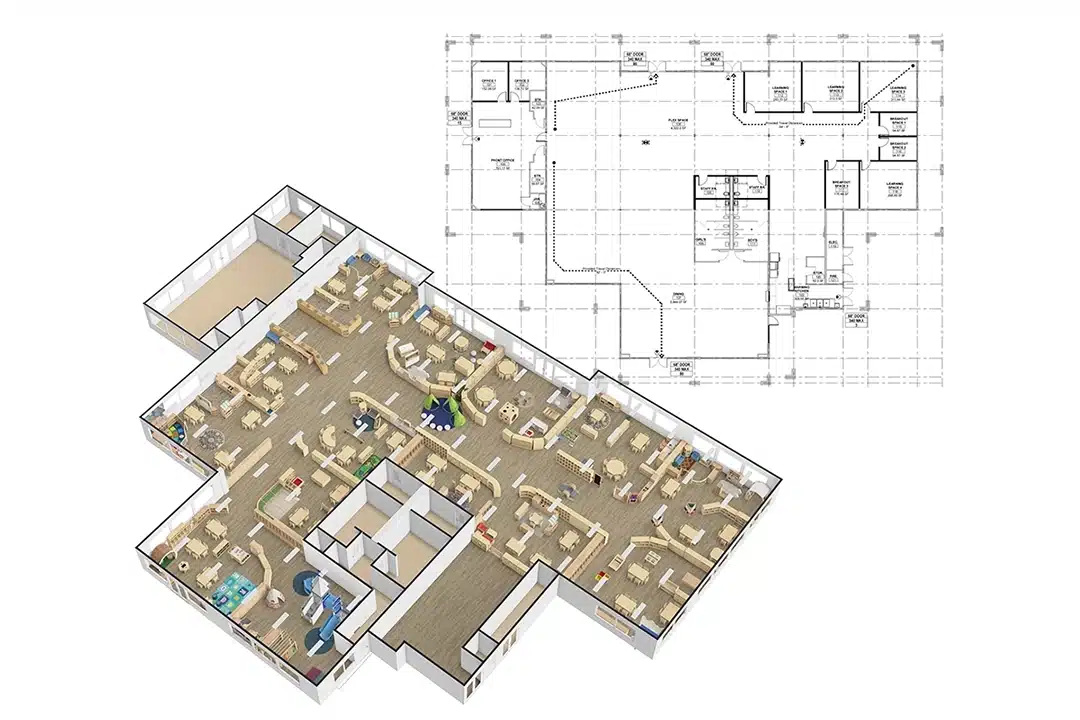
Art furniture should match the children’s height, the number of users, and the materials being used. Prioritize stable tables, easy-to-clean surfaces, rounded edges where appropriate, and enough space for children to sit and stand safely. A table that looks attractive but leaves no room for paper, tools, and drying work will create problems during the first busy session. When planning a complete classroom, review the art zone together with storage, sink access, circulation, and teacher sightlines. Our classroom layout examples can be used as a starting point for that discussion. For a closer look at shelving, work zones, and storage, see our preschool art center setup guide.
4. Make Cleanup Visible and Teachable
Place aprons, wiping cloths, water containers, and waste or recycling bins where children can reach the items they are allowed to use. Label shelves with words, photographs, or simple outlines. A consistent sequence—return tools, scrape or close containers, move work to the drying area, wipe the table, wash hands—helps children participate in maintaining the space. Cleaning should be planned before purchasing the materials, not added after the first spill.
How Teachers Support Process Art Without Taking Over
Teachers set the conditions for exploration, then observe closely enough to decide when support is needed. Start with a short demonstration of how to use a tool or care for a material. After that, step back. Avoid drawing a sample for children to copy or correcting a shape because it does not match an adult expectation.
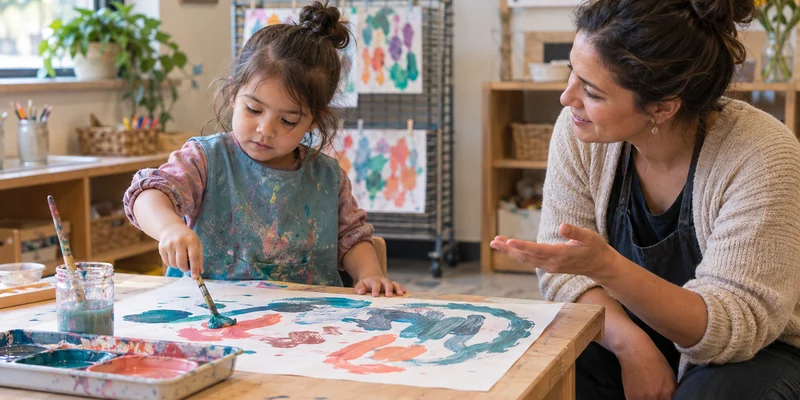
- Describe what you notice: “You pressed the sponge twice and the second mark is lighter.”
- Ask questions that leave room for many answers: “What could this tool do next?” or “How did you decide where to put that piece?”
- Offer a new tool or material when a child is ready for another possibility, rather than directing the final design.
- Intervene directly for safety, conflict, or a material that needs adult handling.
- Accept that some children will make a quick mark, while others will return to the same work several times.
NAEYC also recommends giving children time to carry out their own plans and allowing them to decide whether a piece stays in the classroom or goes home. A process art routine works better when children have enough time to begin, pause, revisit, and clean up without being rushed through a fixed sequence. See NAEYC’s guidance on using process art to support preschool learning.
Process Art Ideas for Preschool
These ideas are invitations, not templates. Prepare the materials, explain any safety limits, and let children decide what the work becomes.
Paint and Tool Investigation
Set out two or three washable paint colors, paper, brushes, sponges, rollers, and one or two unusual mark-making tools. Children can compare thick and thin marks, overlapping colors, pressure, and speed. Change the tools on another day so the invitation stays familiar while the possibilities change.
Clay and Loose Parts
Offer clay or dough with boards, blunt tools, and a limited selection of large loose parts. Children can press, join, remove, rebuild, and compare what happens when a piece is attached in a different way. Photograph the work before it is dismantled if the material is intended for reuse.
Nature Texture Collage
After an outdoor observation walk, provide checked leaves, bark pieces, seed pods, paper, tape, or glue. Children may sort the materials, arrange them, rub them under paper, or build a collage. The learning focus can shift between texture, pattern, classification, and composition without requiring one seasonal picture.
Recycled Construction and Printmaking
Clean cardboard tubes, boxes, bottle caps, fabric pieces, and foil can be used as building parts or printing tools. Provide paint only when the surface and cleanup plan are ready. Give children time to discover whether an object rolls, stamps, folds, stands, or joins with tape.
Seasonal Invitations Without a Fixed Craft
Seasonal materials can connect art to children’s observations. Offer cool colors and reflective paper after exploring winter light, or natural textures after collecting autumn leaves. Avoid pre-cut shapes and step-by-step holiday models when the purpose is process art. The season can shape the materials without deciding the final image.

Common Process Art Problems and Practical Fixes
- Every child’s work looks the same: Remove the sample and reduce step-by-step instructions. Keep the learning goal focused on a material or technique.
- The table becomes cluttered: Put out fewer materials, use shallow trays, and rotate the selection. Children make more deliberate choices when the options are visible and manageable.
- Children wait for an adult: Move approved tools and basic cleanup supplies within reach. Use picture labels and teach the routine during a quiet introduction.
- Wet work is damaged: Add a clearly marked drying area and teach children where to place unfinished and finished work.
- Cleanup takes too long: Reduce the number of materials on the table, use washable surfaces, and build cleanup into the activity rather than treating it as an afterthought.
- The activity is unsafe for the group: Remove small or sharp parts, adjust the material for the children’s abilities, and provide closer supervision when the material cannot be self-accessed safely.
A Planning Checklist for Schools and Preschool Operators
When creating or renovating a process art area, review the whole workflow rather than buying supplies in isolation. The following questions help connect the art program with the classroom environment:
- How many children will use the area at one time, and can the table support that group without crowding?
- Can teachers see the art area from the rest of the room?
- Where will children collect materials, make the work, dry it, display it, and clean the tools?
- Which materials can be accessible every day, and which need adult-controlled storage?
- Are the tables, shelves, carts, bins, and work surfaces suitable for the room’s age group and cleaning routine?
- Can the setup expand when the program adds another class, changes the age mix, or introduces new art media?
- Have the school’s licensing, health, safety, accessibility, and material requirements been checked before purchase?
Frequently Asked Questions
What is the main goal of process art in preschool?
The main goal is to give children meaningful control over the making process. They explore materials, make decisions, and develop their own ideas instead of producing a required copy.
Is process art the same as letting children make a mess?
No. A process art area still needs clear material limits, safe tools, supervision, accessible storage, and a cleanup routine. Good preparation gives children freedom within a safe and manageable environment.
Should teachers avoid helping children?
Teachers should help with safety, tool use, language, access, and conflict. They should avoid taking control of the design or finishing the child’s work. A short demonstration can teach a technique without creating a model to copy.
How often should a preschool offer process art?
The schedule depends on the classroom routine, staffing, materials, and cleanup capacity. A smaller invitation that children can revisit regularly is often more useful than an occasional activity that requires extensive preparation and leaves no time for reflection.
Conclusion
Process art in preschool works when the environment gives children real choices and teachers protect their ownership of the work. Open-ended materials, sensible storage, clear sightlines, durable work surfaces, drying space, and a predictable cleanup routine all shape the quality of the experience. Start with one manageable invitation, observe how children use it, and adjust the materials and layout from what you learn.
If you are planning a new preschool art area or reorganizing an existing classroom, review the floor plan, age range, group size, storage needs, cleanup route, and intended materials together. That process leads to a more usable classroom than choosing art supplies or furniture separately.